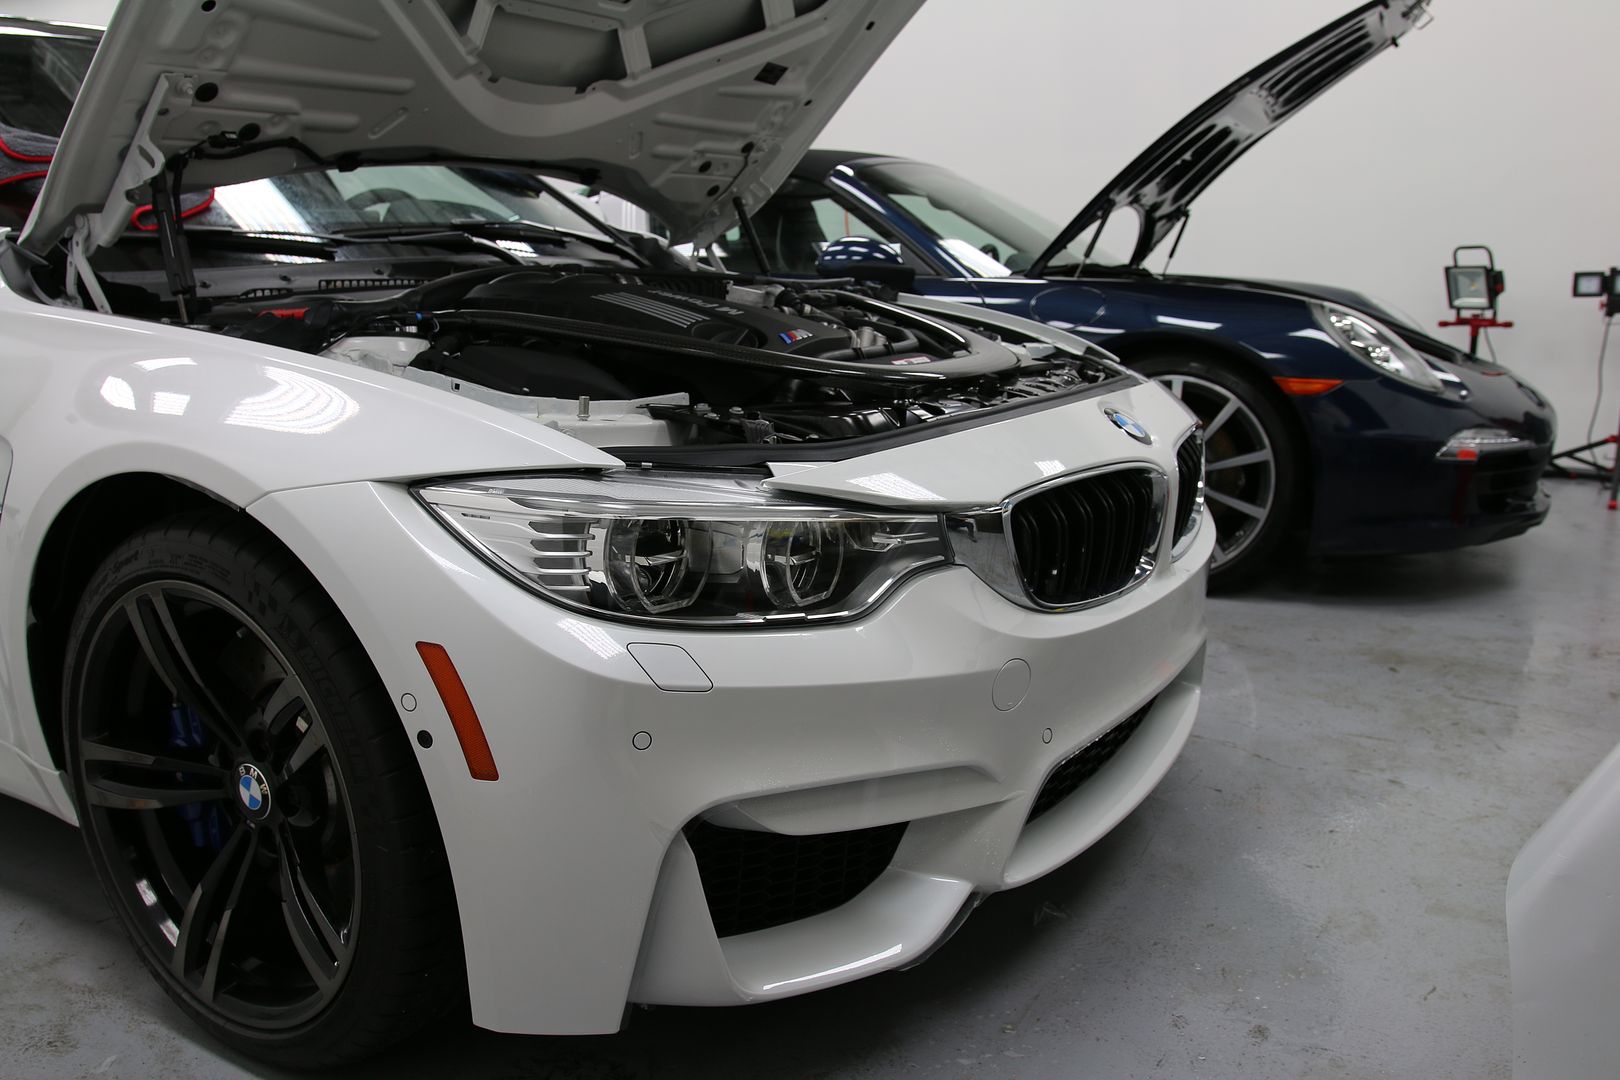
Subject: BMW M3 Mineral White/Sahkir Orange
Requirements: New Car Prep - Full Front Xpel Ultimate Clear Film - Spring Installation - SS Lines - Spacers
Here is a list of products used on the interior.
1Z einszett Cockpit
Leather Master Strong Cleaner
Leather Master Barrier
Auto Finesse Crystal Glass Cleaner
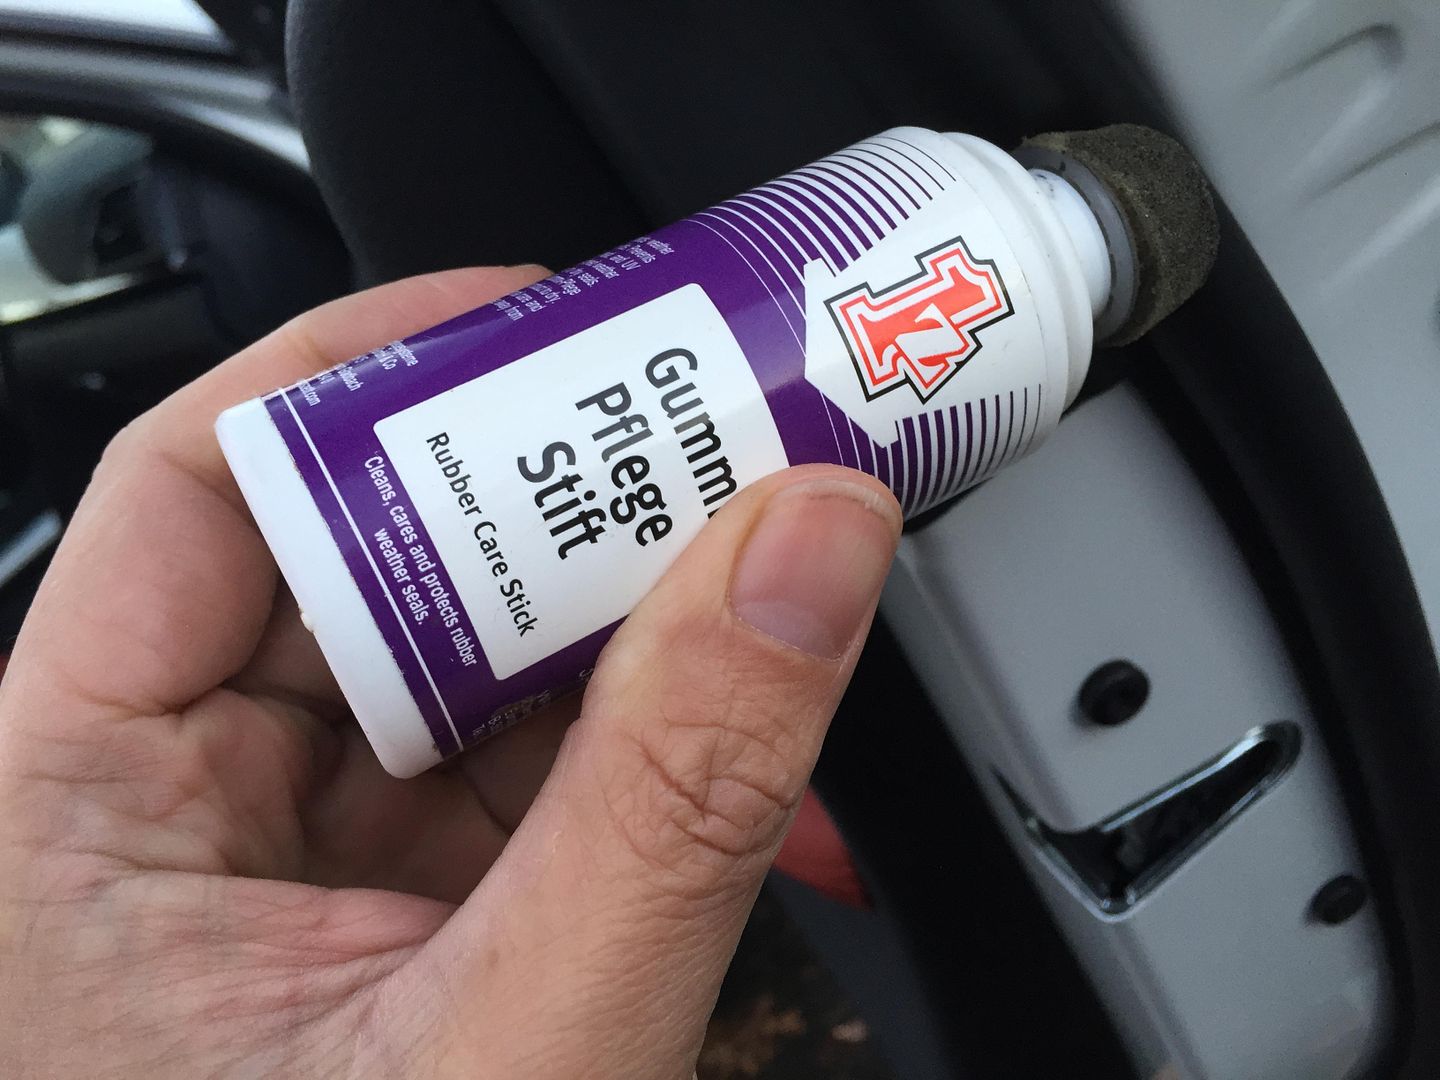
1Z einszett Gummi Pflege Stift Rubber Care Stick
Metro Jumbo Vac n Blow
Uber Leather and Carpet Brush
Uber Microfiber Towels
Uber Microfiber Applicator Pad
Products used on the exterior:
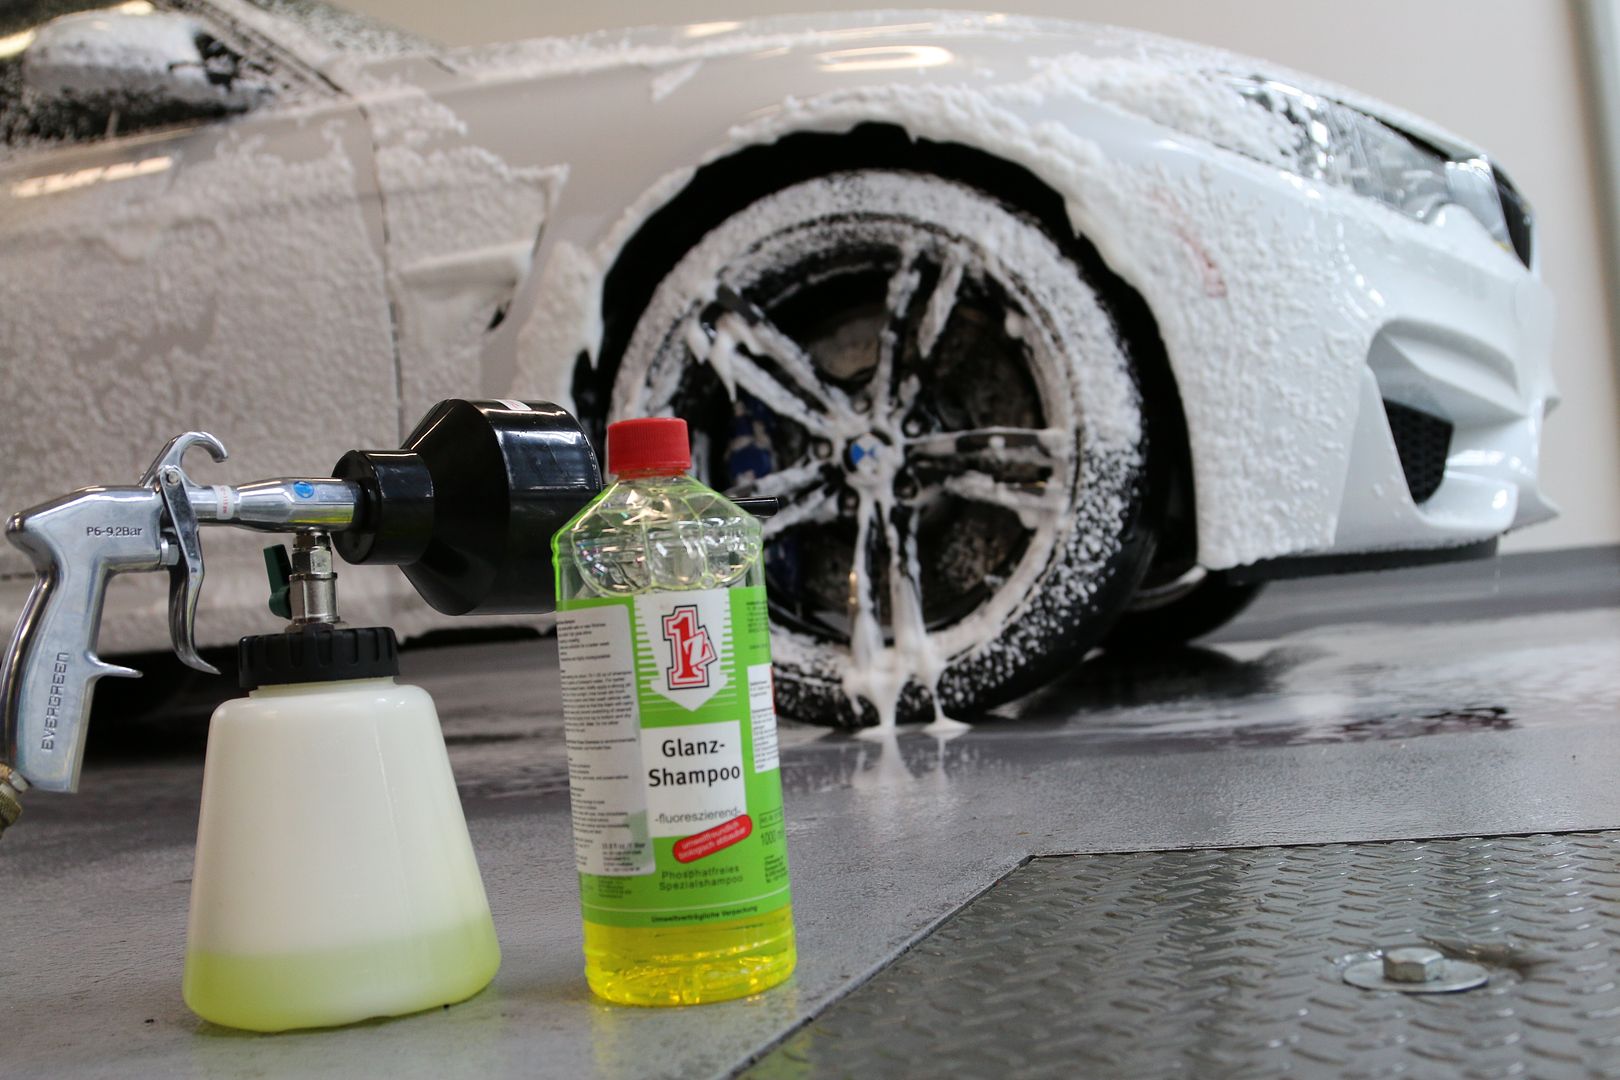
1Z einszett Glanz Shampoo
Uber Clay Bar
Sonax Fall Out Remover
Auto Finesse Oblitarate
NanoSkin AutoScrub Mitt
Sonax Perfect Finish
Sonax Polymer Net Shield
Adam's Super VRT
Menzerna Top Inspection
Auto Finesse Crystal Glass Cleaner
Tools used
Metro Jumbo Vac n Blow
Uber Leather and Carpet Brush
Uber Microfiber Towels
Uber Microfiber Applicator Pad
Uber Quick Detail MF Towels
Uber All Purpose MF Towels
Griot's 3 inch Random Orbital Polisher
Rupes BigFoot LHR 21ES Random Orbital Polisher
Rupes BigFoot LHR 15ES Random Orbital Polisher
Uber Buffing Pads
Defelsko Paint Meter
Fenix TK35
2 Grit Guard Buckets with Caddies
Adam's Firehose Nozzle
Metro Air Force Blaster
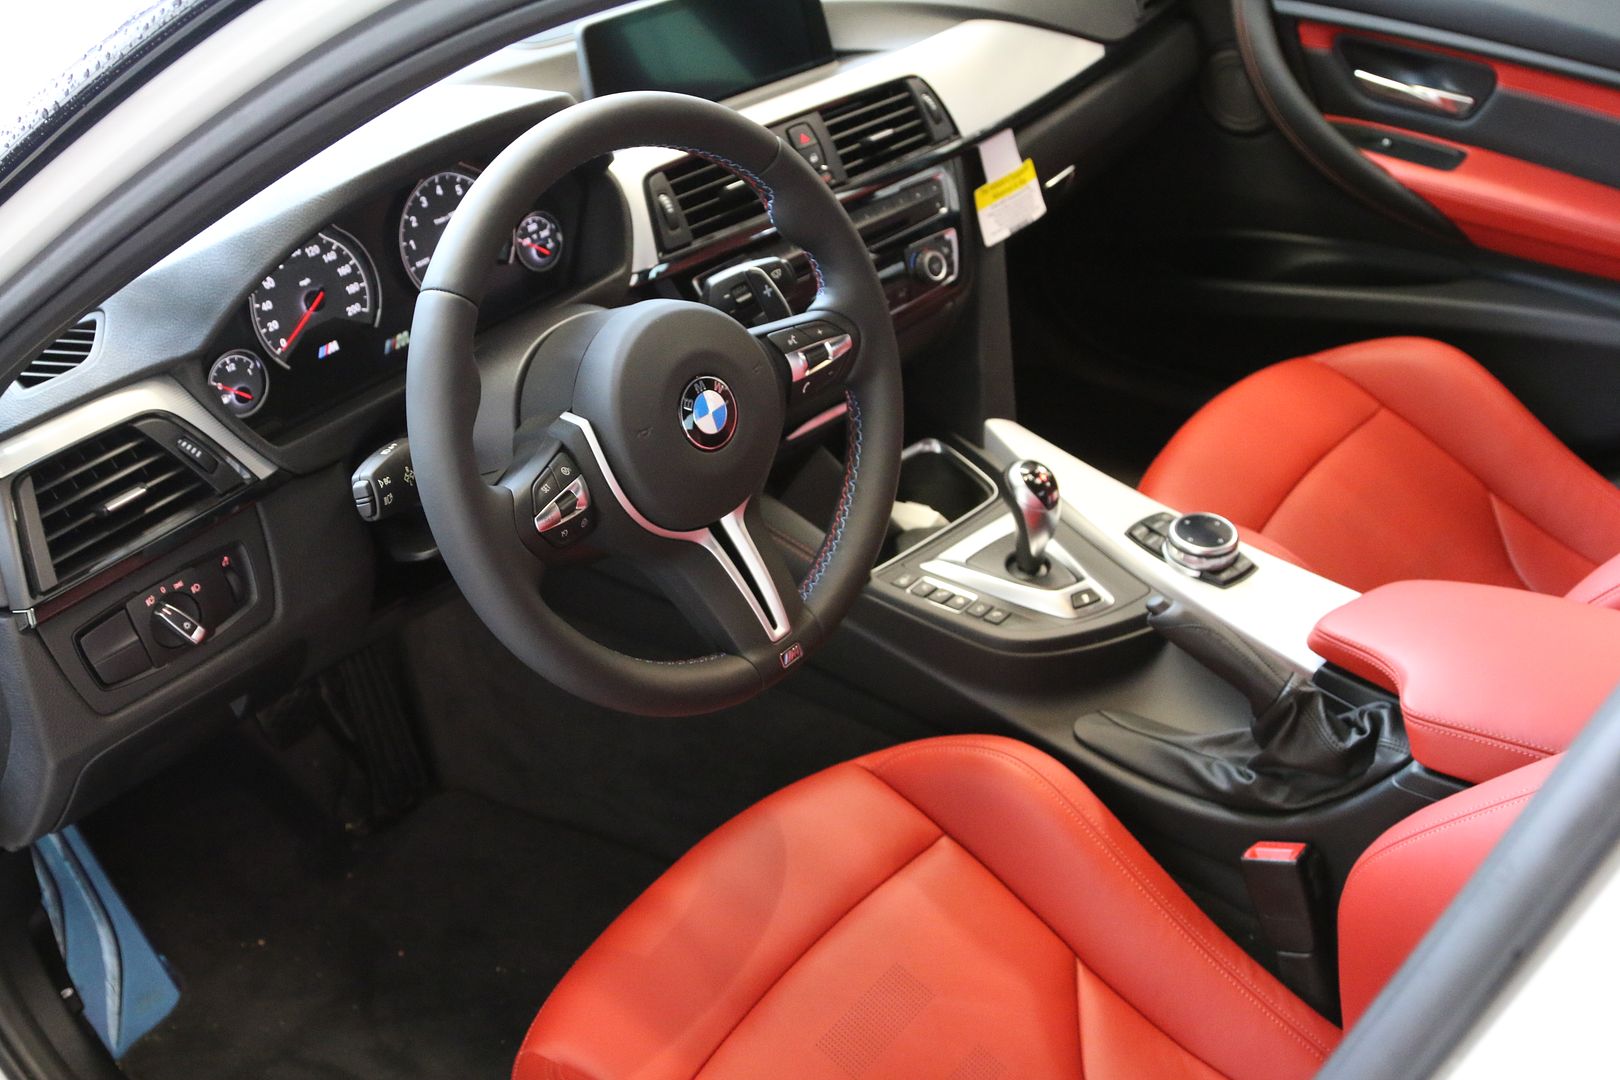
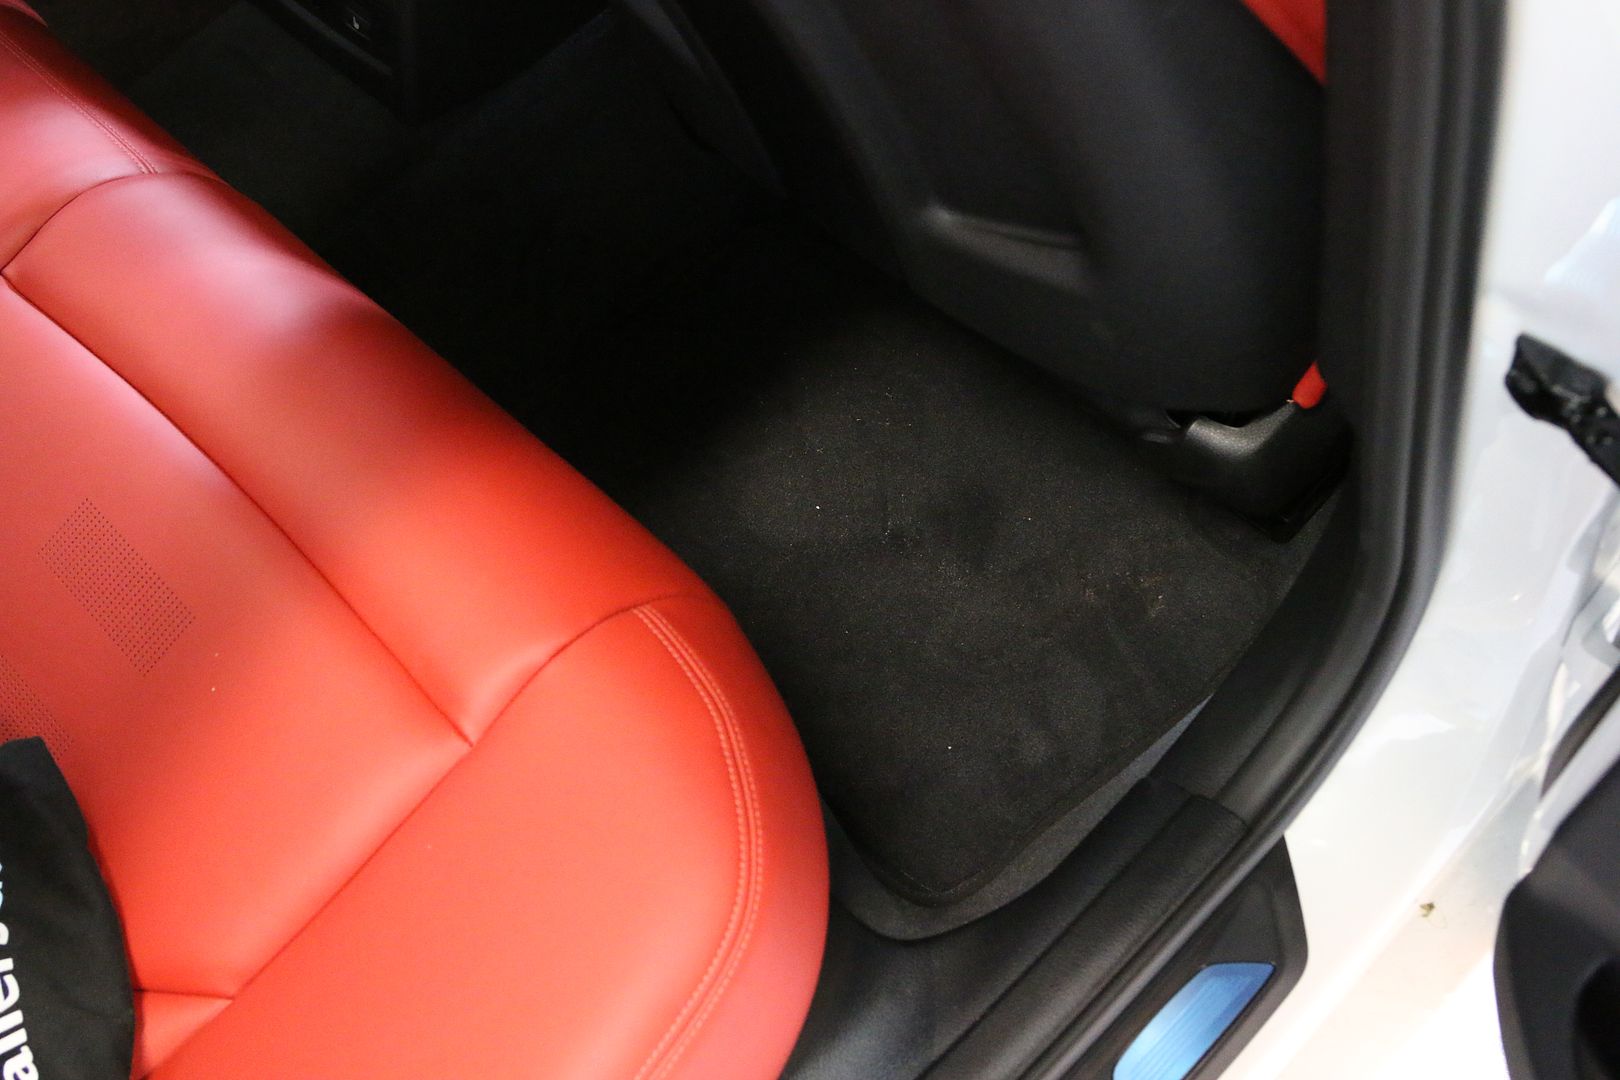
Let's start with the interior clean up first.
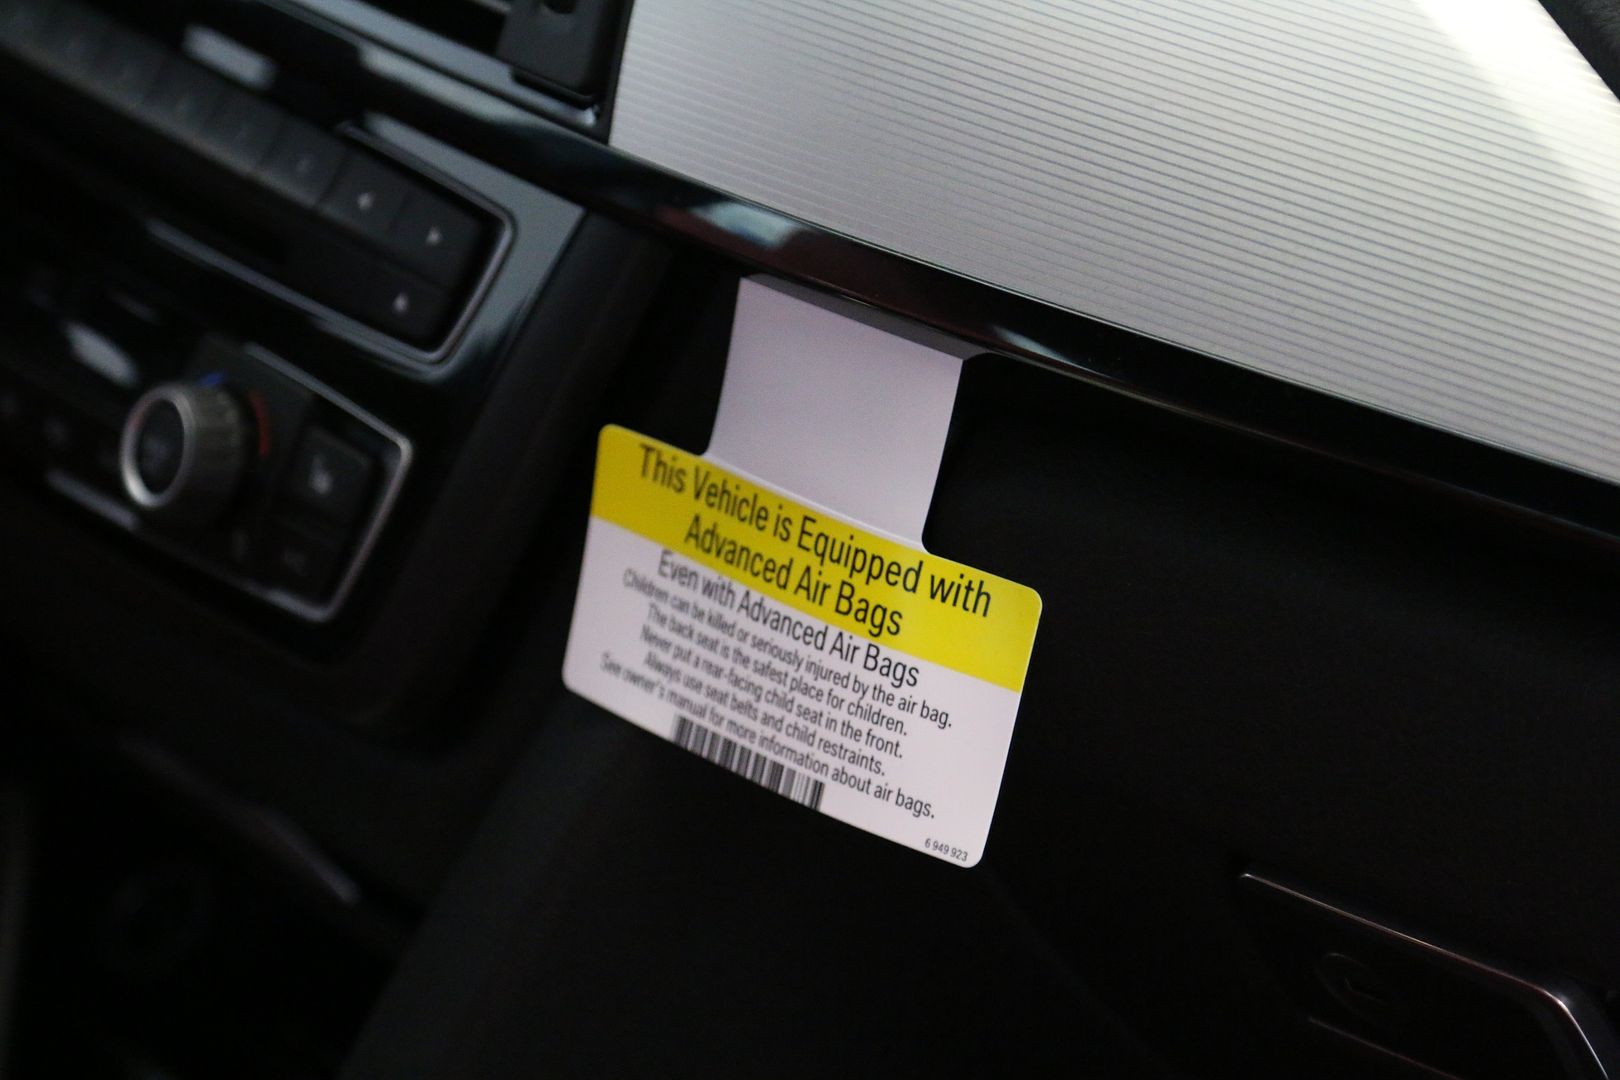
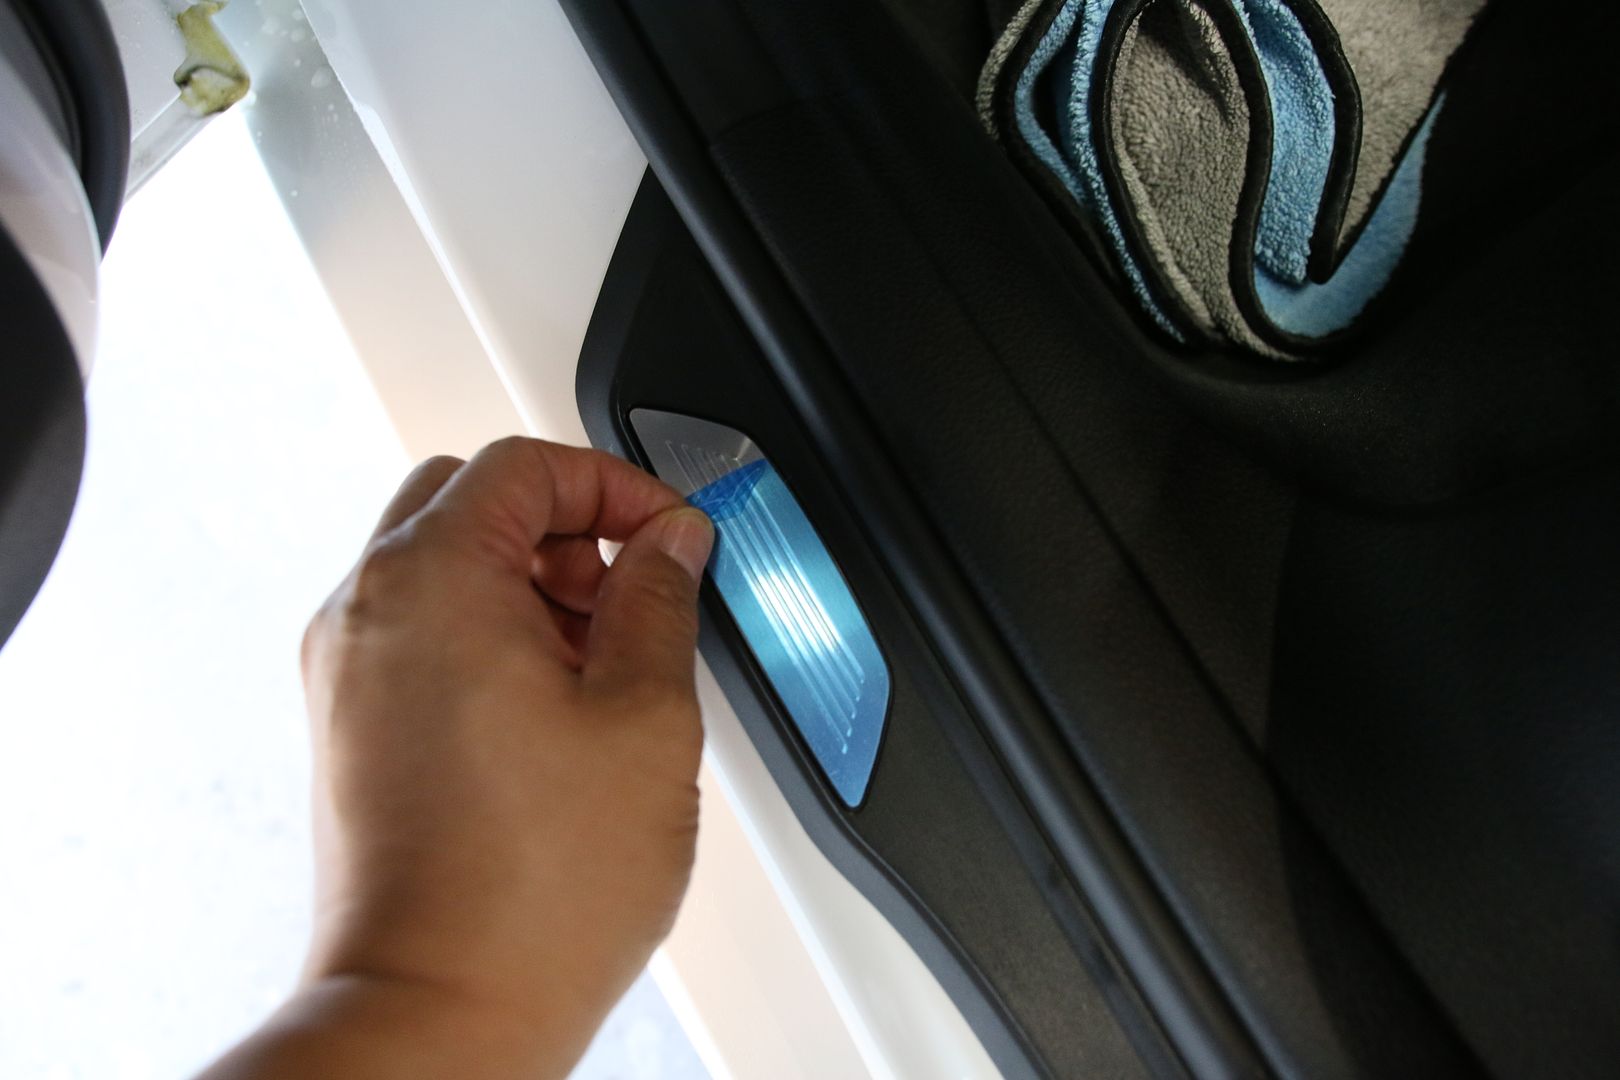
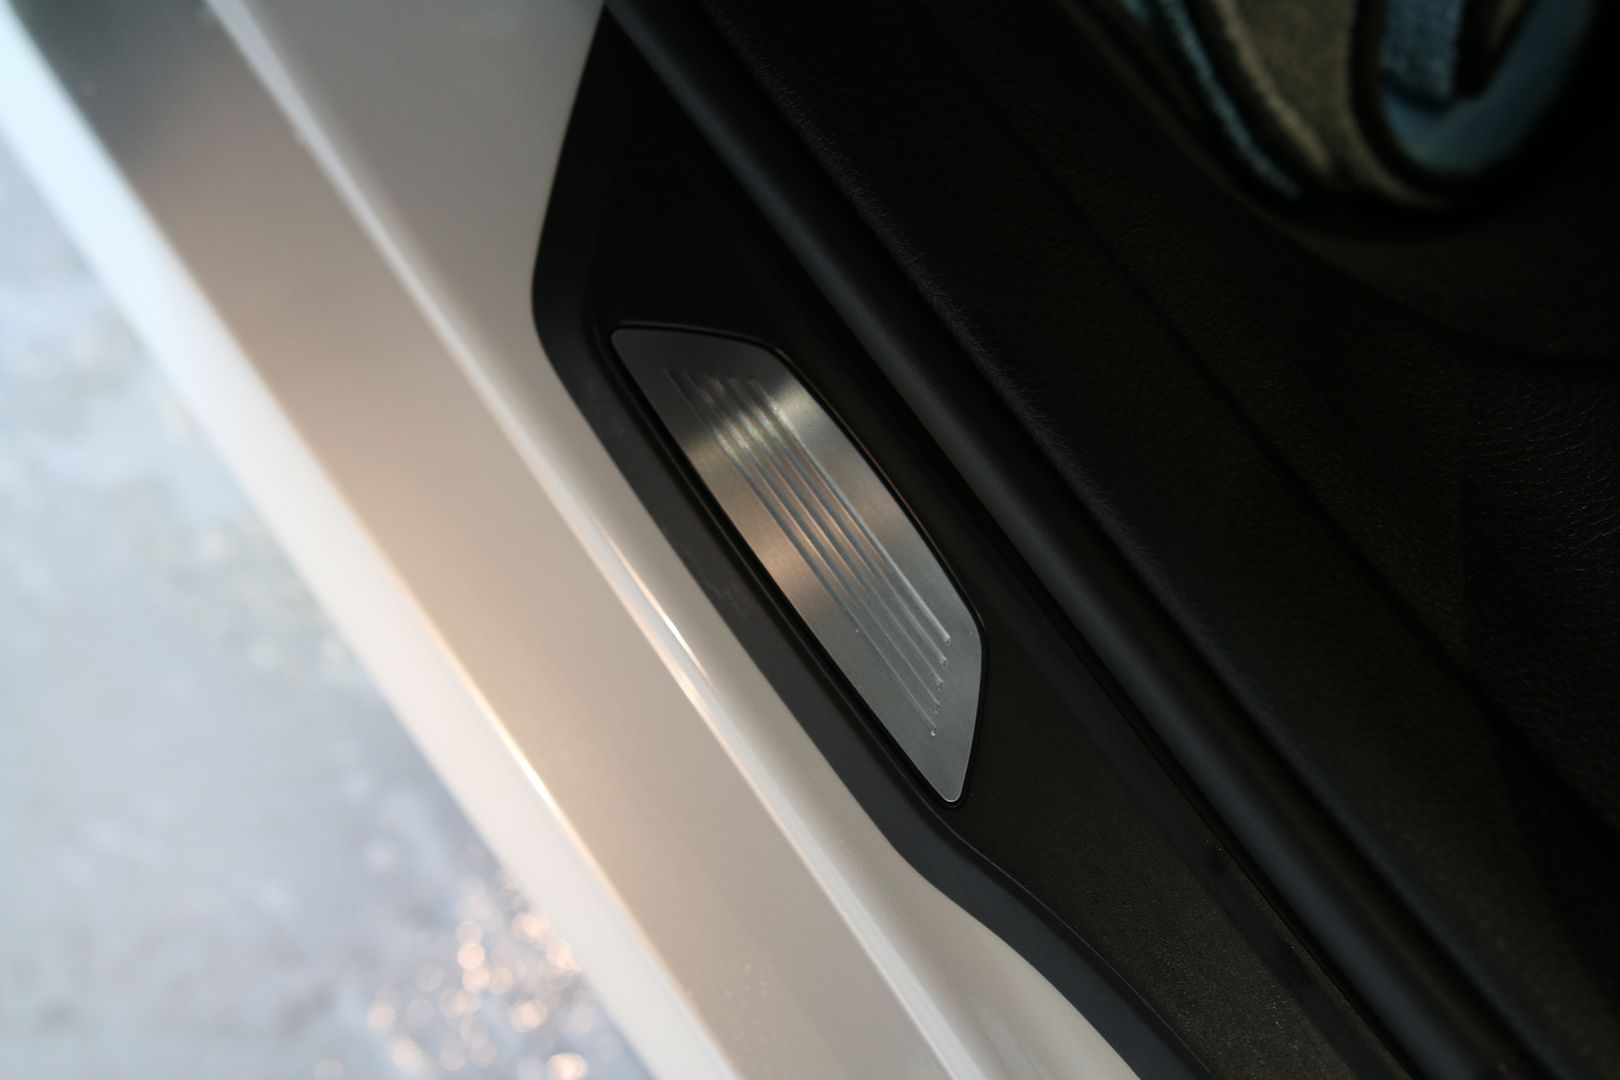
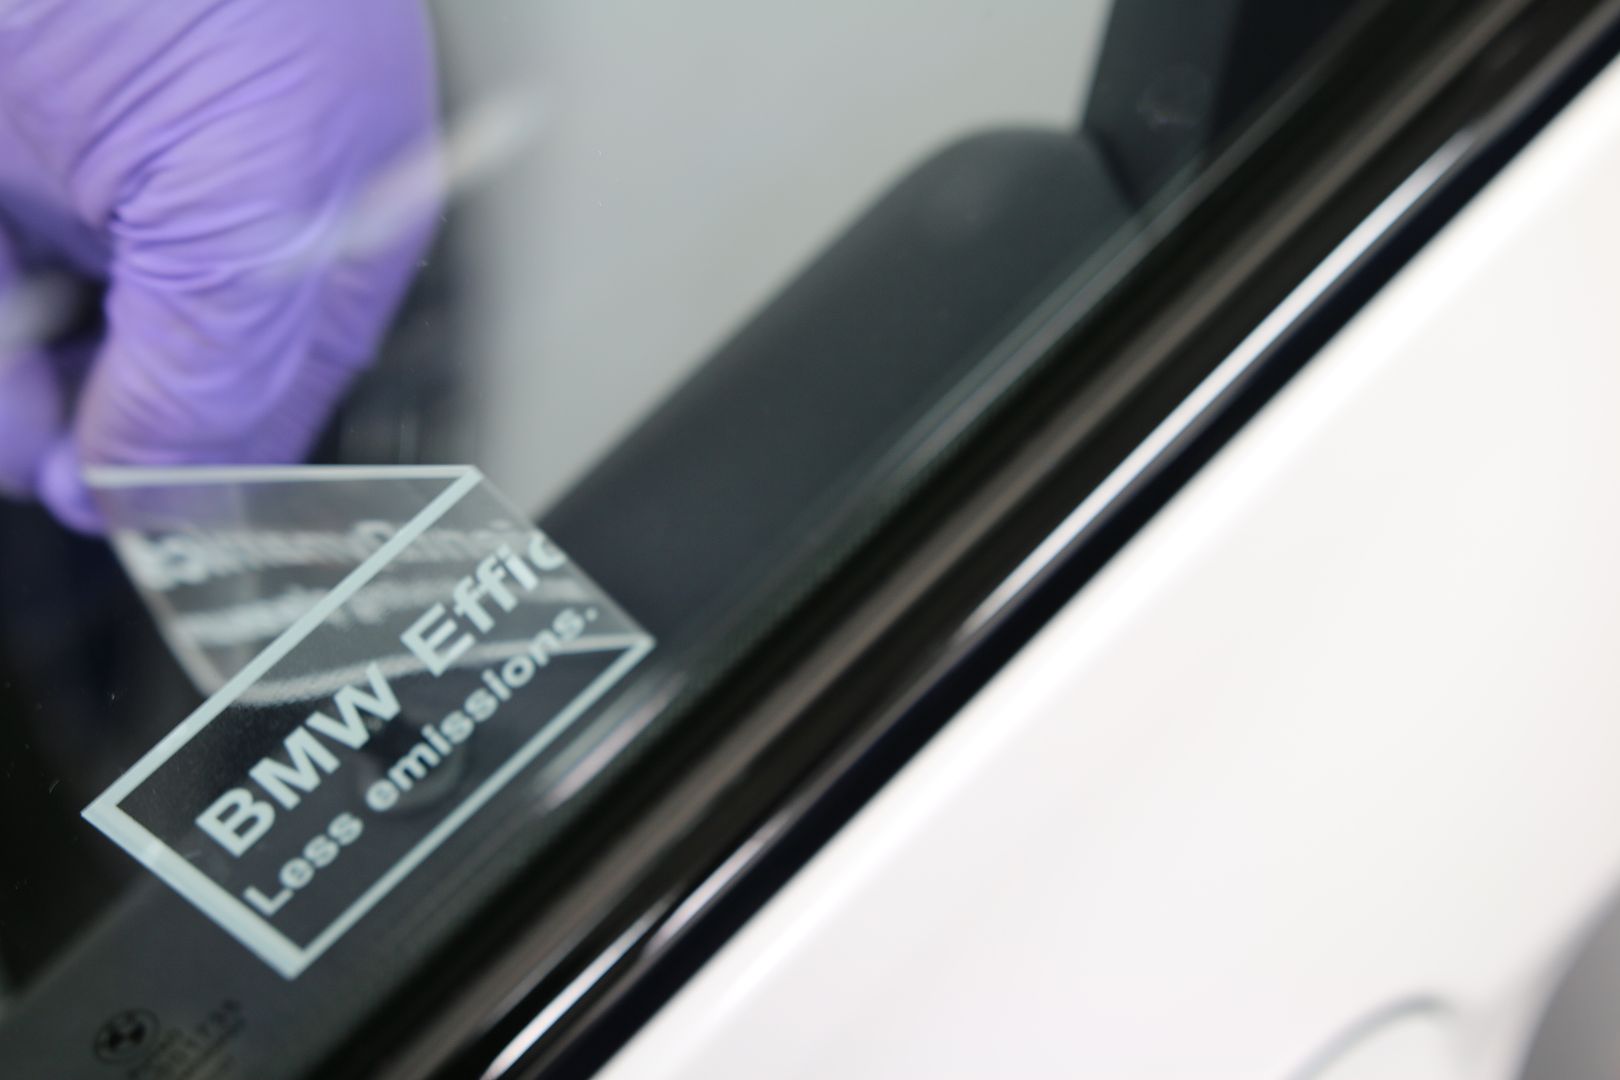
We pulled out all the wrapper and a few of the decals on the glass. Did a vac and wipe down with a cockpit cleaner, followed by a nice leather cleaning and conditioning to prevent denim transfer. Glass was done as well as door jambs were sealed.
Before
![Click the image to open in full size.]()
![Click the image to open in full size.]()
![Click the image to open in full size.]()
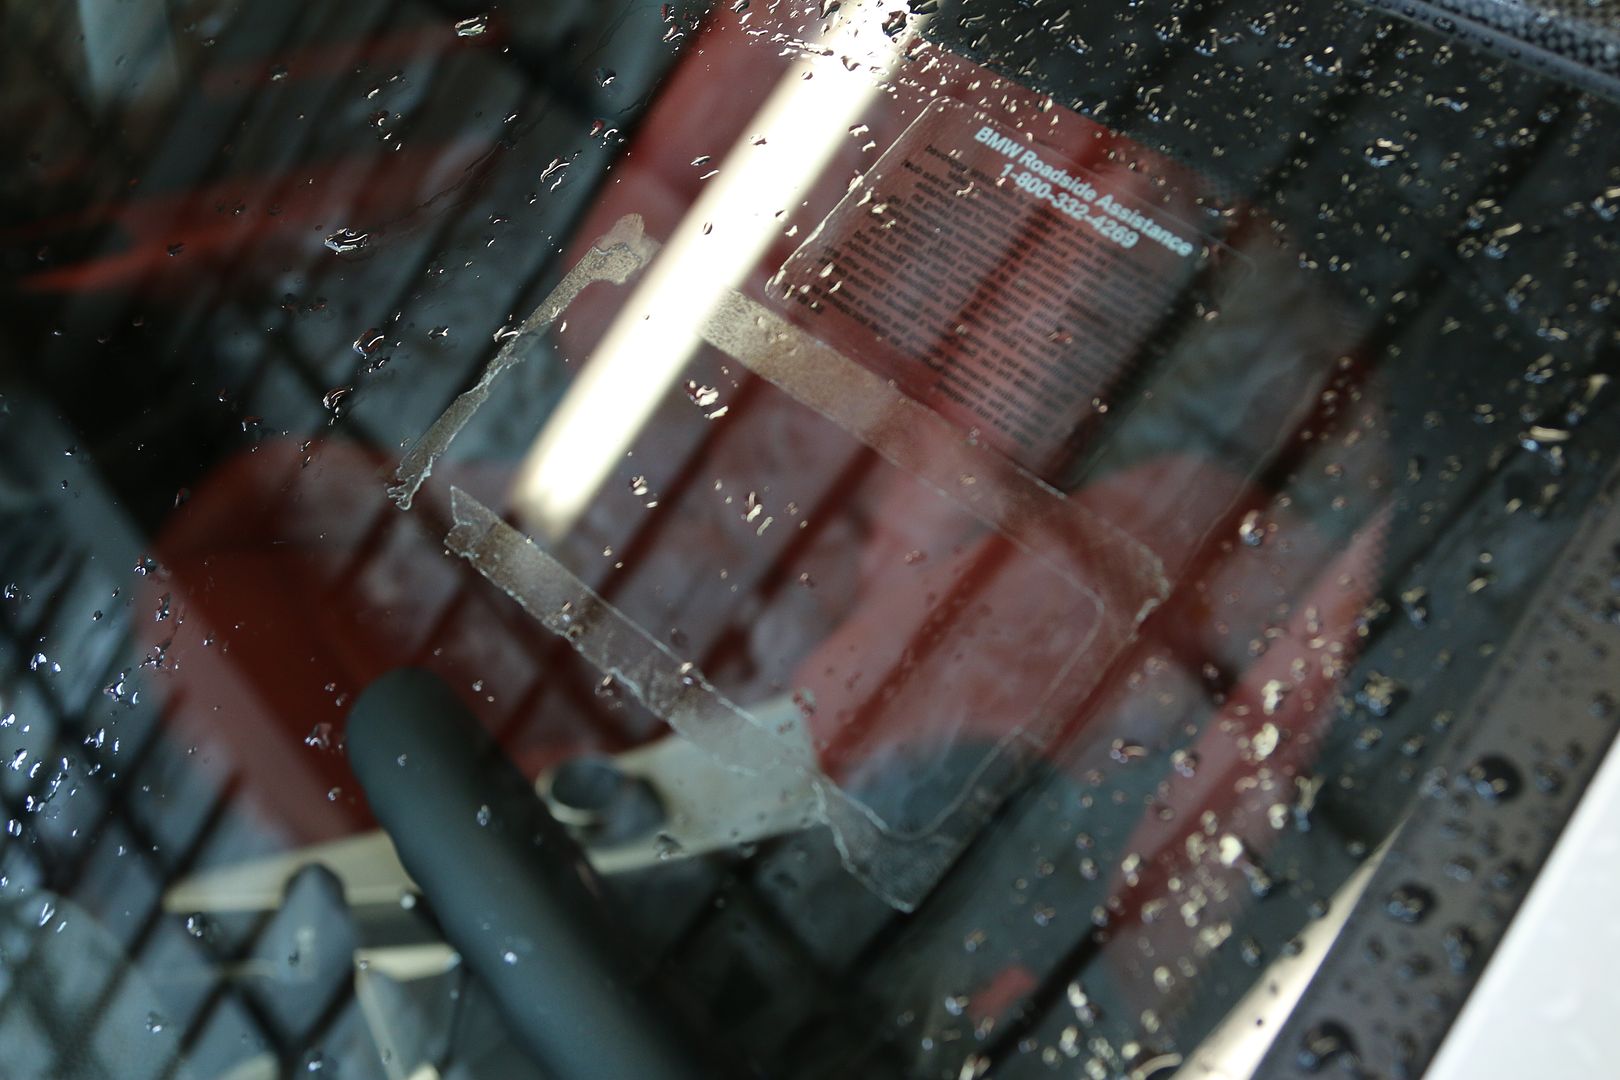
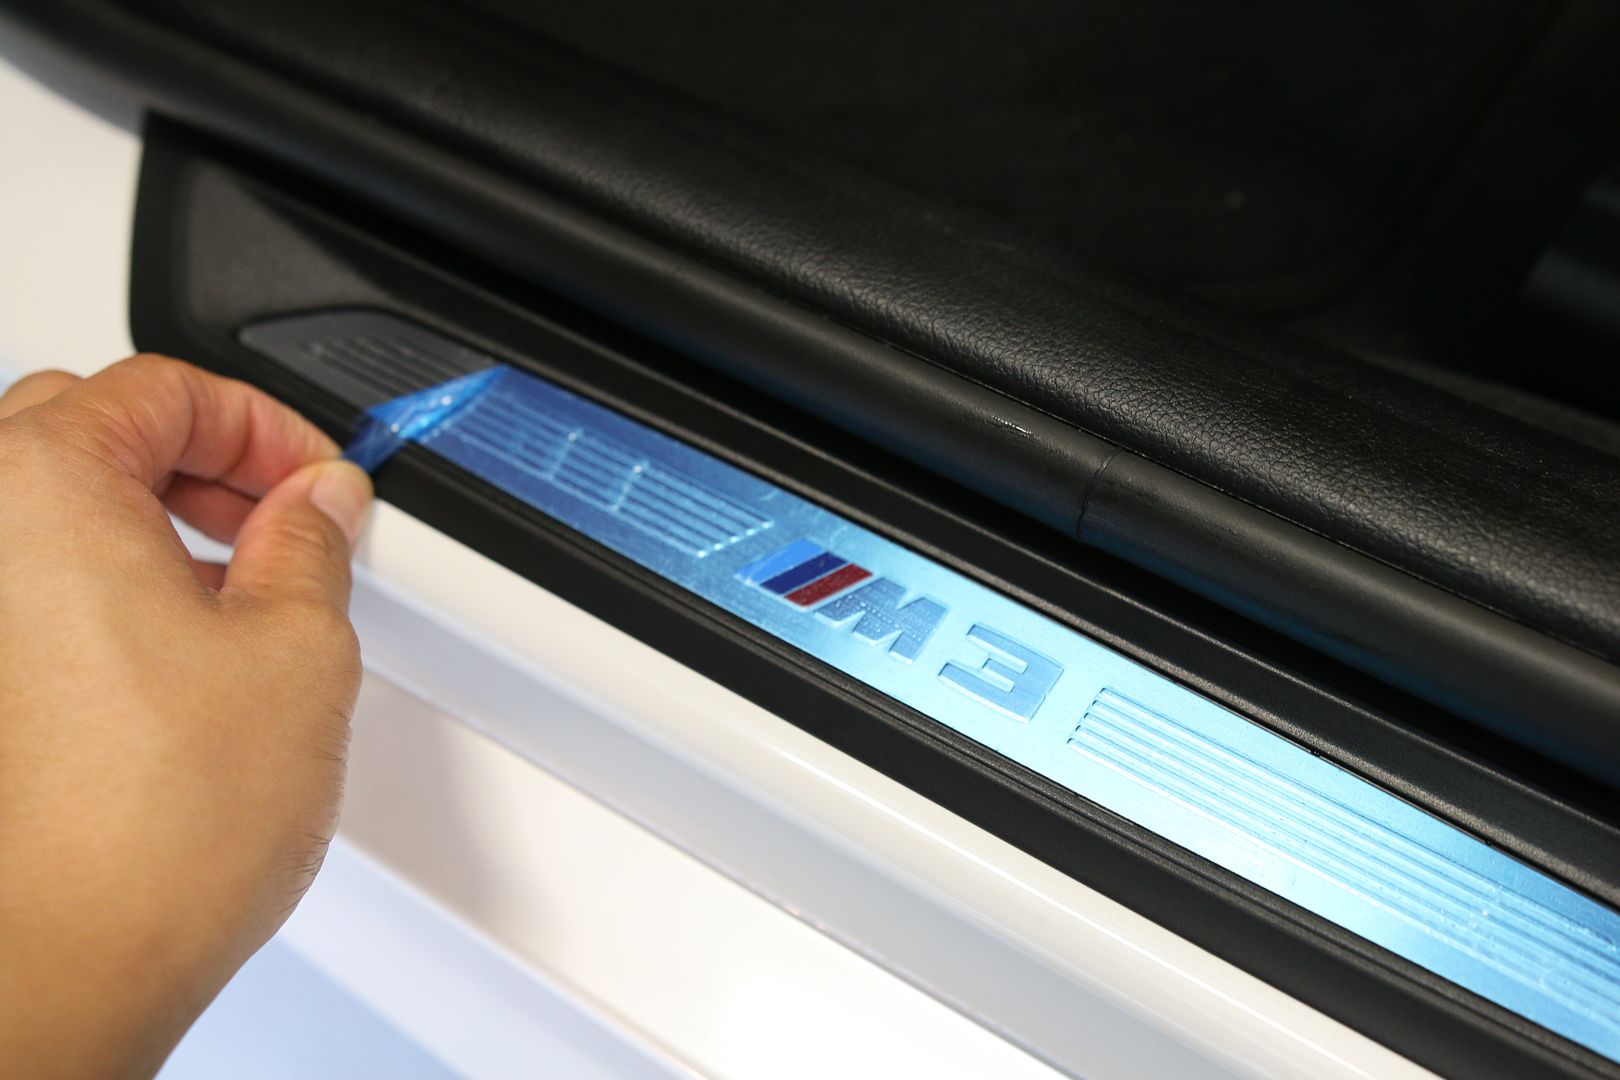
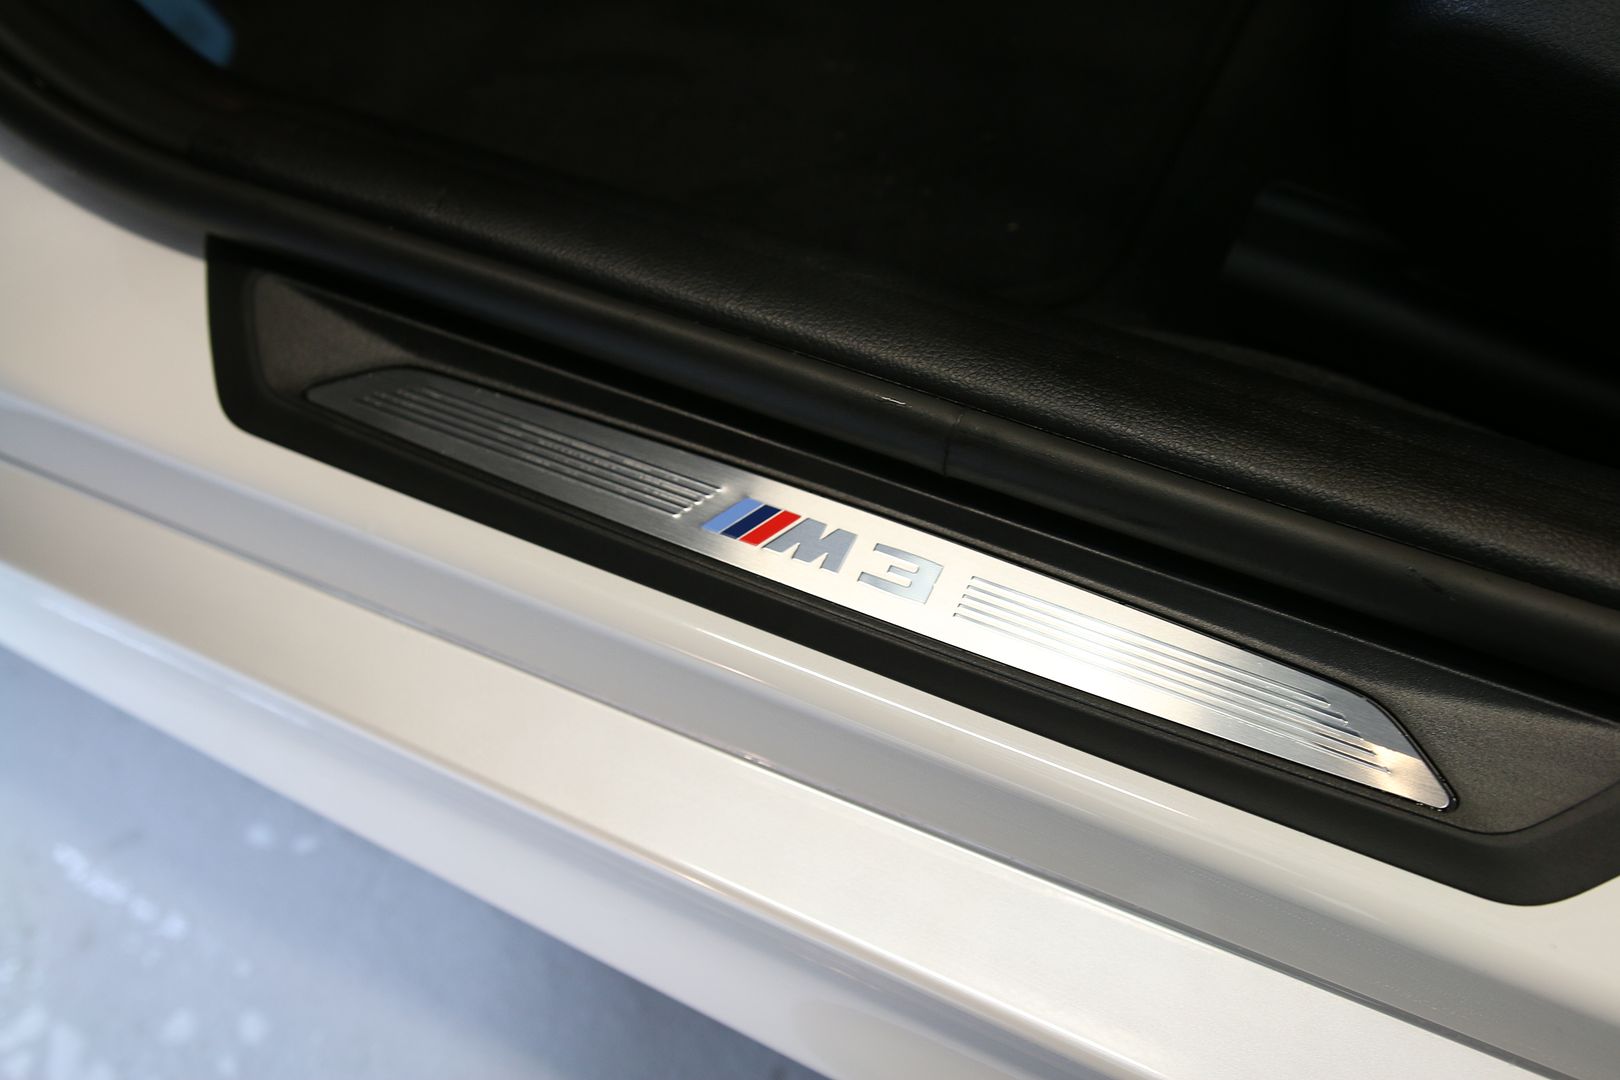
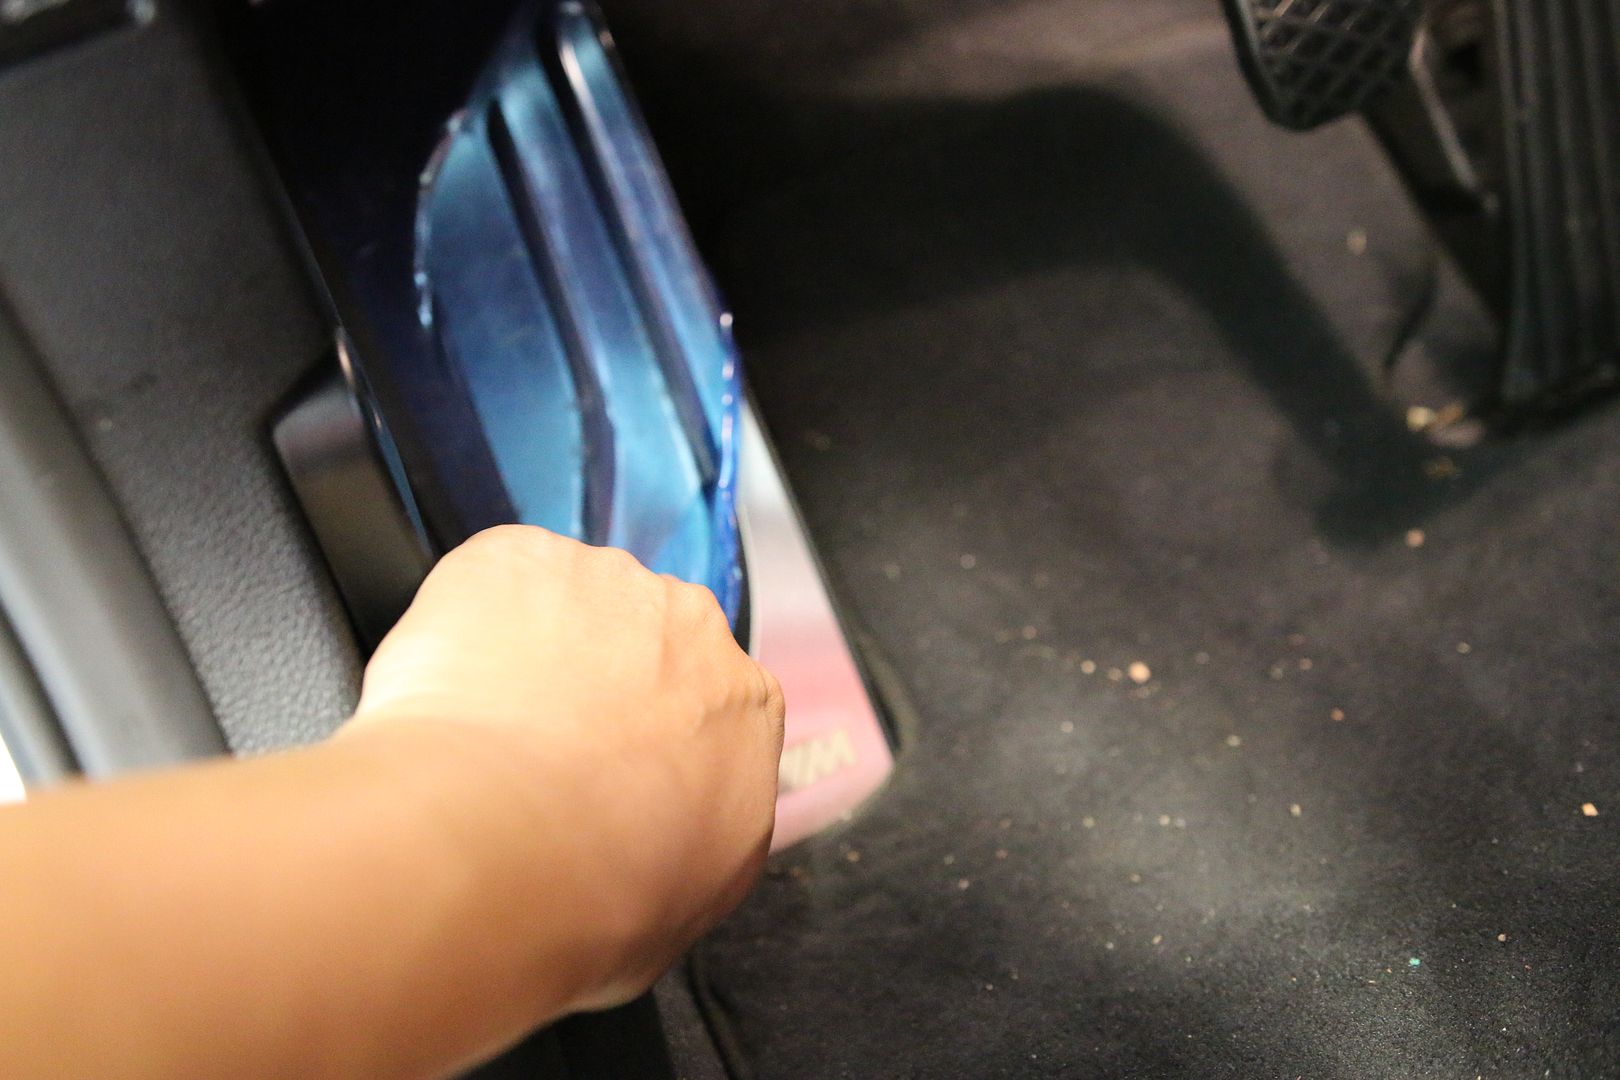
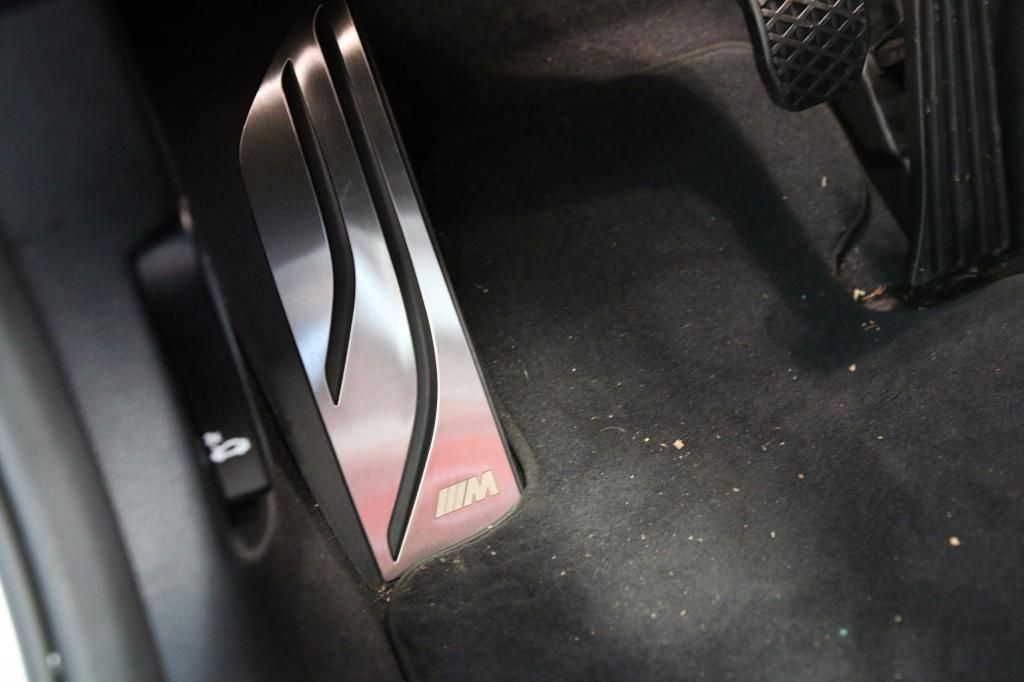
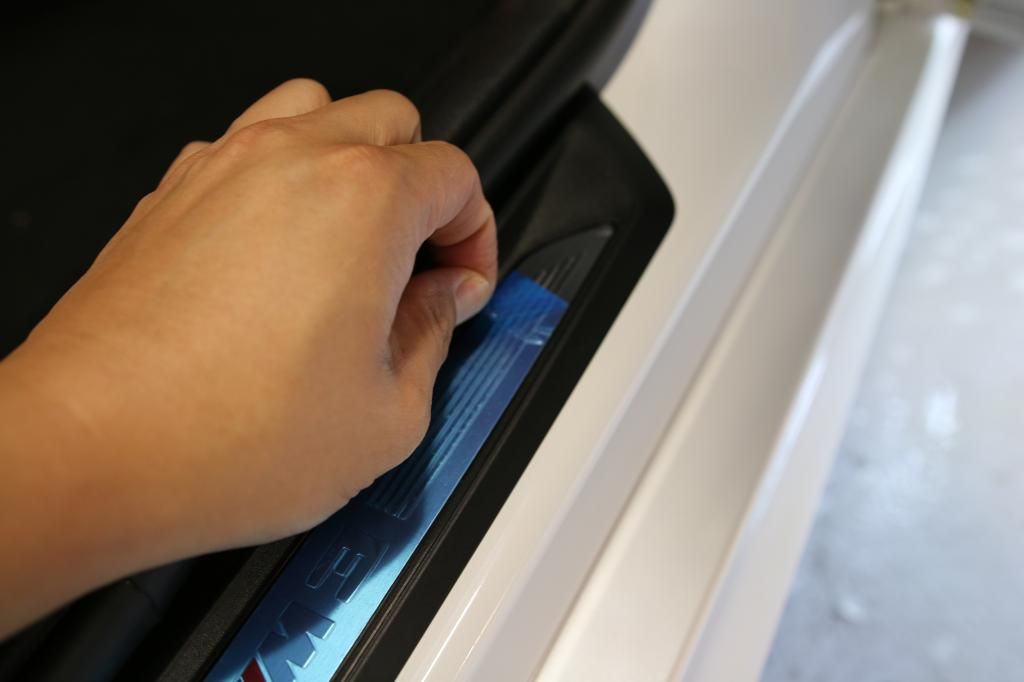
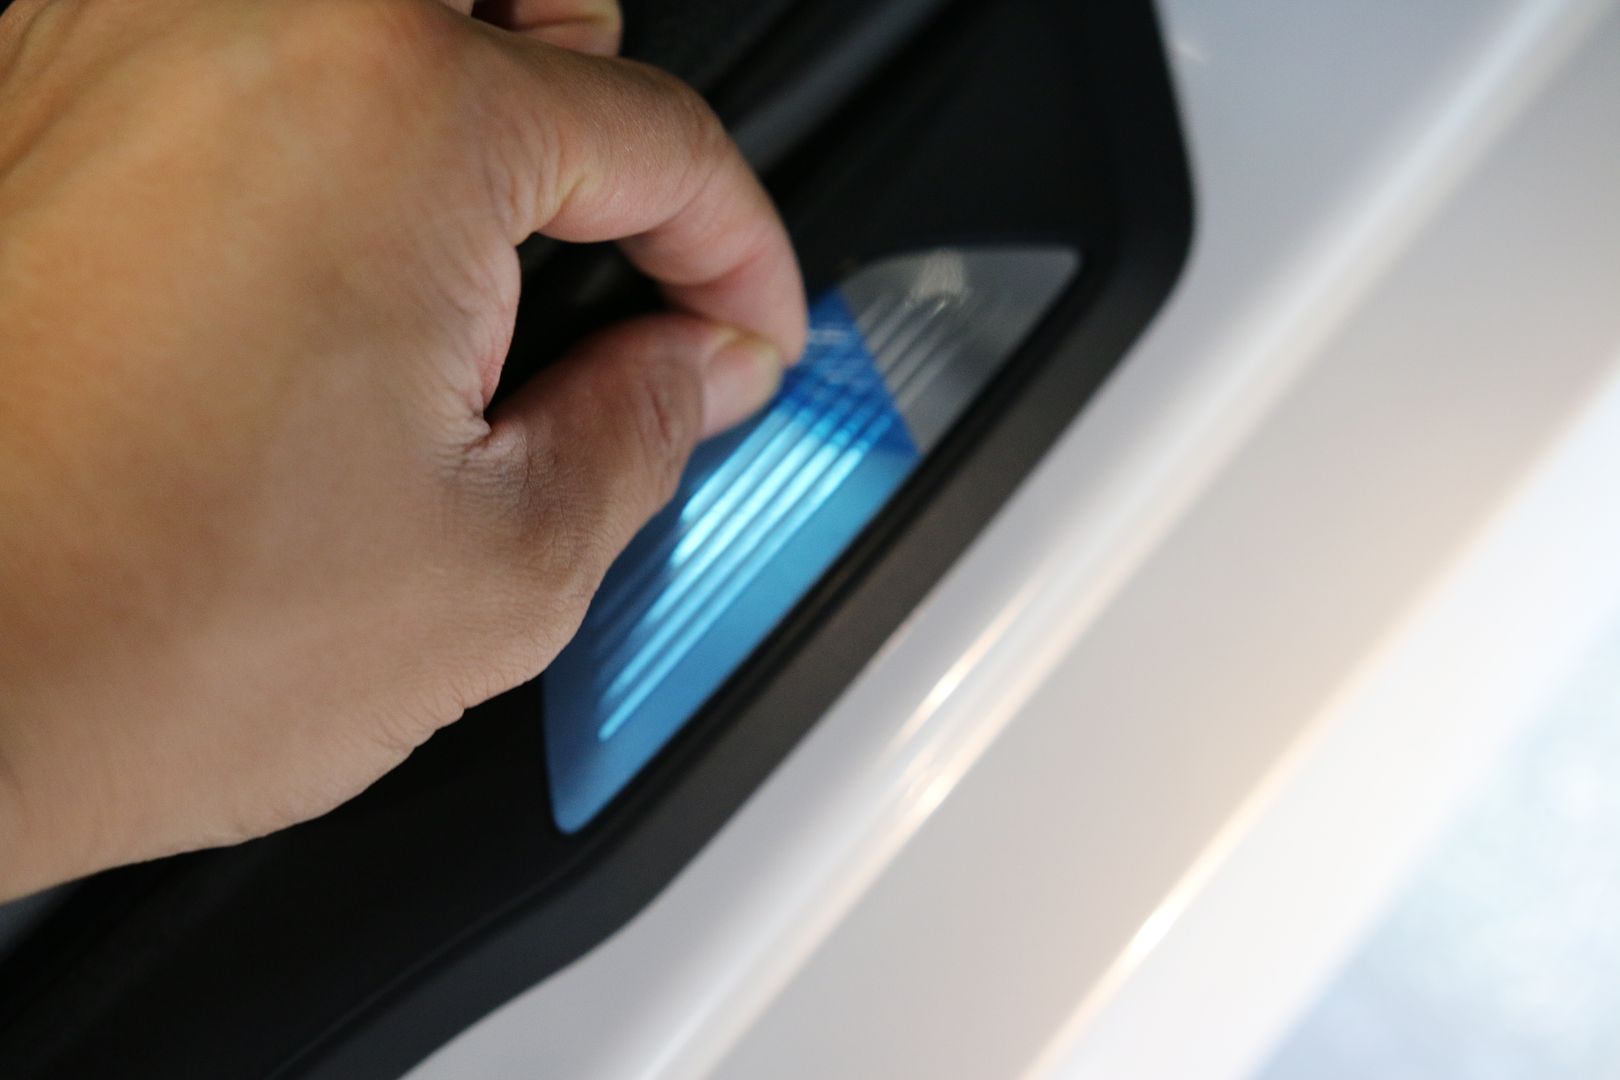
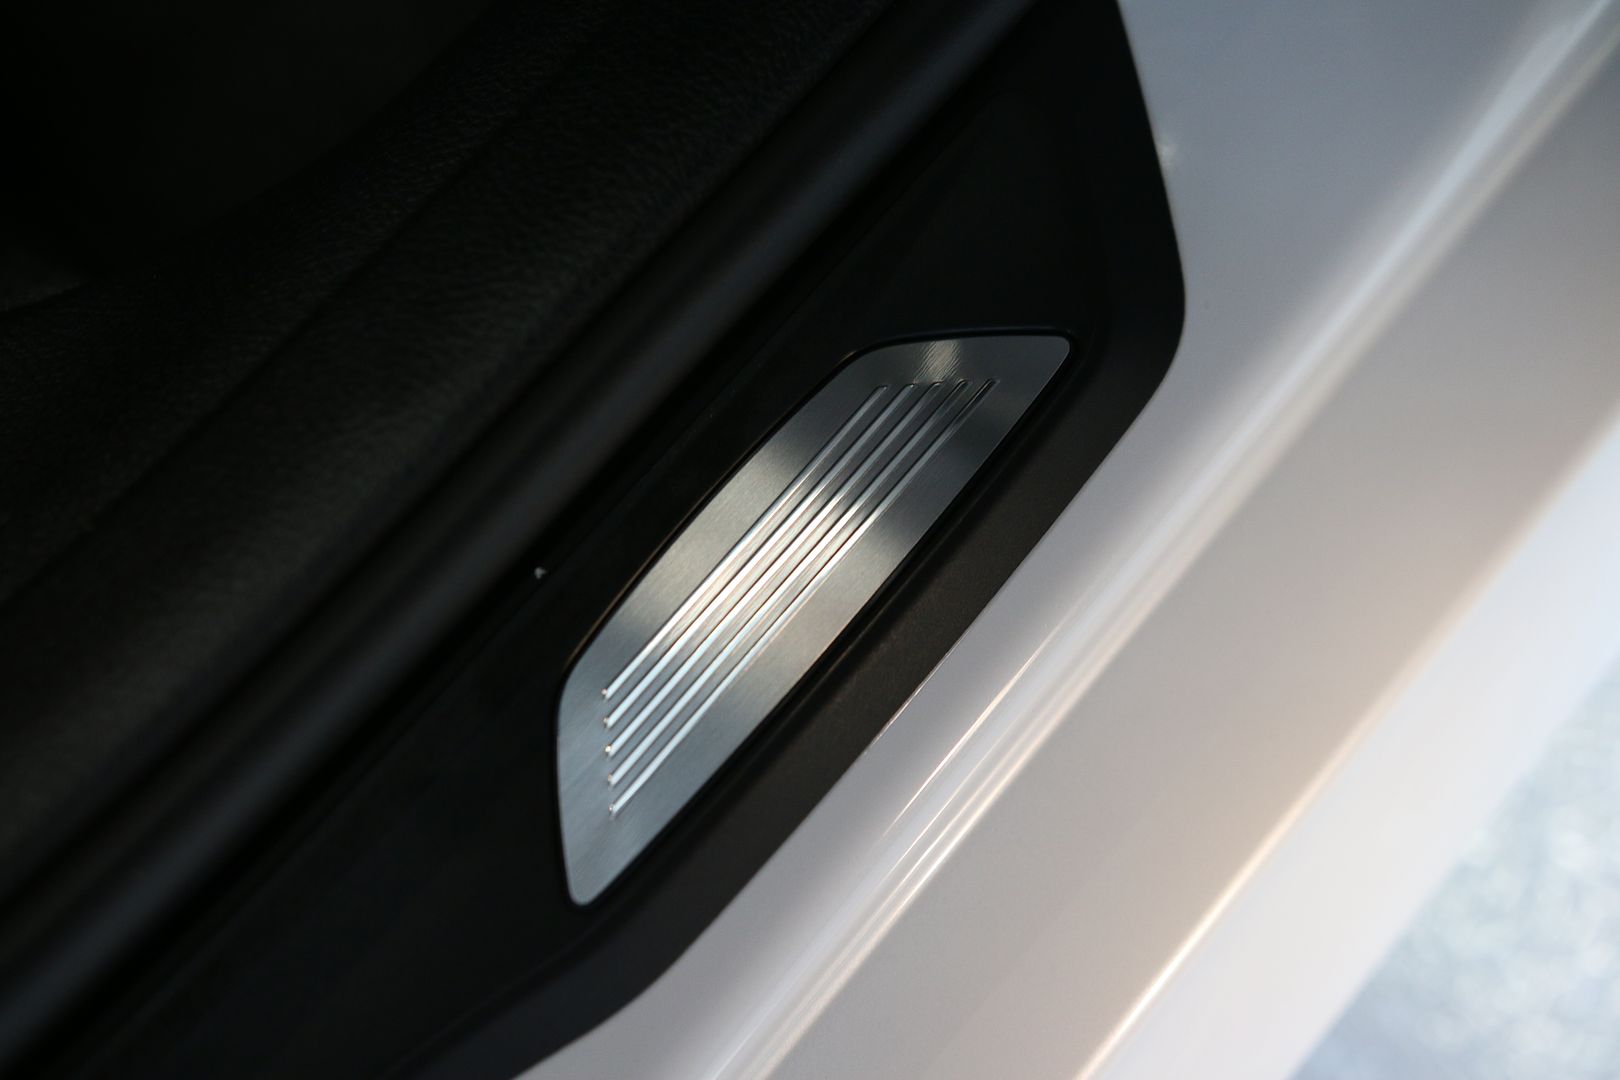
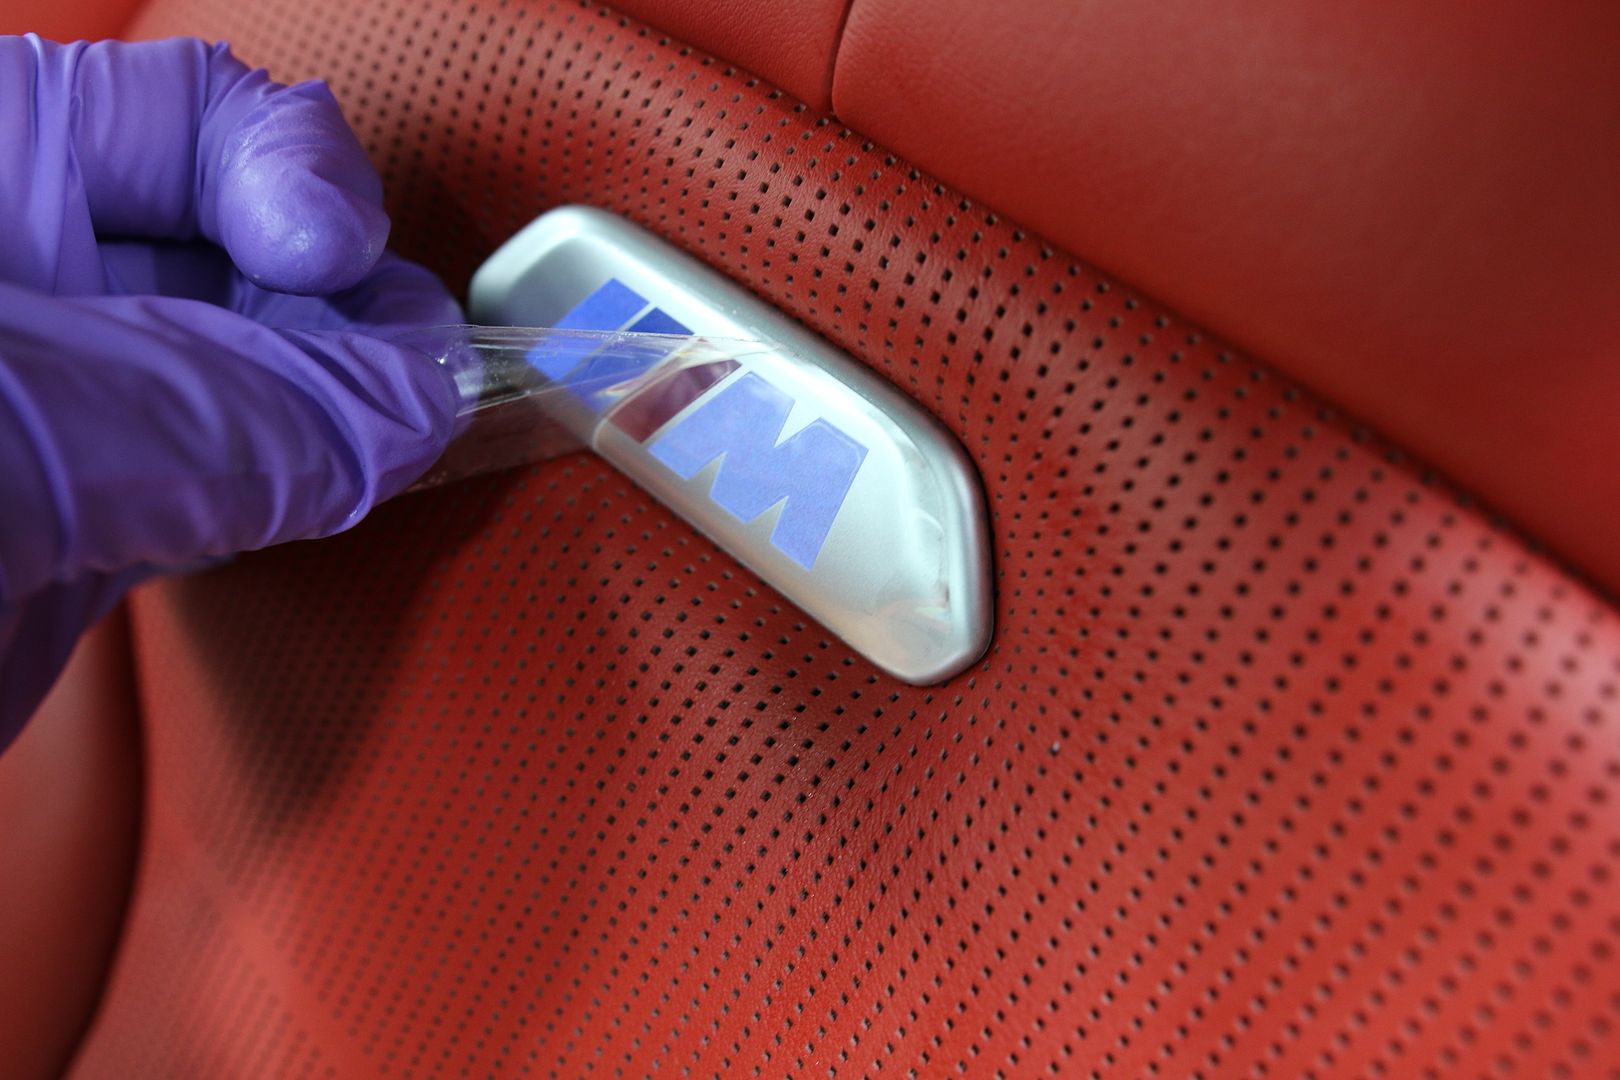
Removing the tags and wrapper left in the car
![Click the image to open in full size.]()
![Click the image to open in full size.]()
![Click the image to open in full size.]()
![Click the image to open in full size.]()
![Click the image to open in full size.]()
![Click the image to open in full size.]()
![Click the image to open in full size.]()
![Click the image to open in full size.]()
![Click the image to open in full size.]()
![Click the image to open in full size.]()
![Click the image to open in full size.]()
![Click the image to open in full size.]()
![Click the image to open in full size.]()
![Click the image to open in full size.]()
![Click the image to open in full size.]()
![Click the image to open in full size.]()
![Click the image to open in full size.]()
![Click the image to open in full size.]()
![Click the image to open in full size.]()
![Click the image to open in full size.]()
![Click the image to open in full size.]()
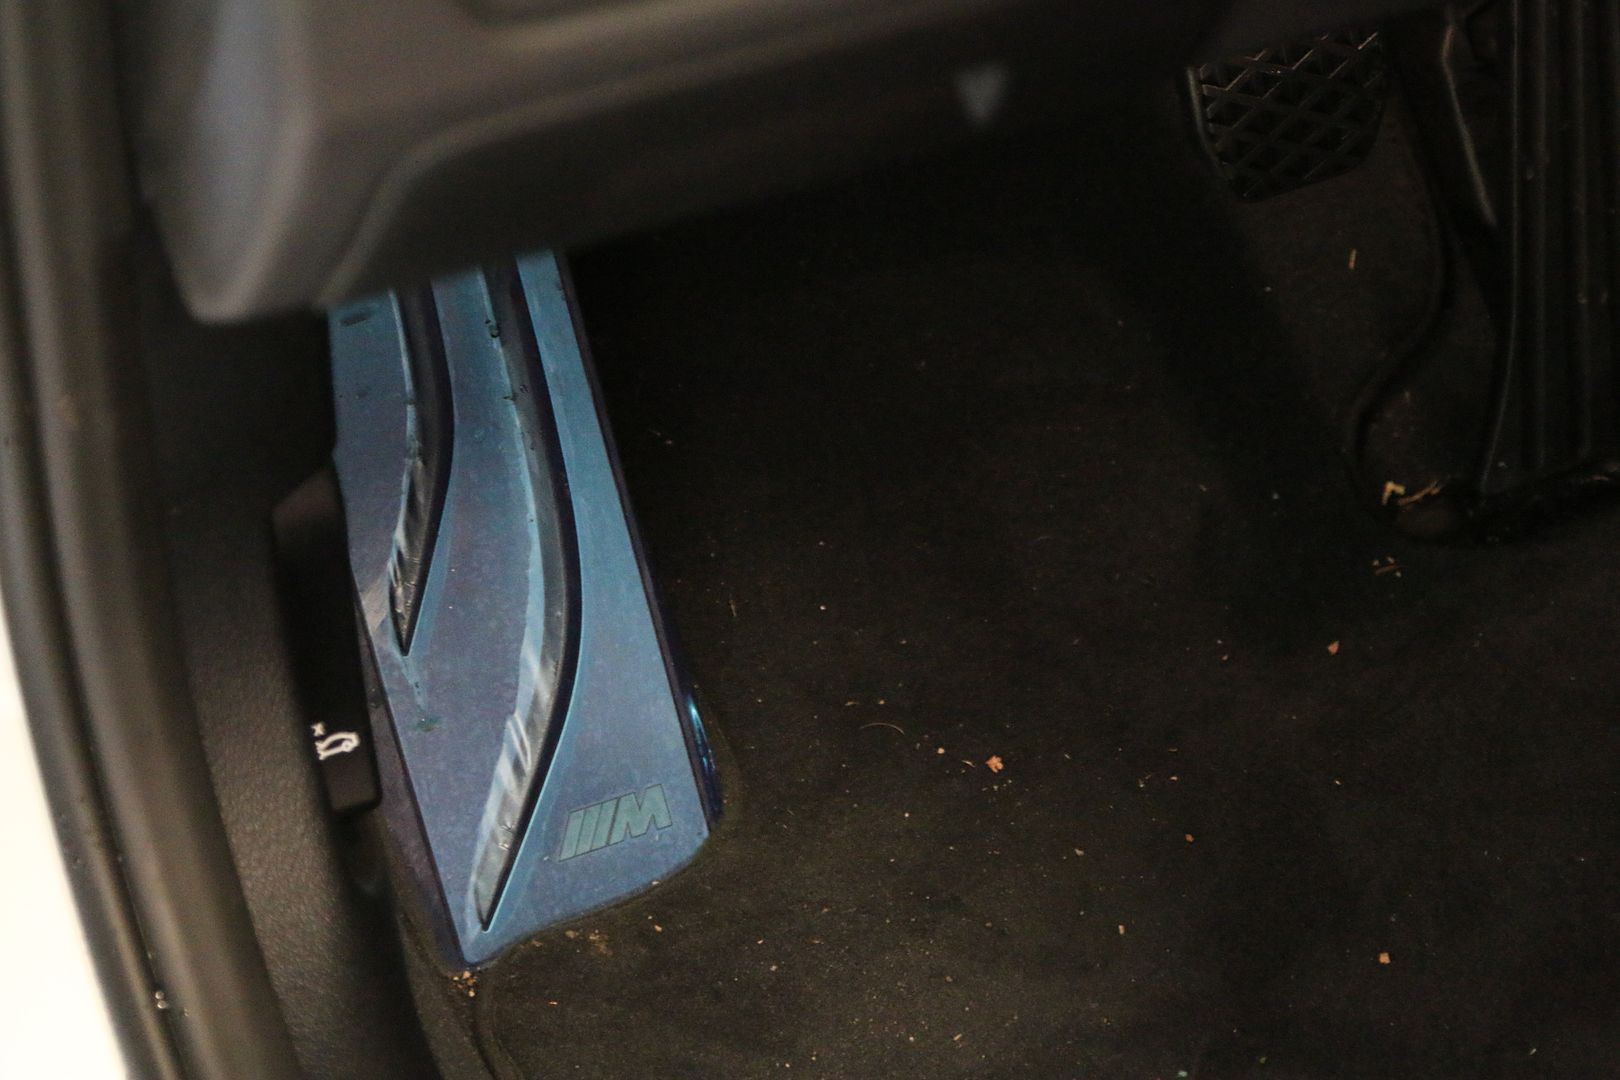
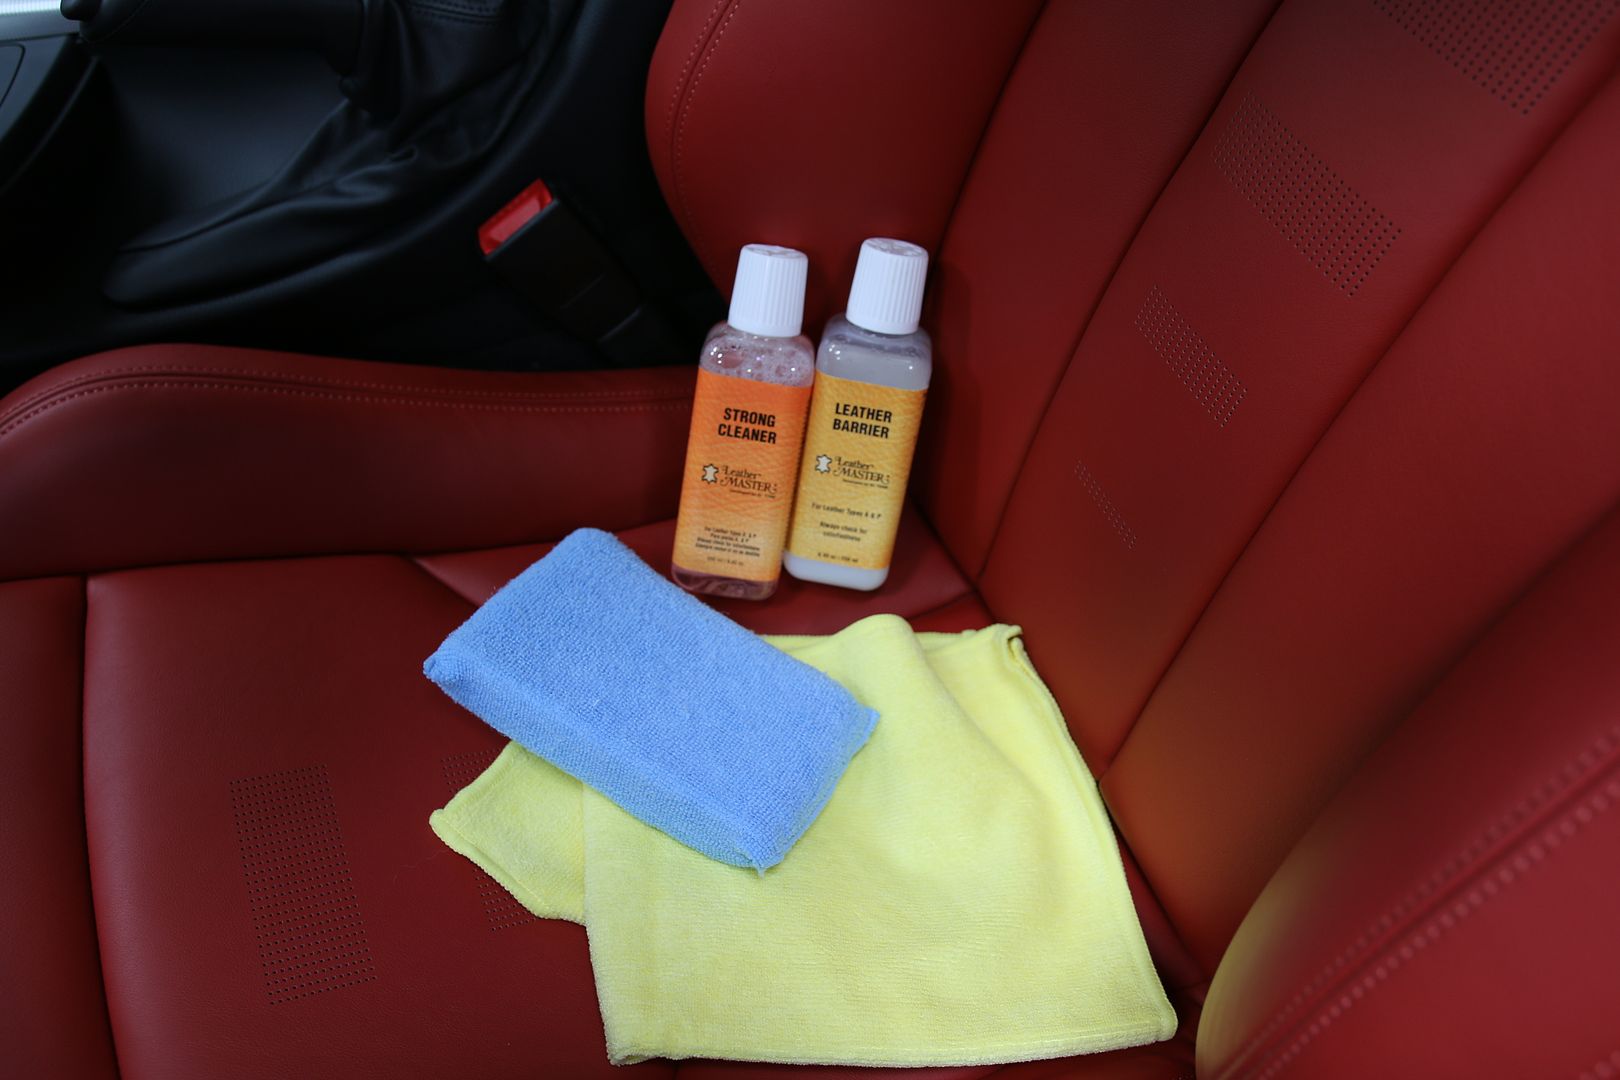
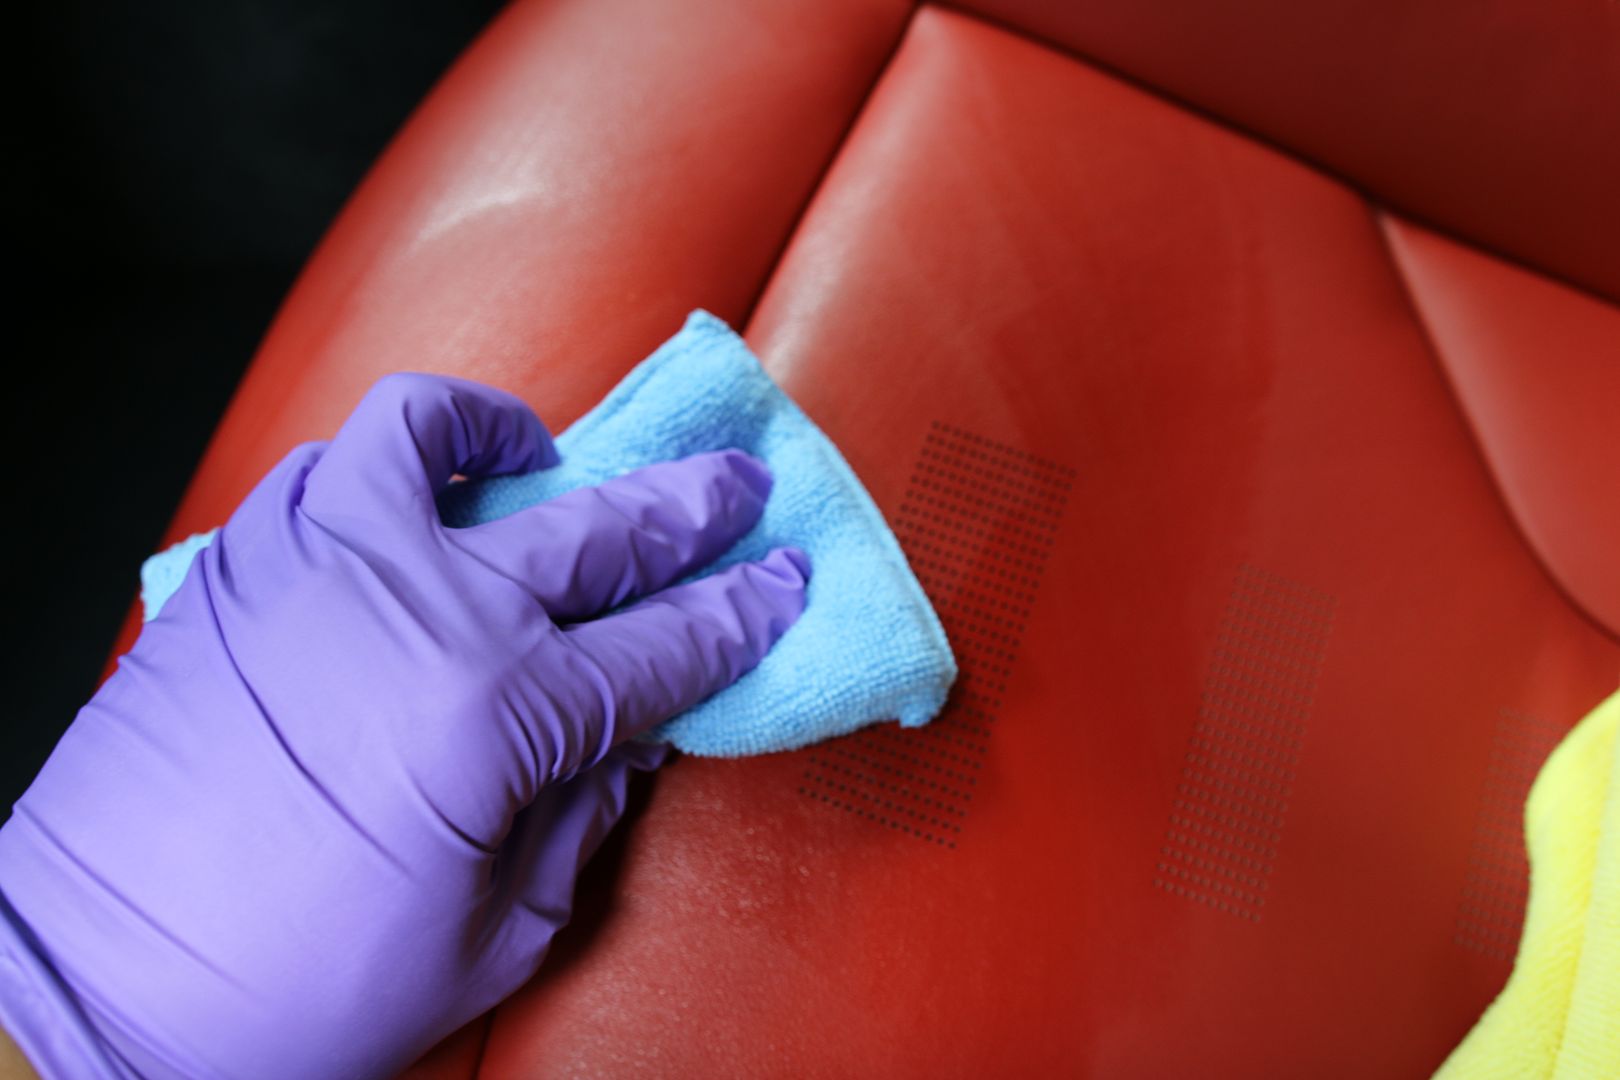
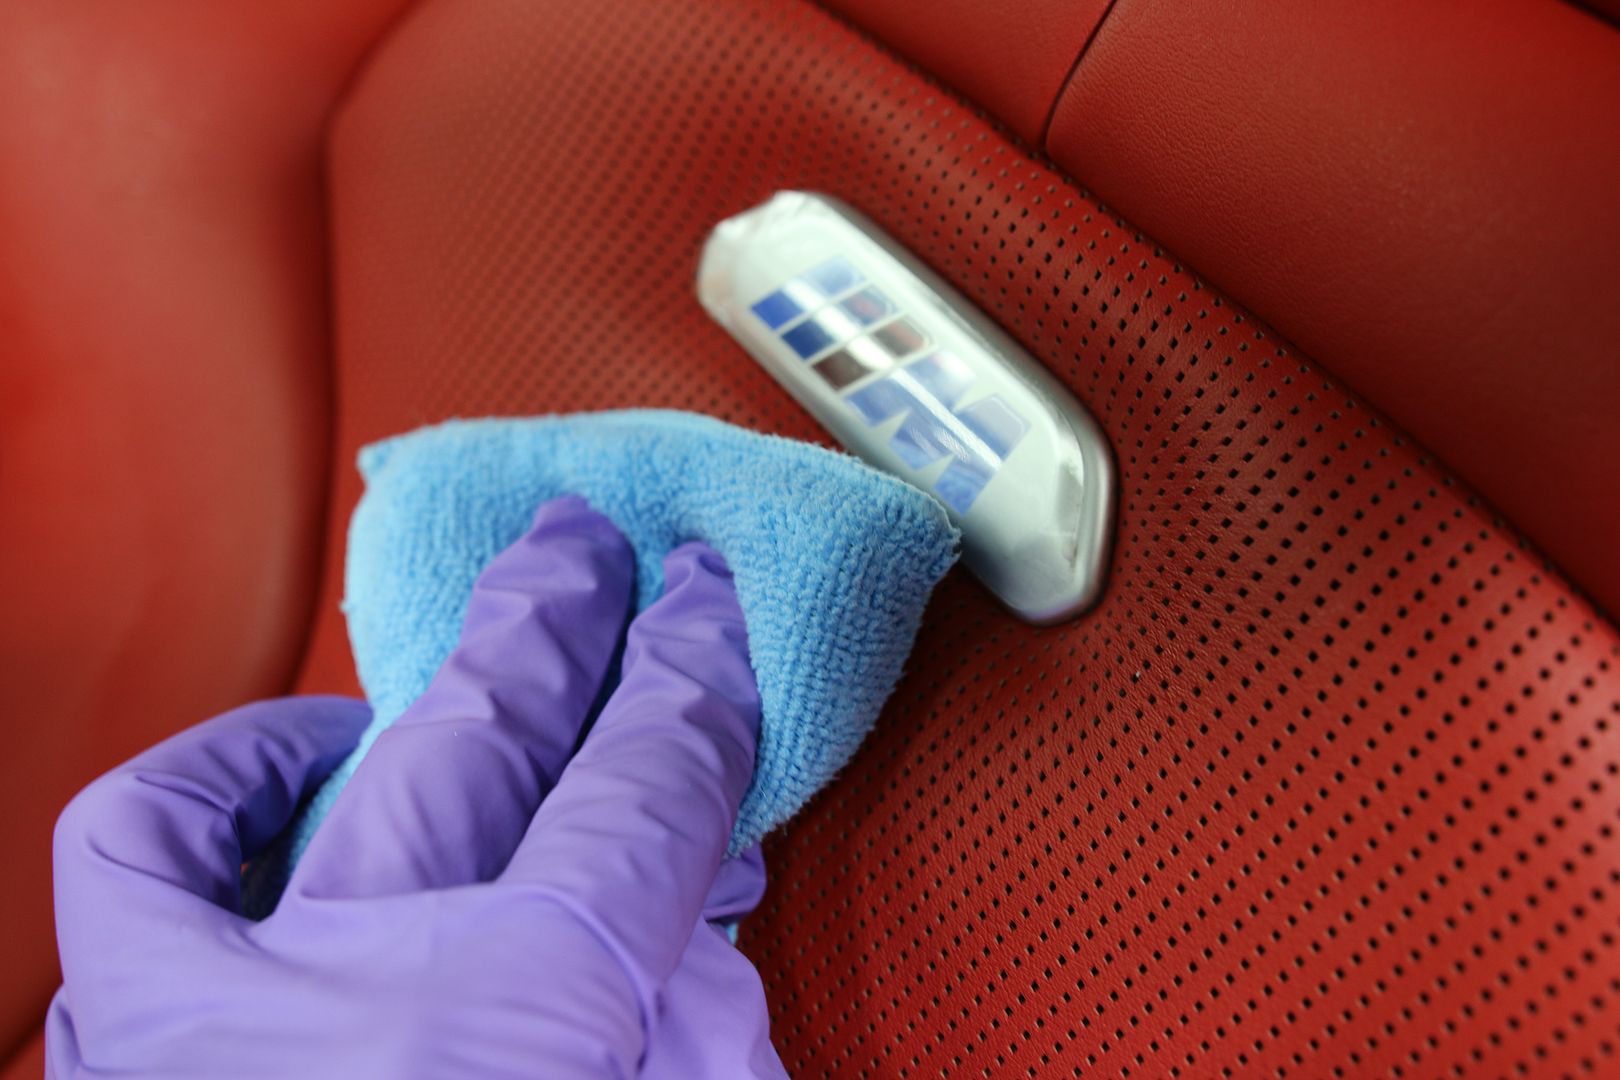
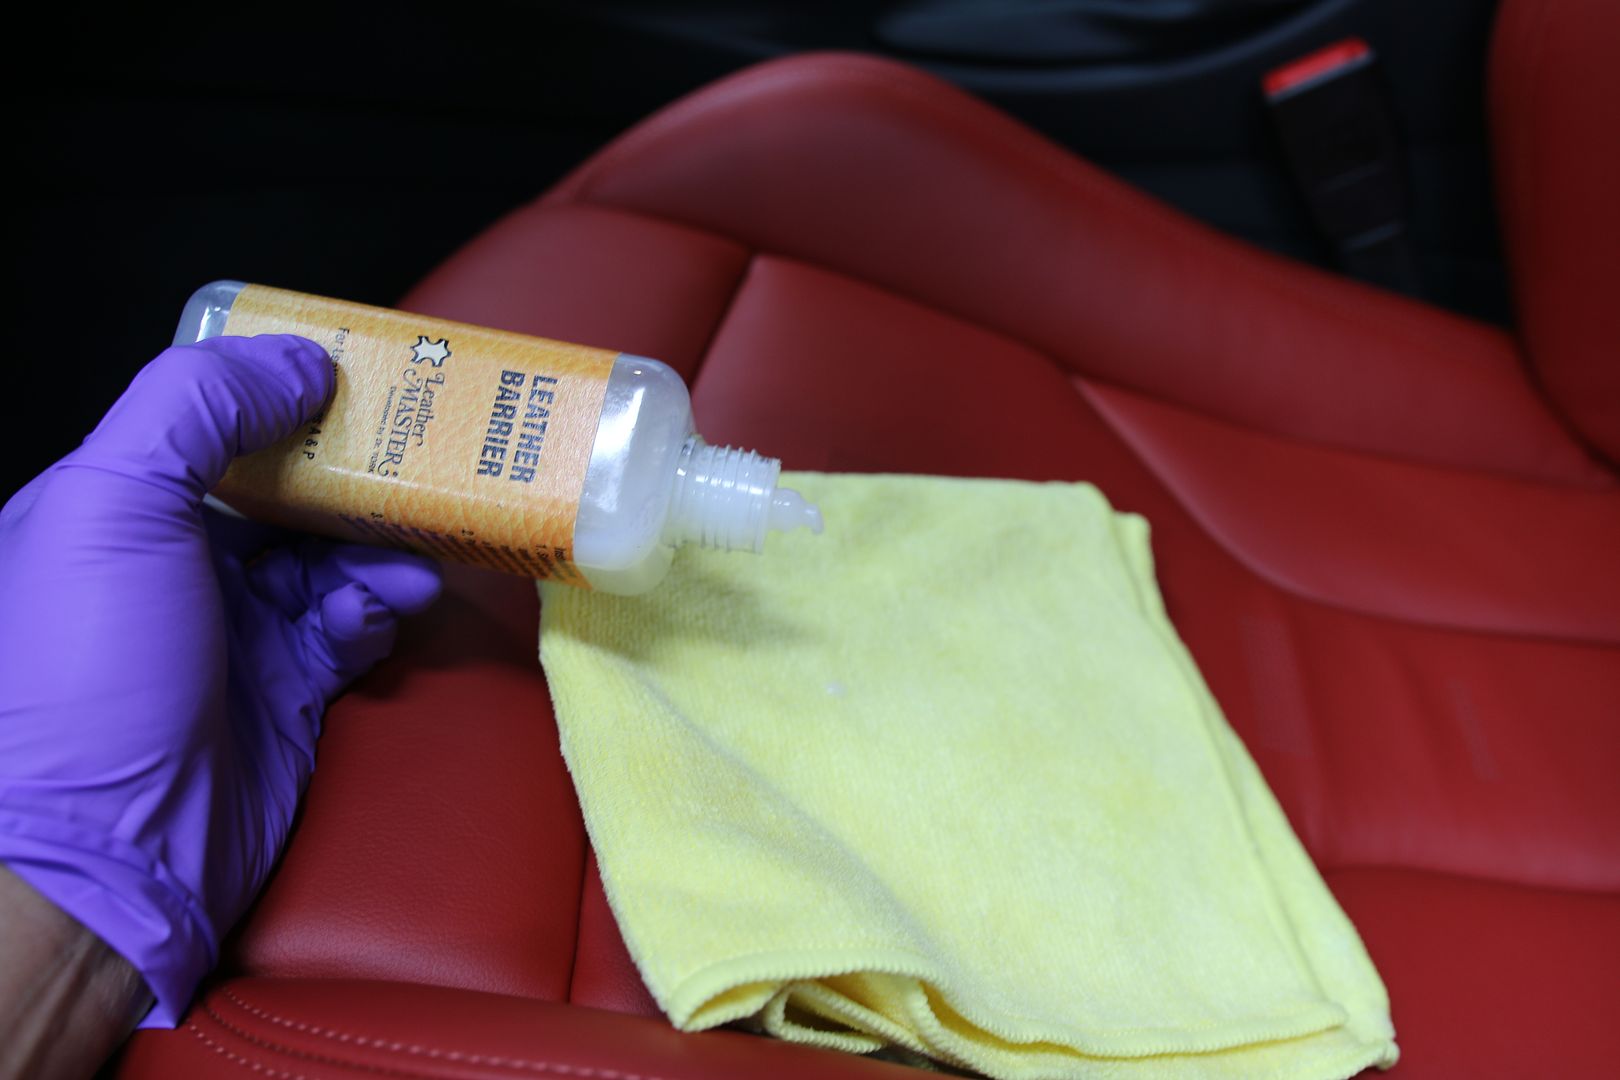
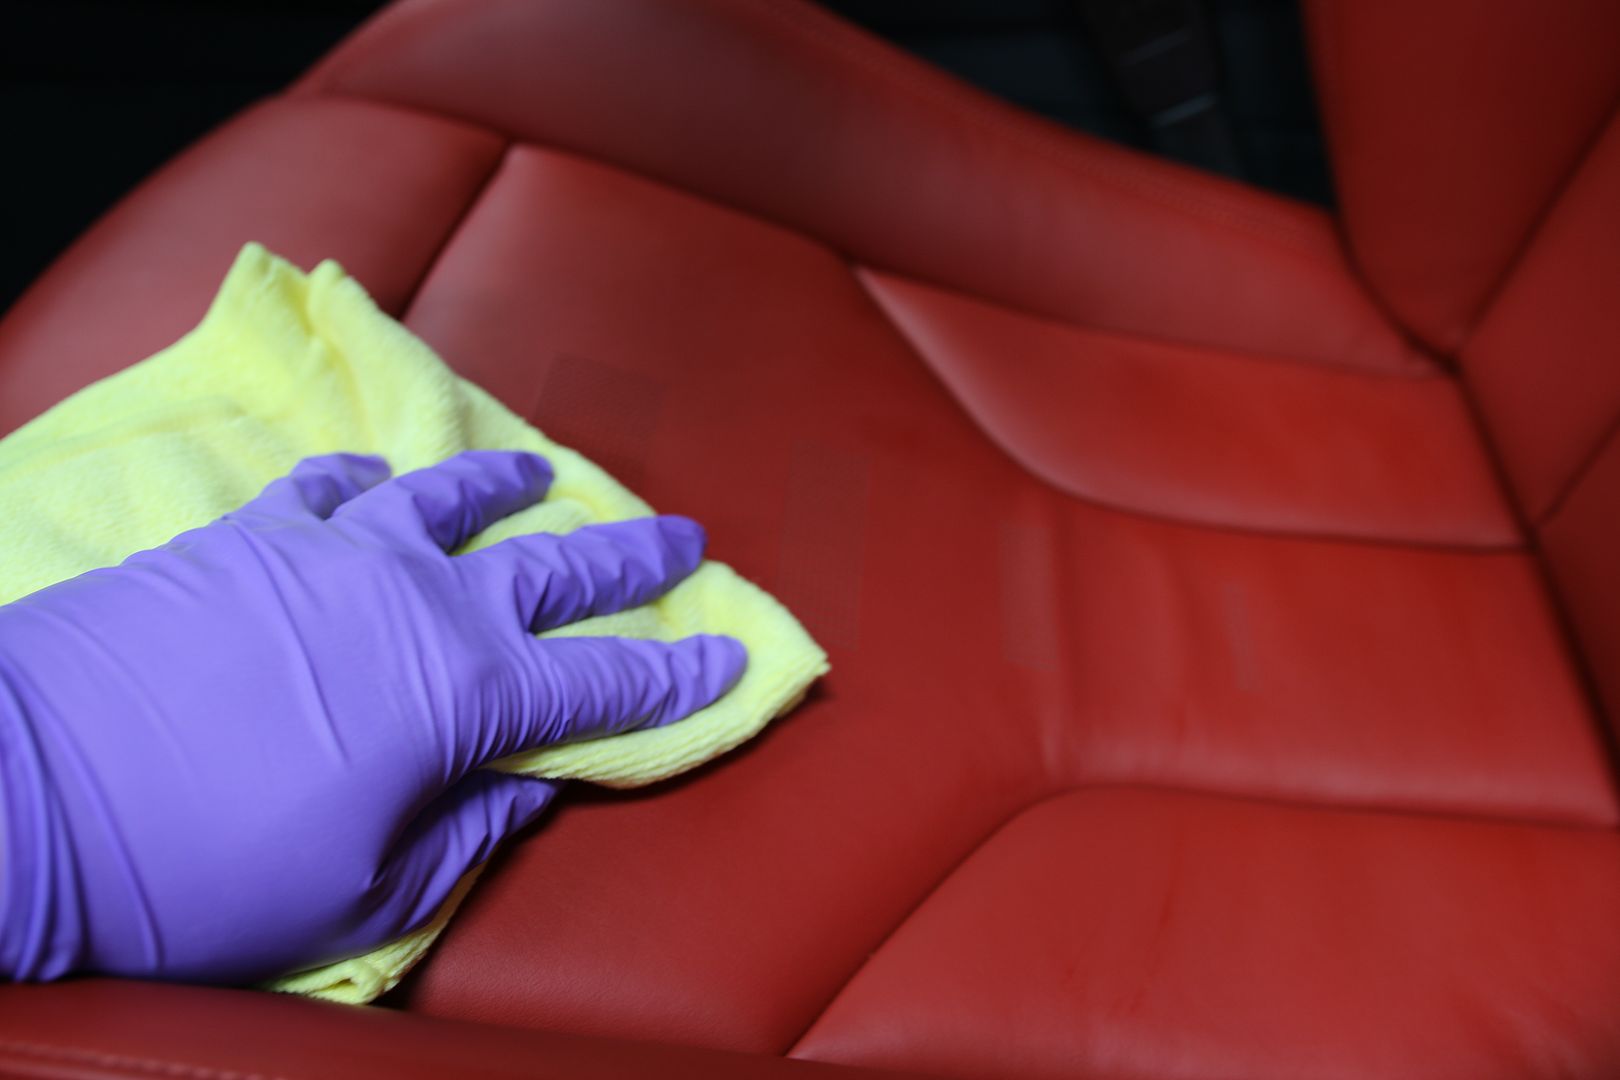
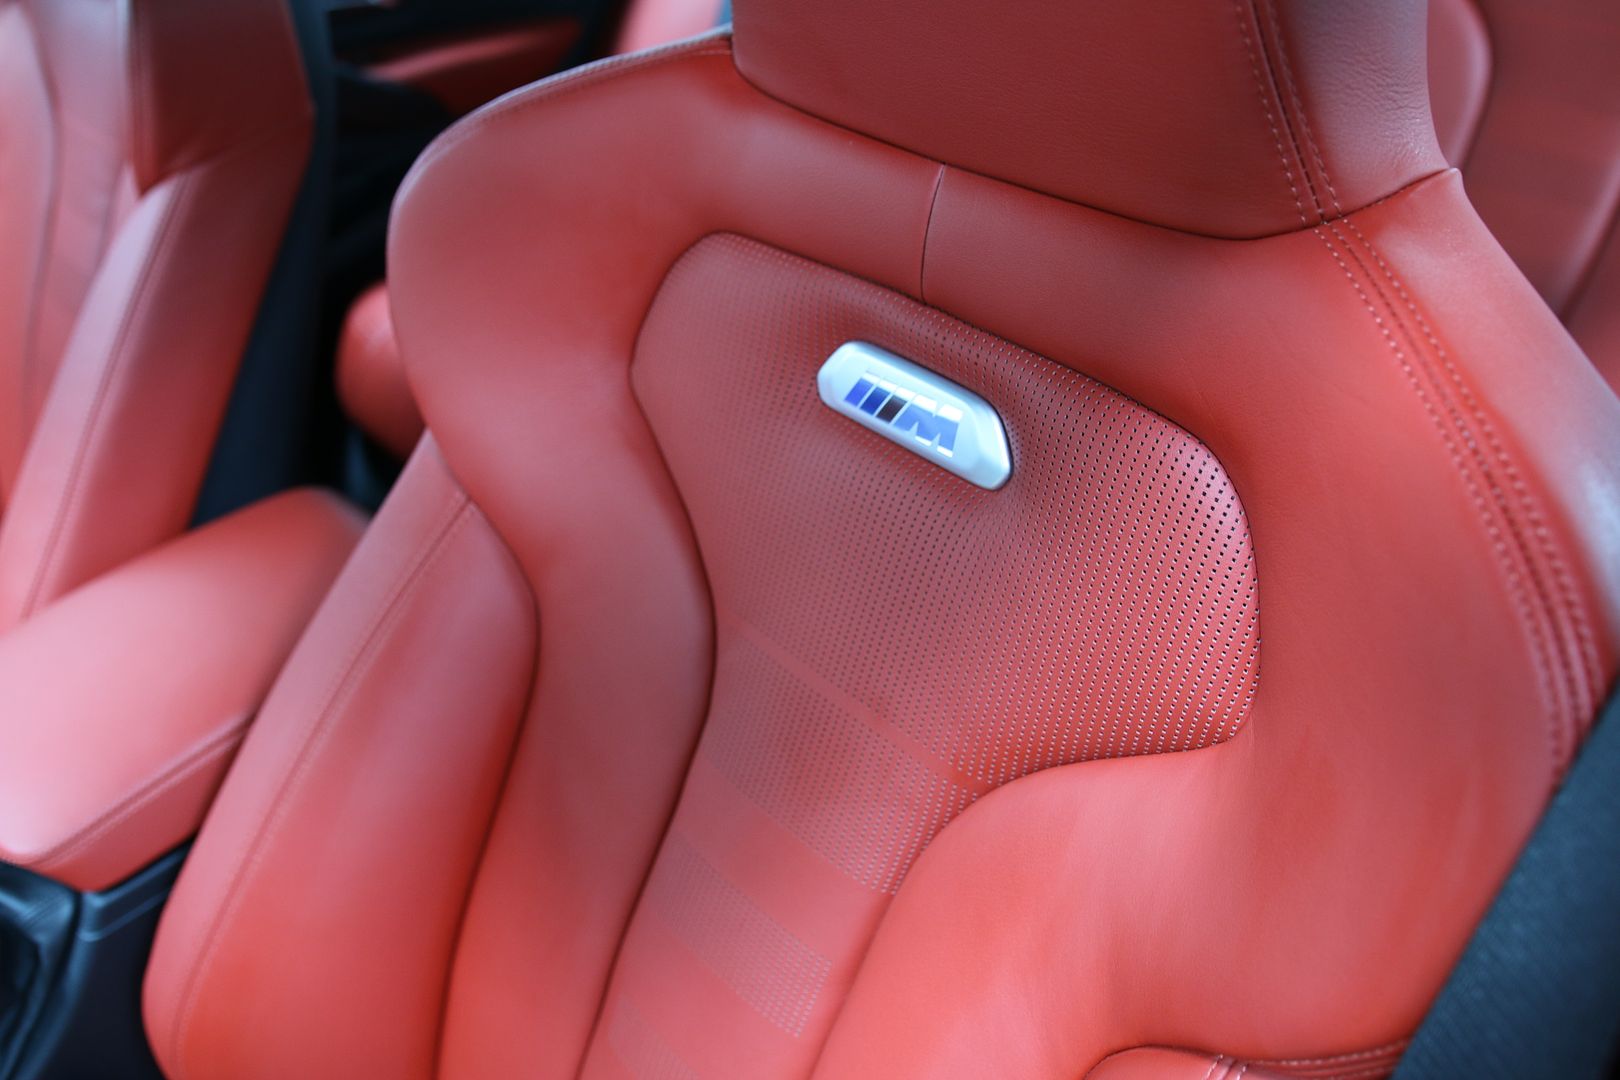
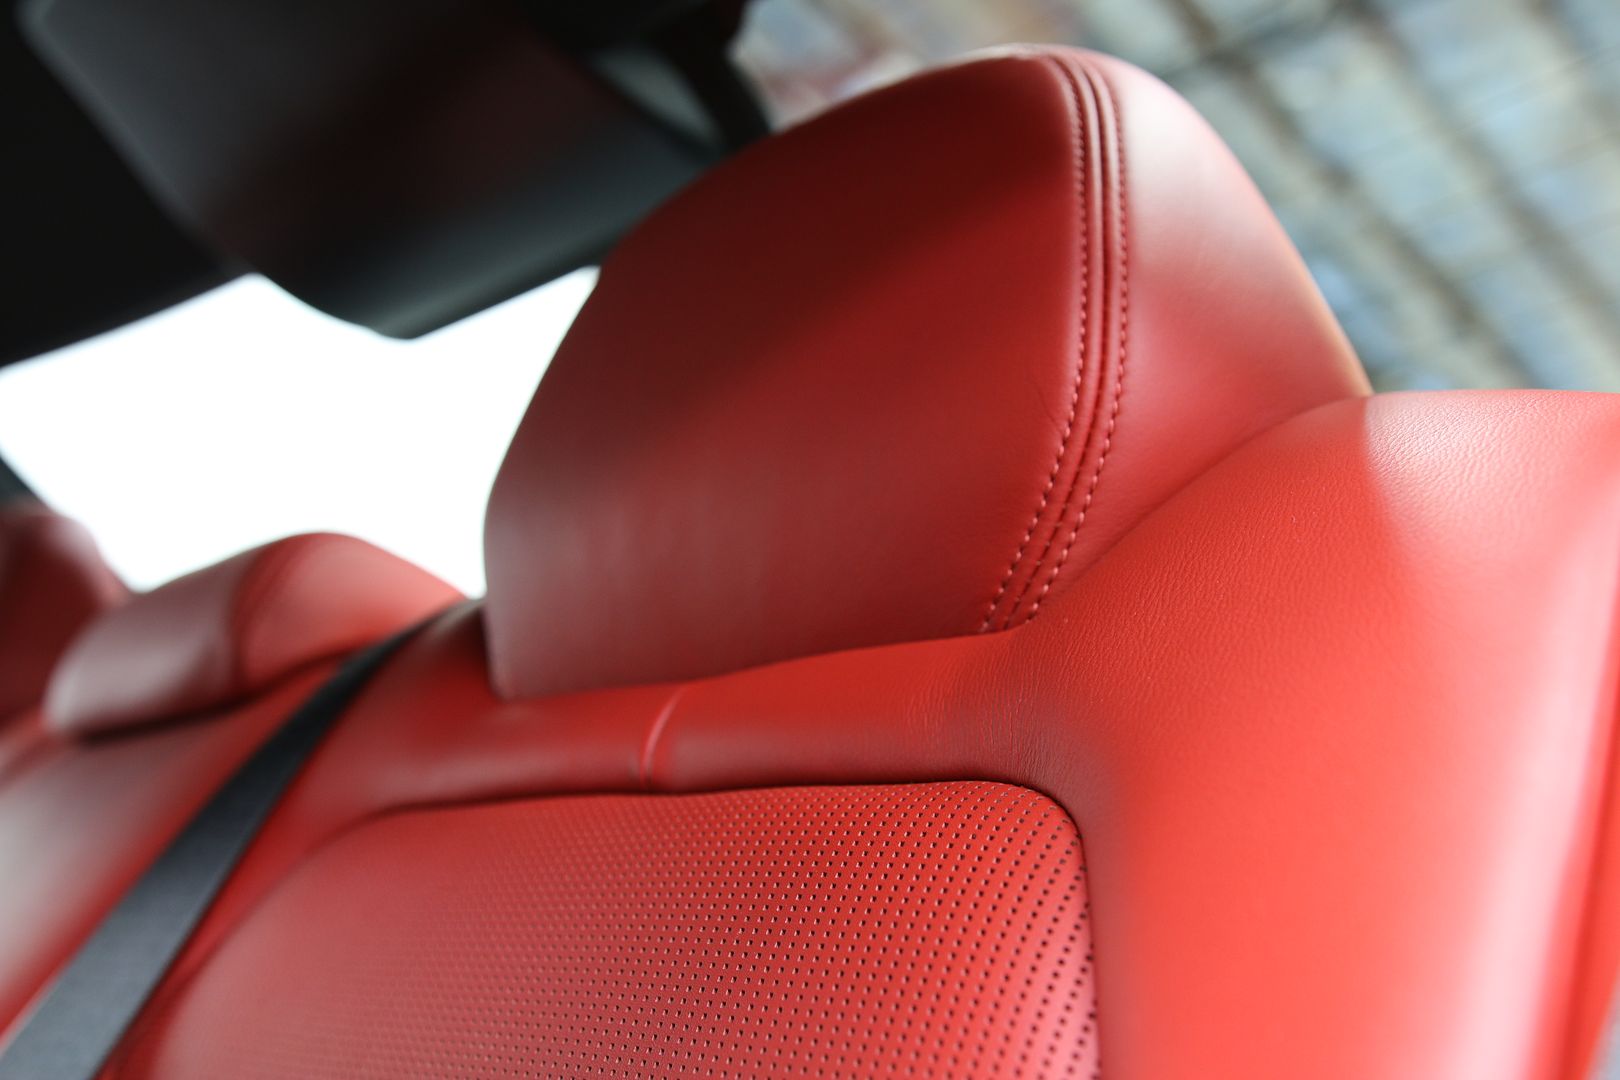
Leather cleaning and conditioning - even though the car is new I decided to clean with Leather Master Strong Cleaner followed with Leather Master Barrier to do some preventive maintenance to protect the leather from denim transfer.
![Click the image to open in full size.]()
![Click the image to open in full size.]()
![Click the image to open in full size.]()
![Click the image to open in full size.]()
![Click the image to open in full size.]()
![Click the image to open in full size.]()
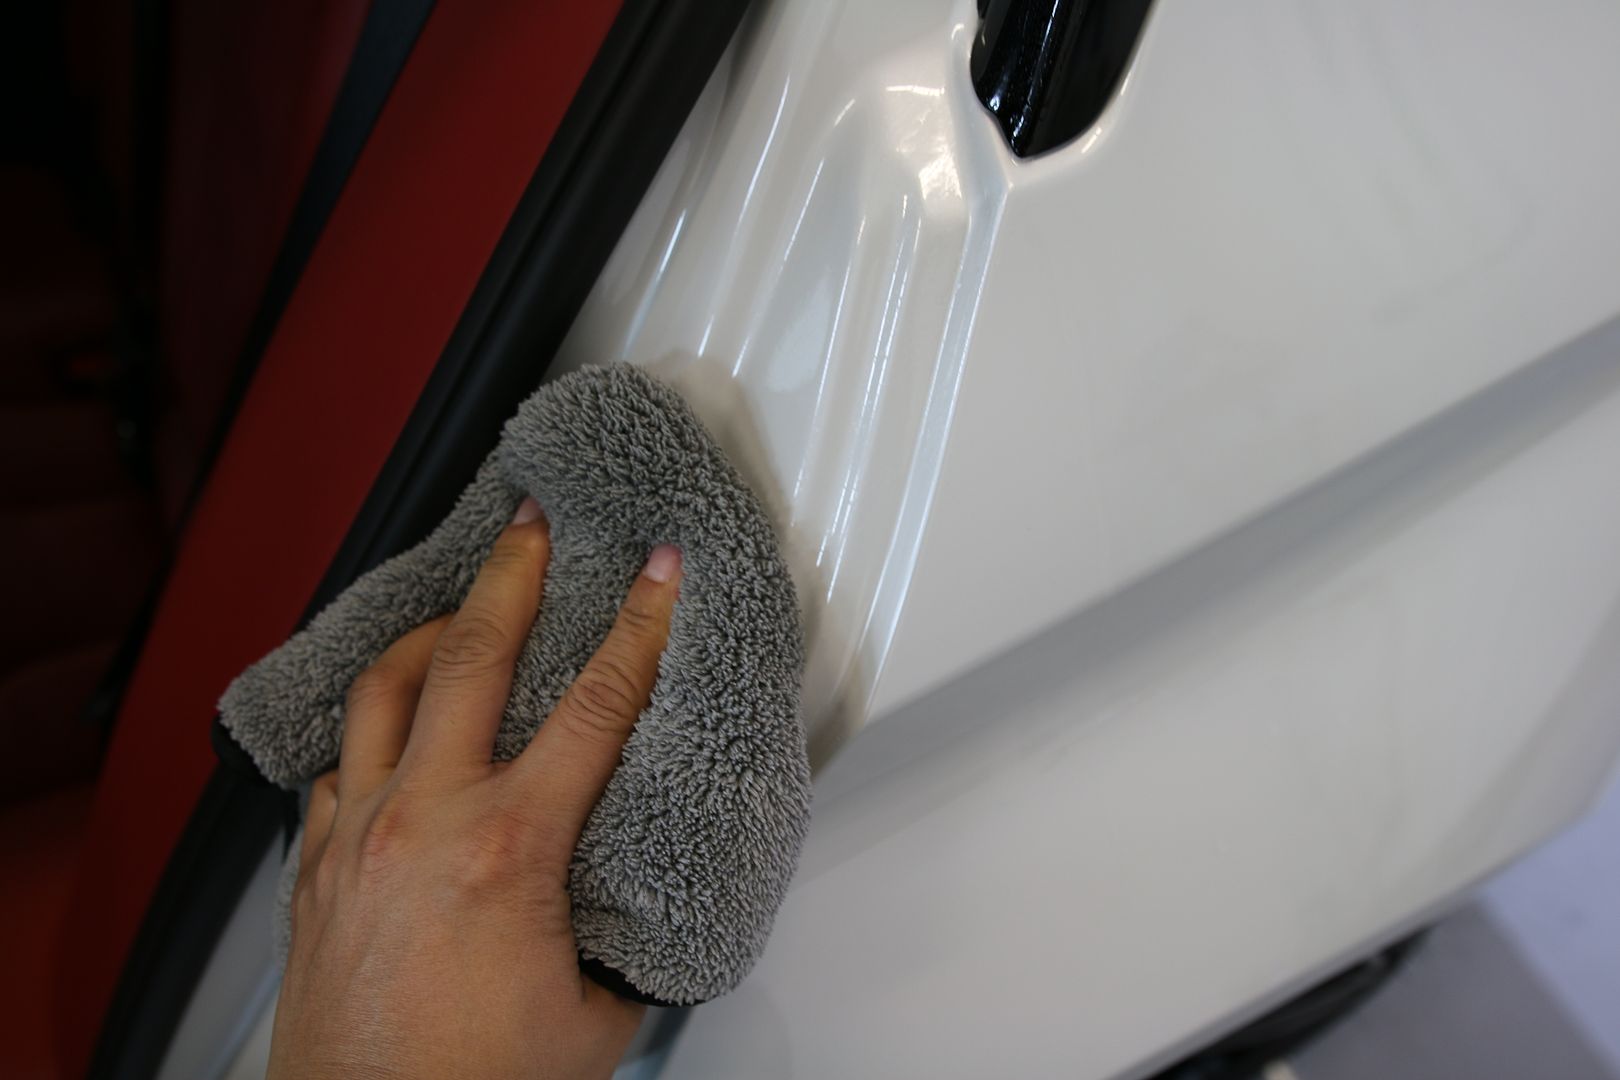
Door Jambs cleaned and protected - Sonax Polymer Net Shield was used on the jambs
![Click the image to open in full size.]()
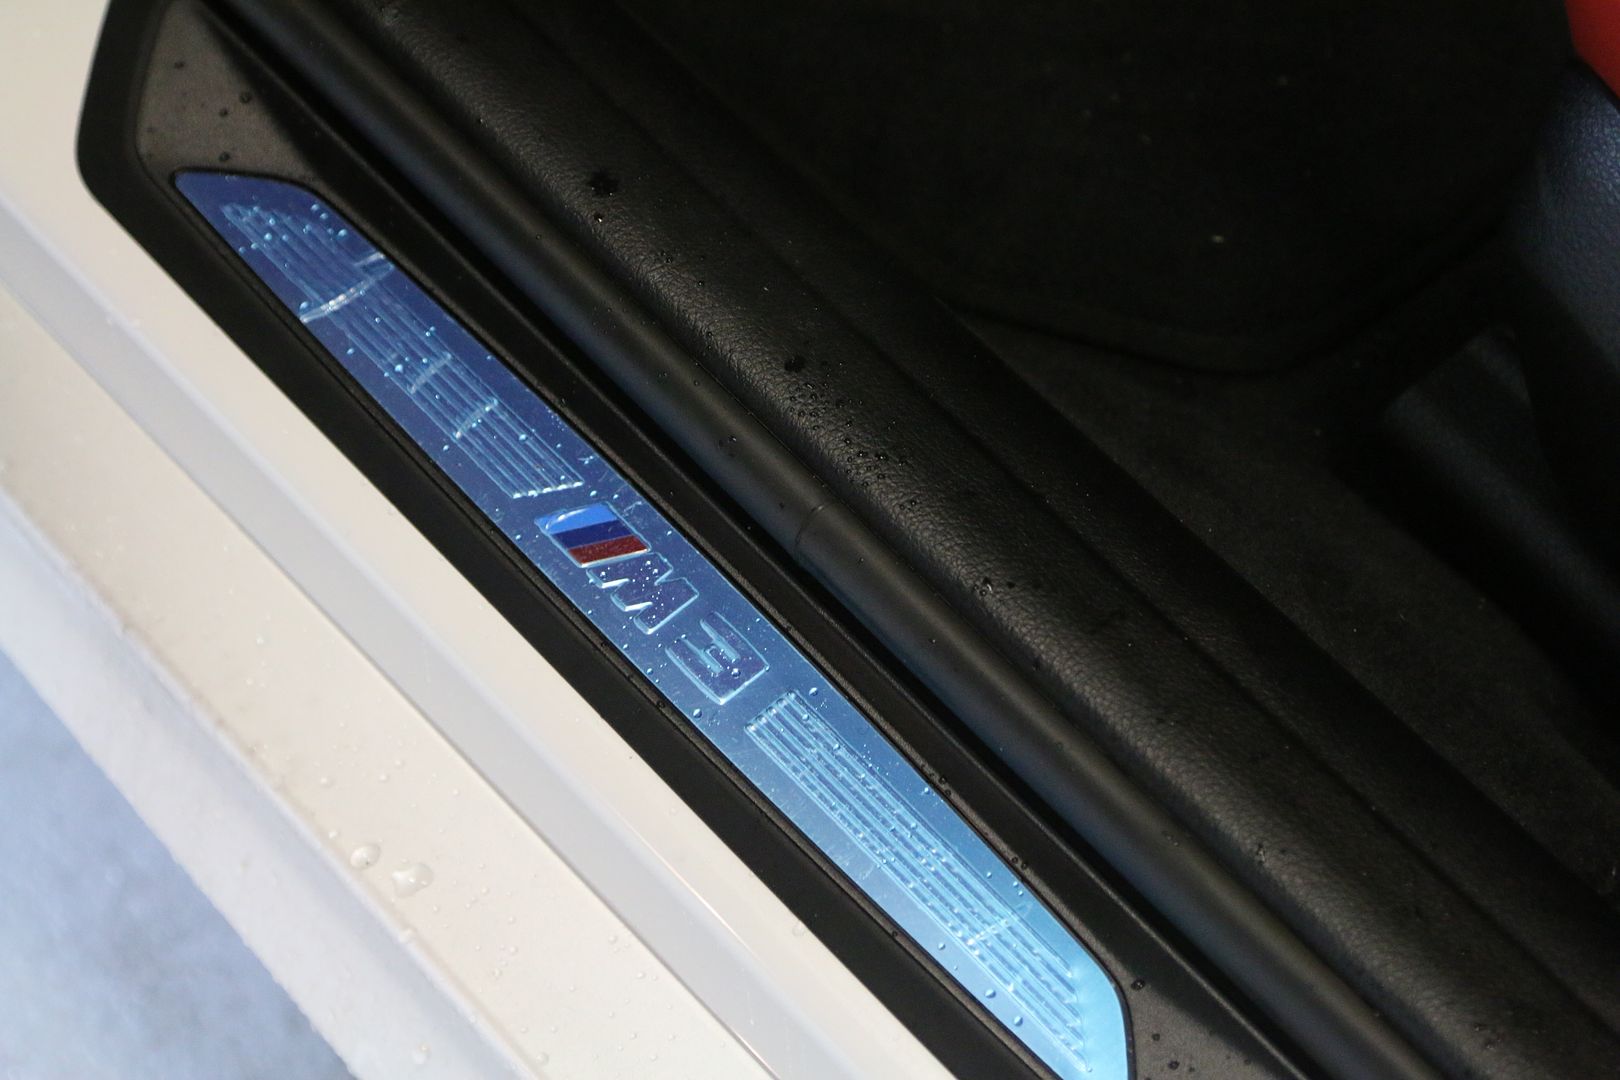
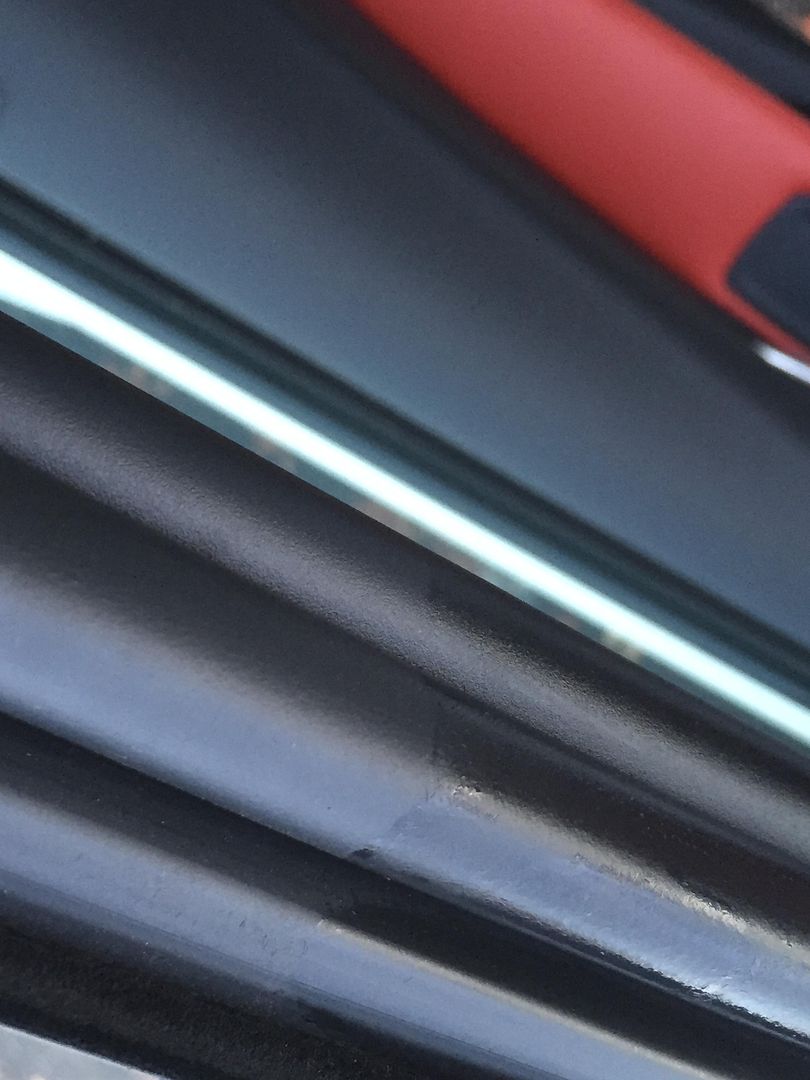
Door seals cleaned and protected with 1Z einszett Gummi - great way to keep them fresh and new as well as during the winter months its keeps your doors from freezing shut.
![Click the image to open in full size.]()
![Click the image to open in full size.]()
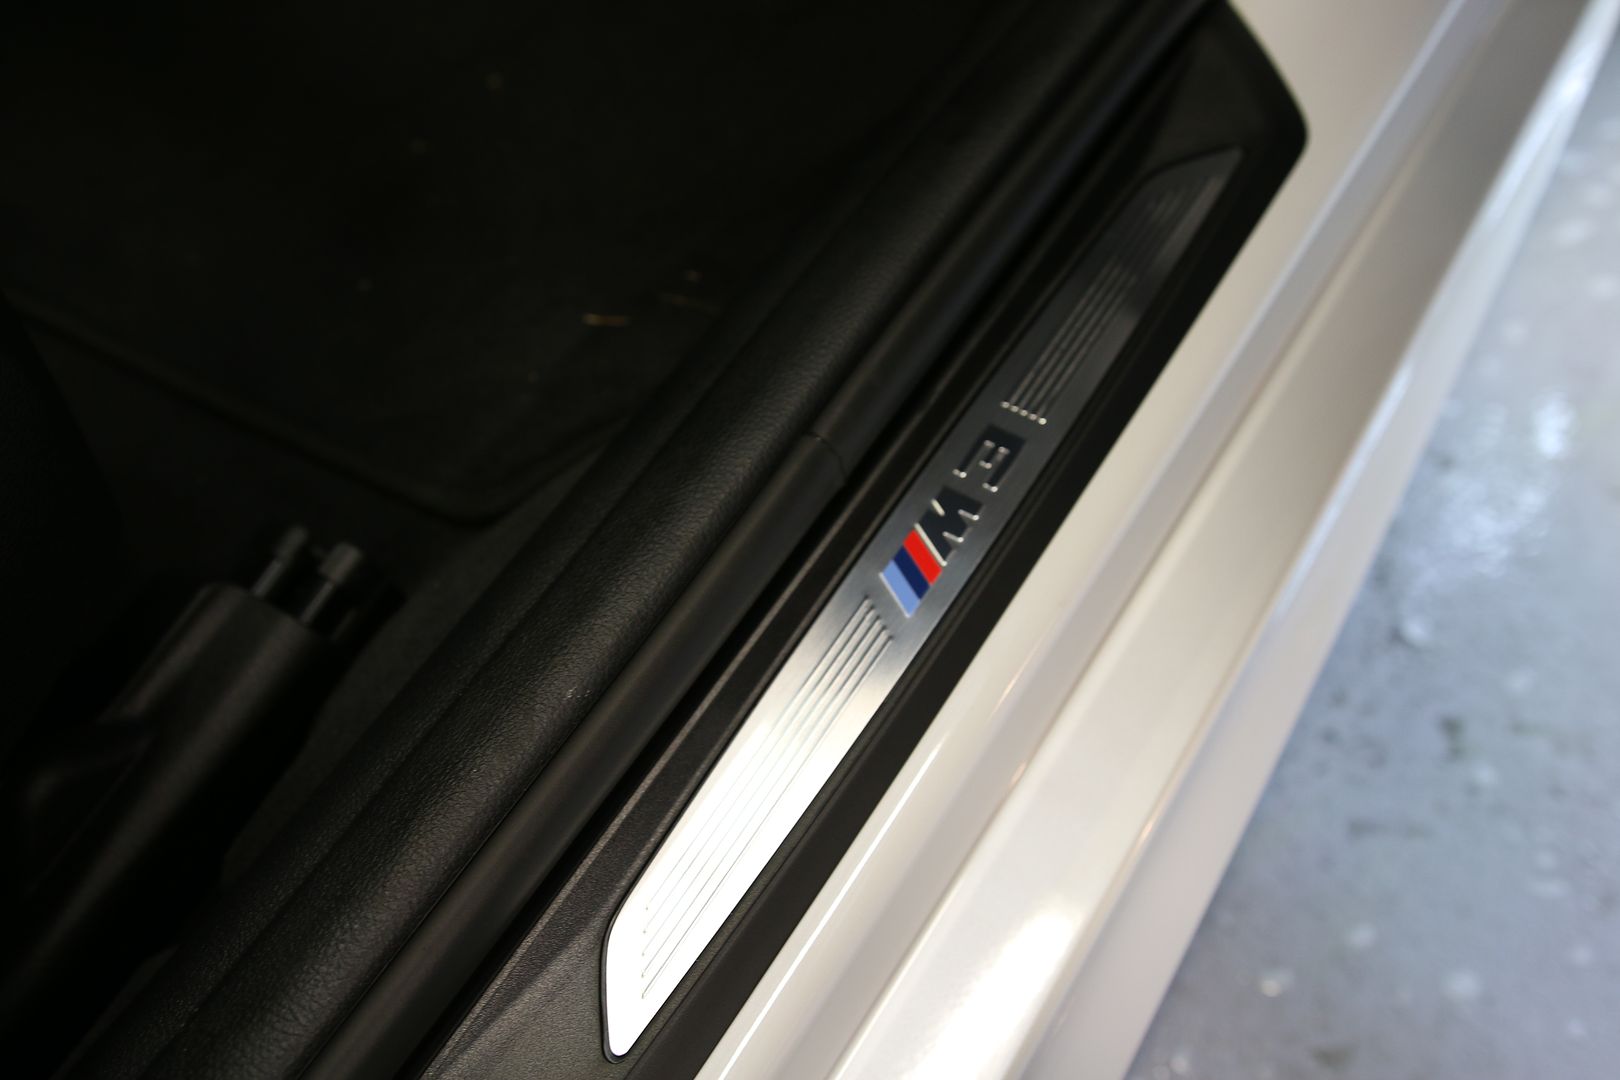
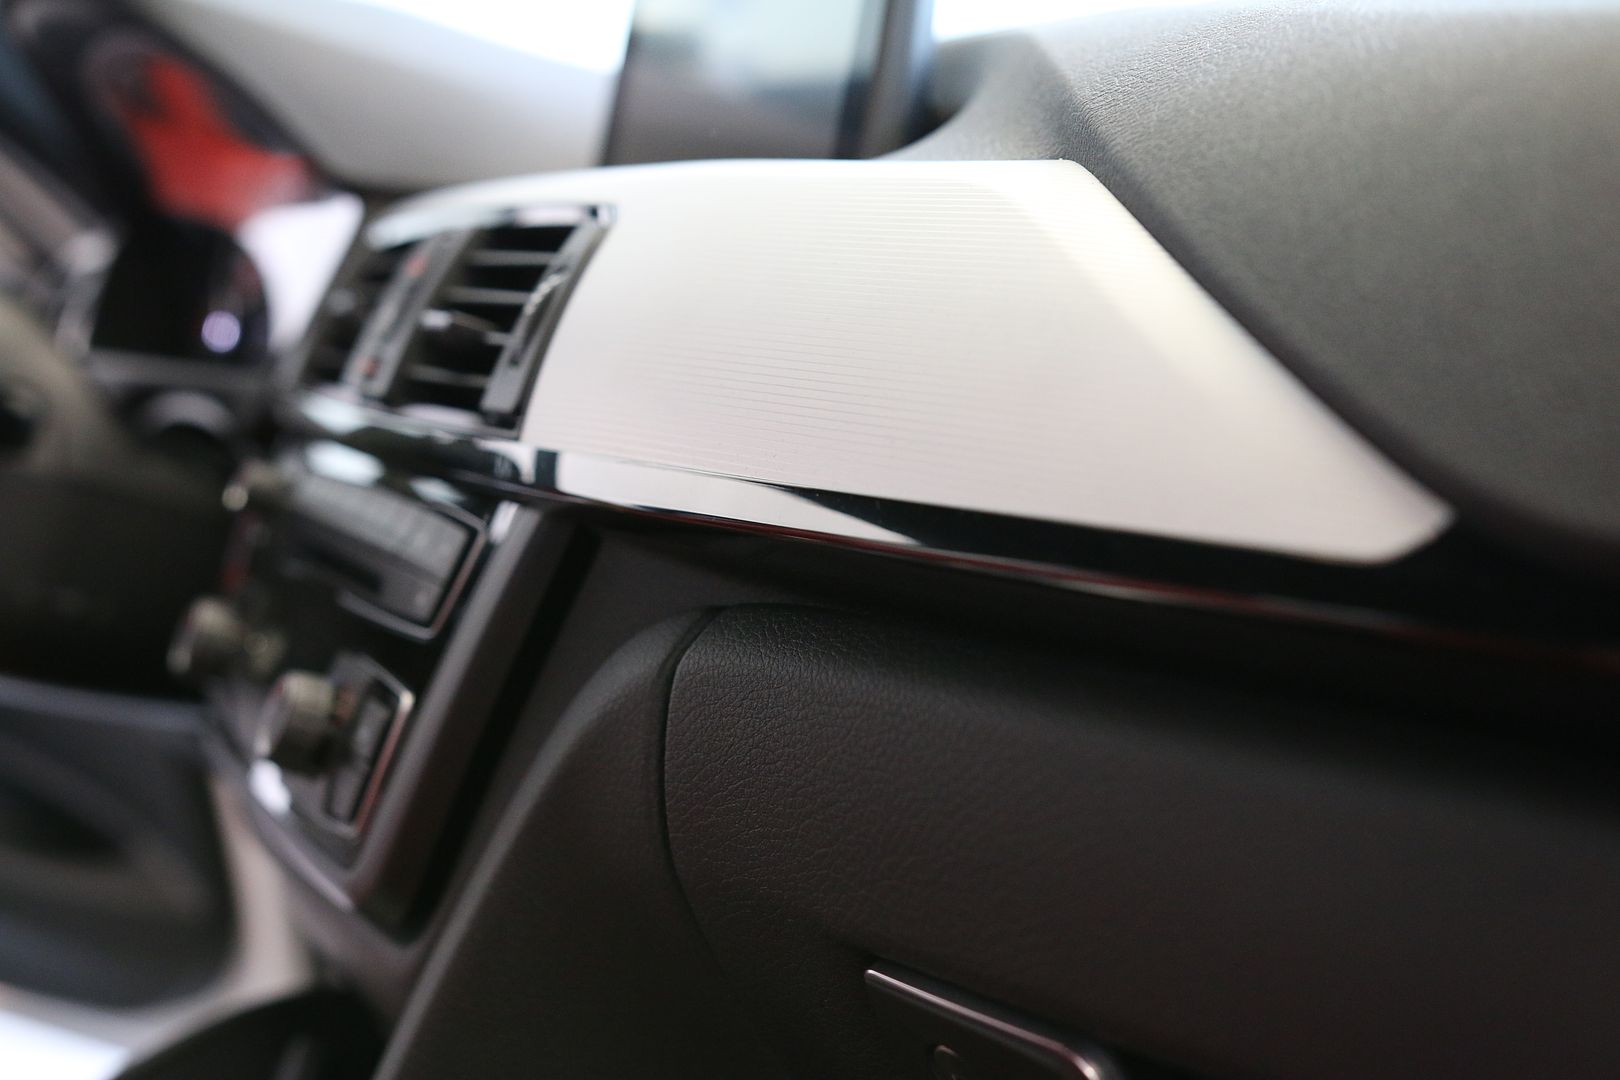
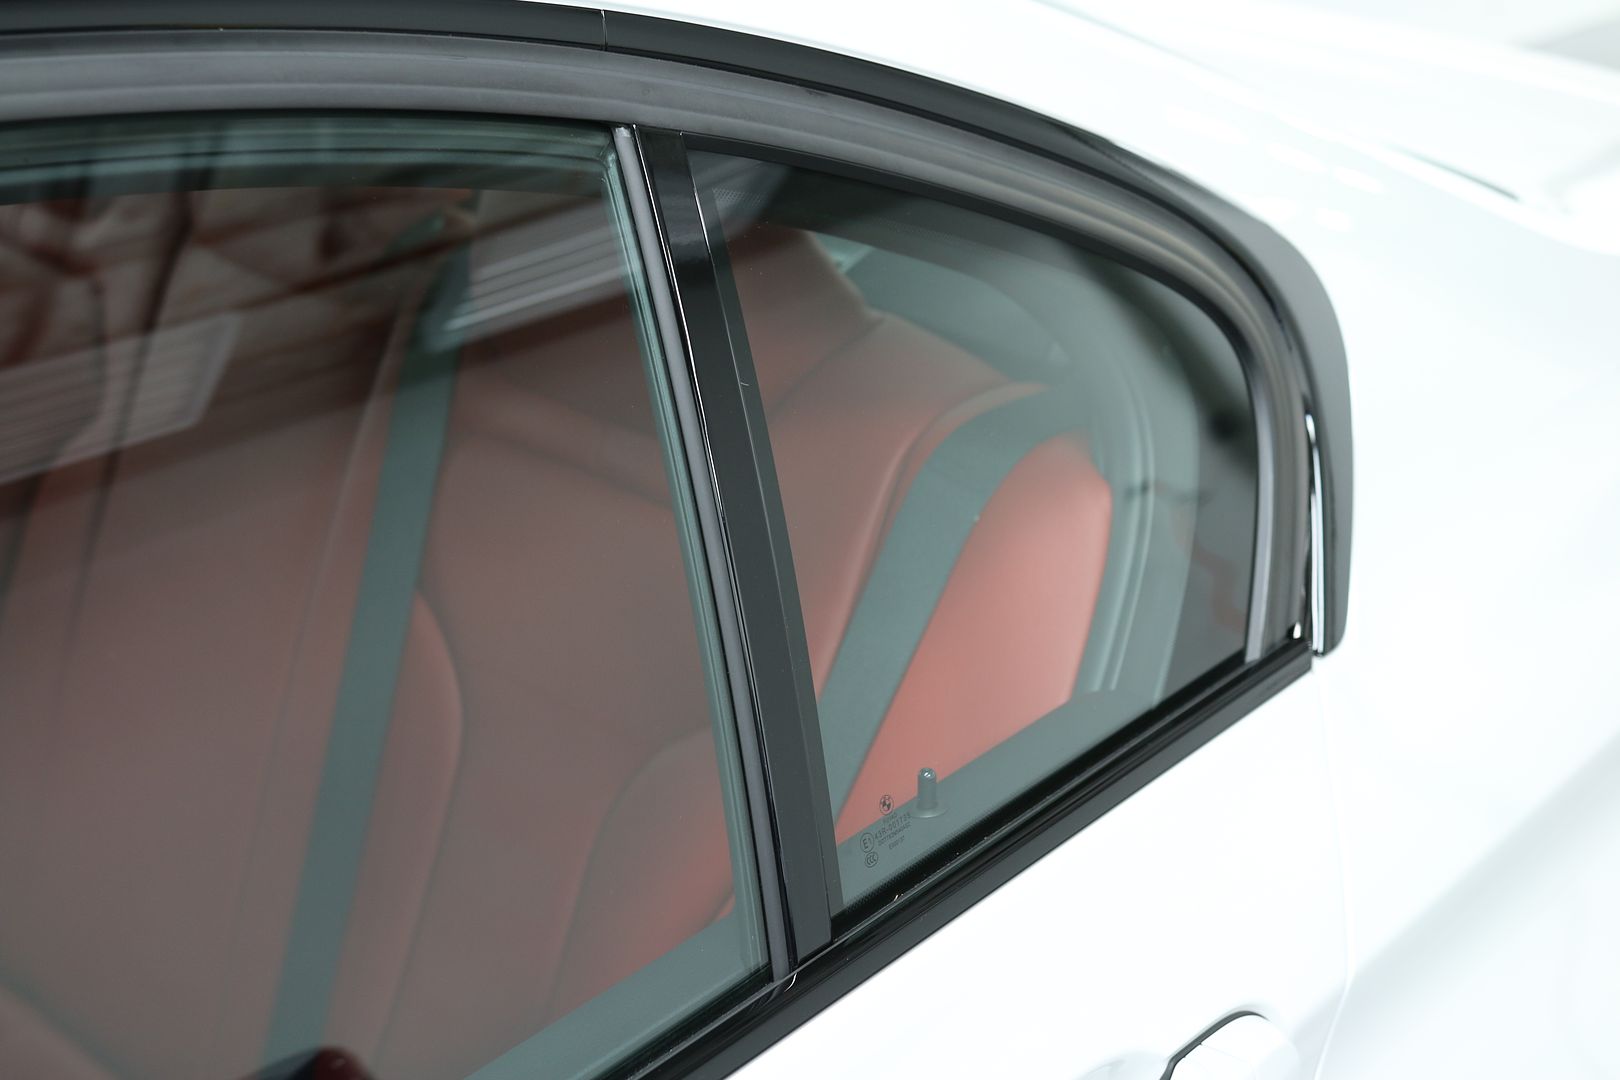
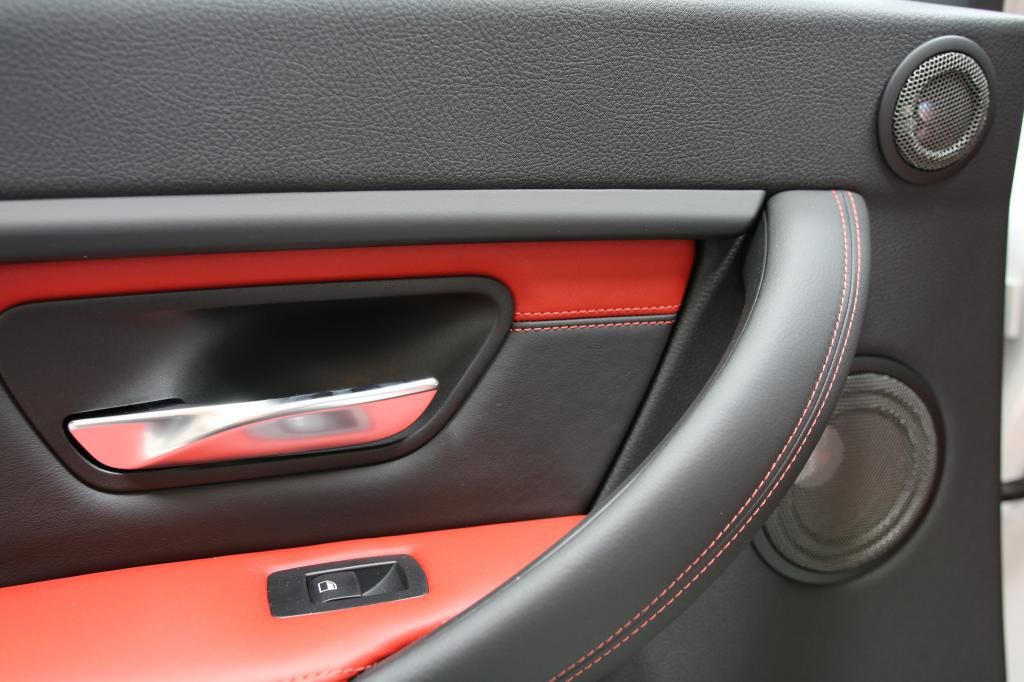
After shots
![Click the image to open in full size.]()
![Click the image to open in full size.]()
![Click the image to open in full size.]()
![Click the image to open in full size.]()
![Click the image to open in full size.]()
![Click the image to open in full size.]()
![Click the image to open in full size.]()
Exterior
Moving on to the exterior prep and Xpel Ultimate installation.
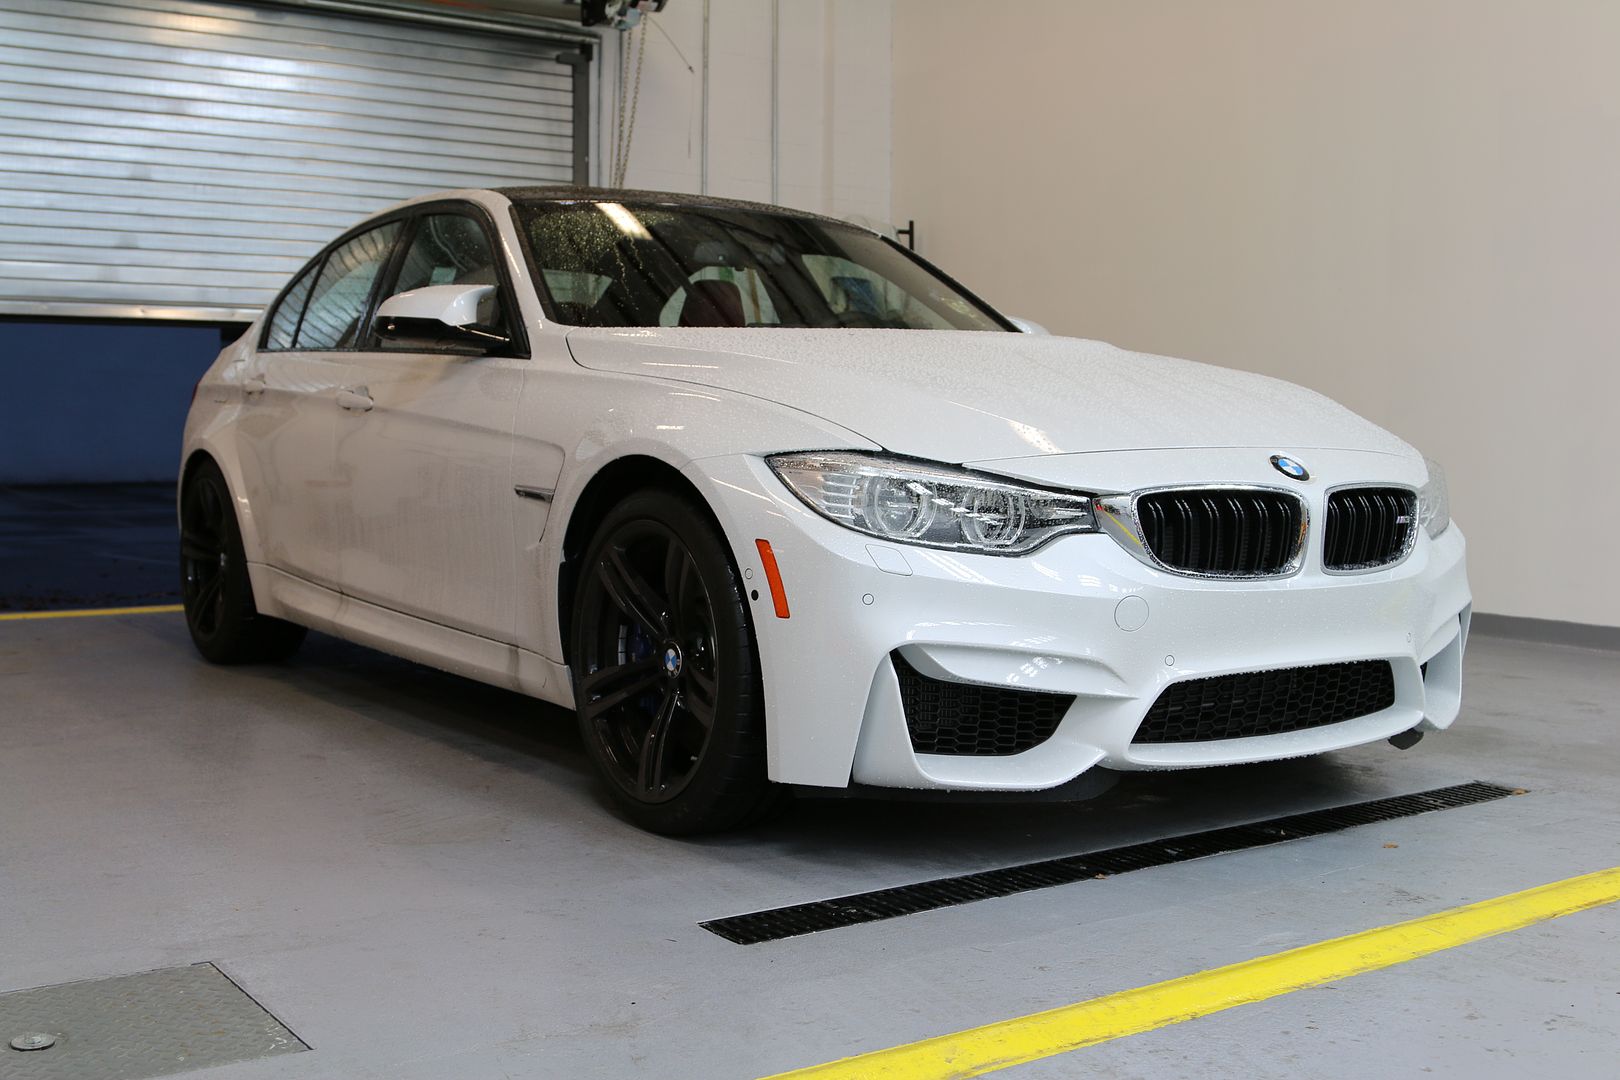
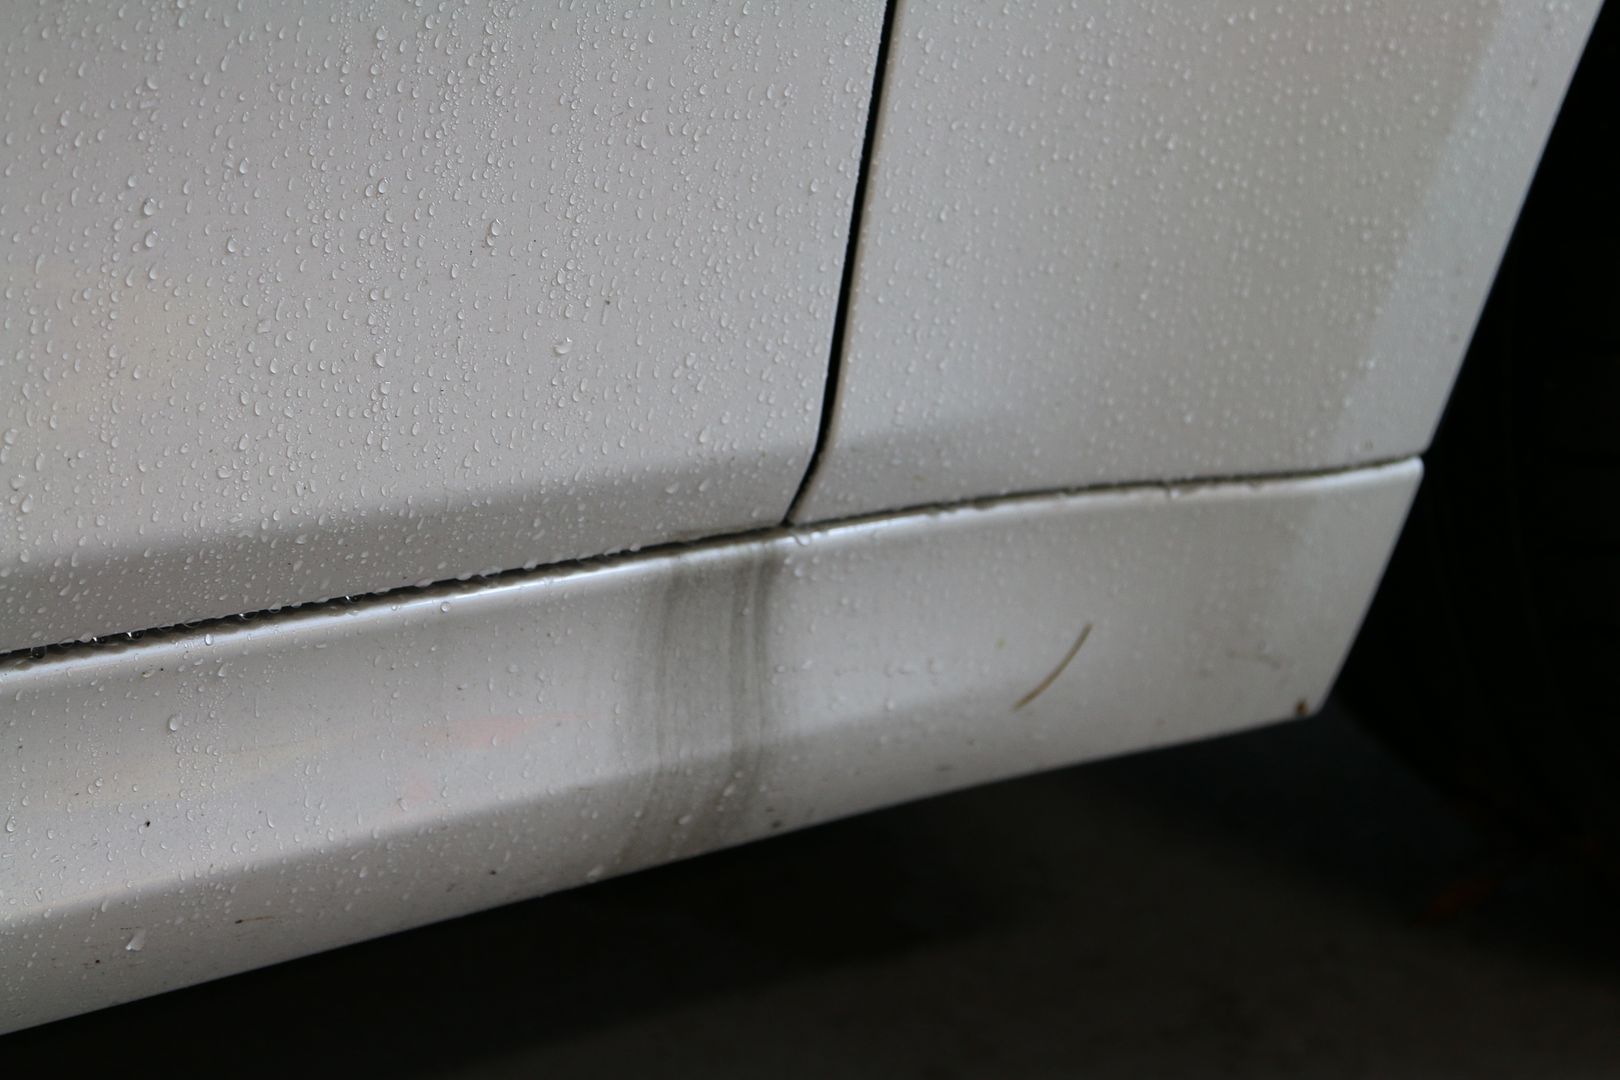
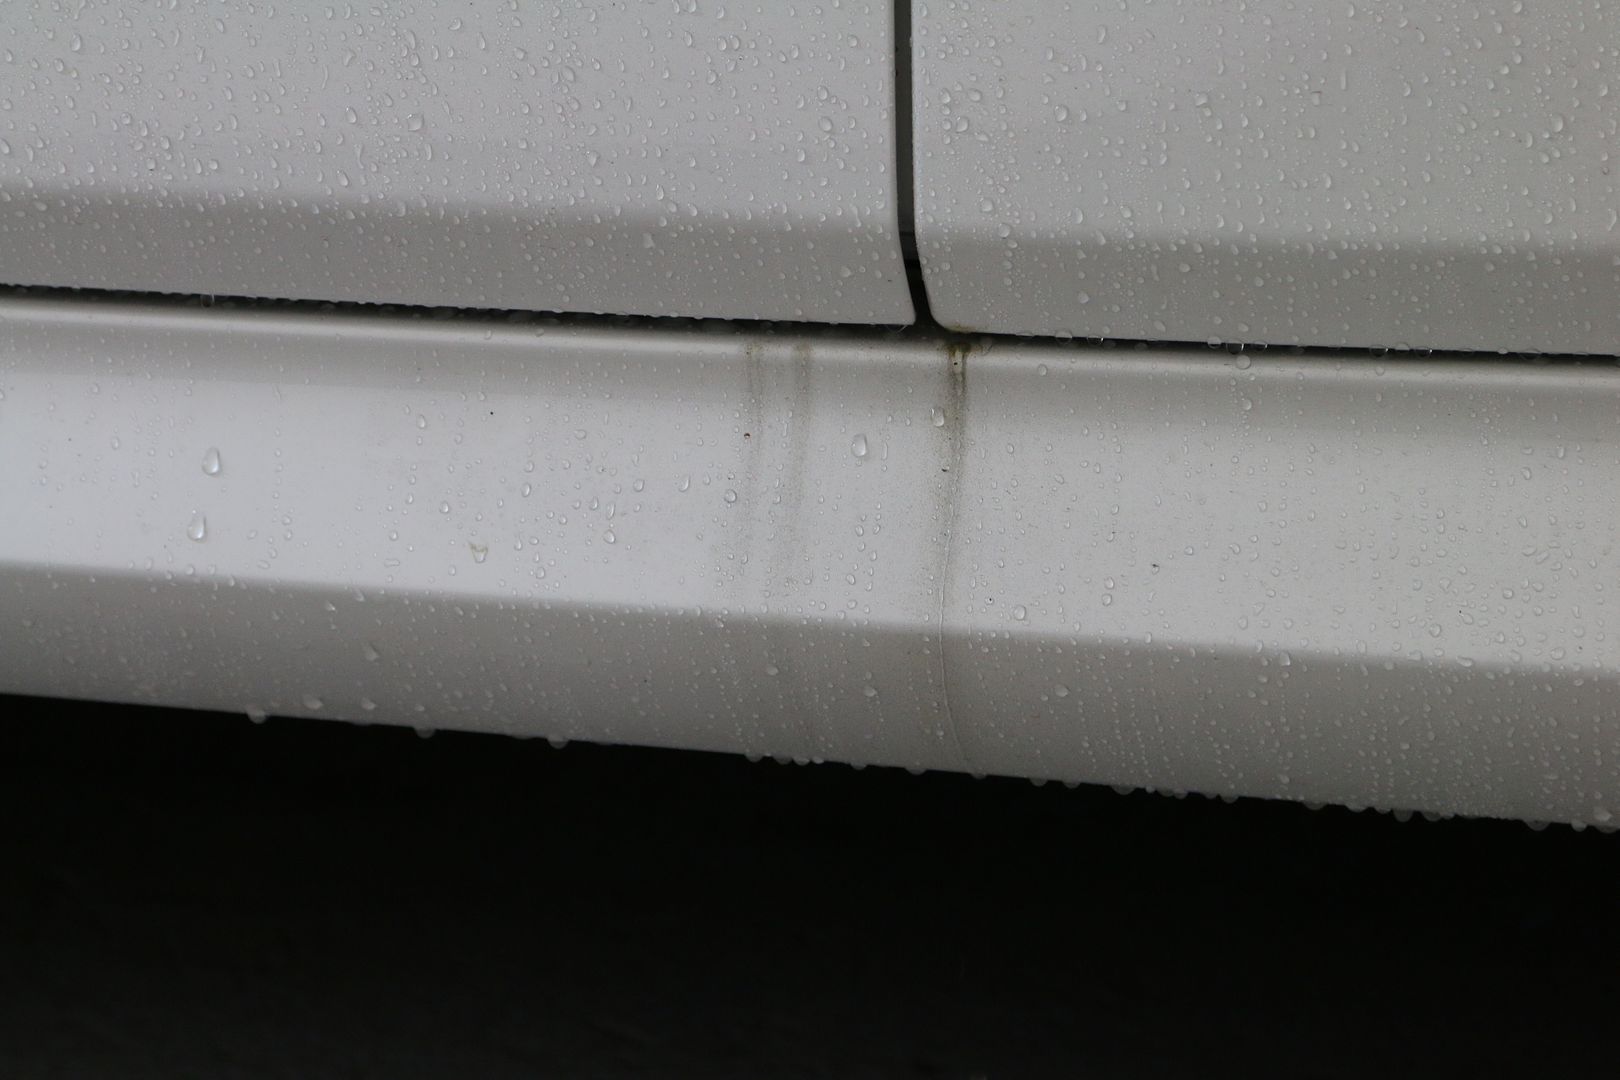
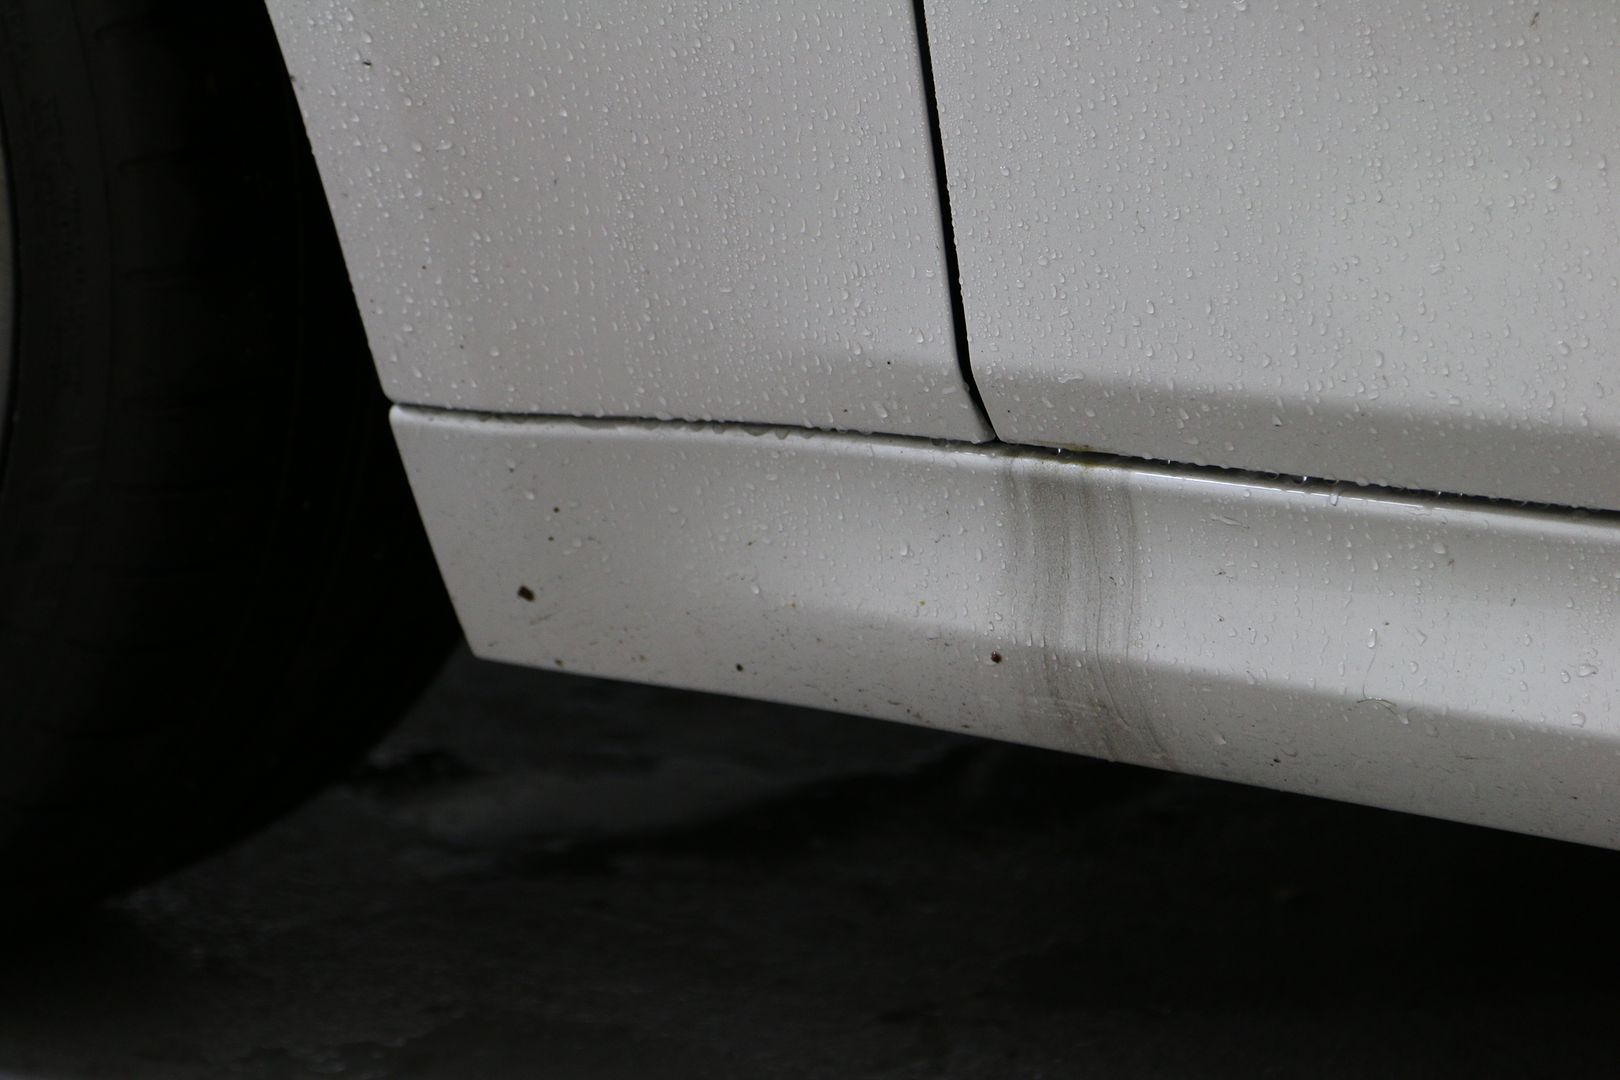
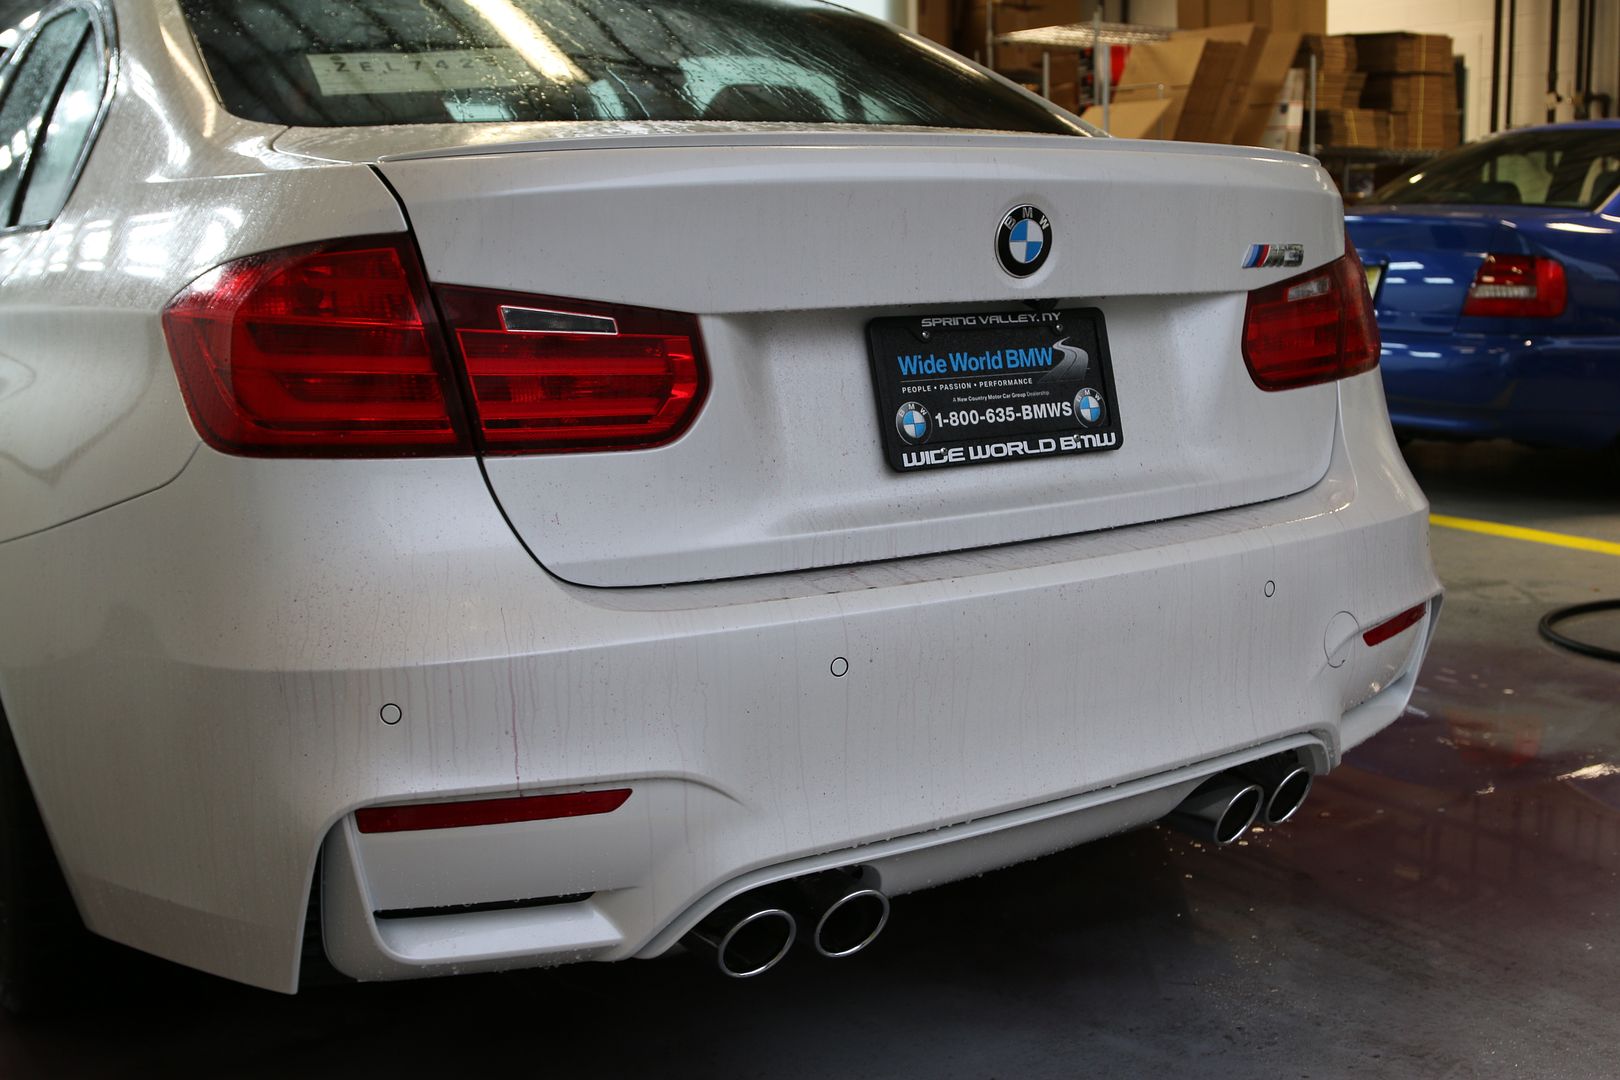
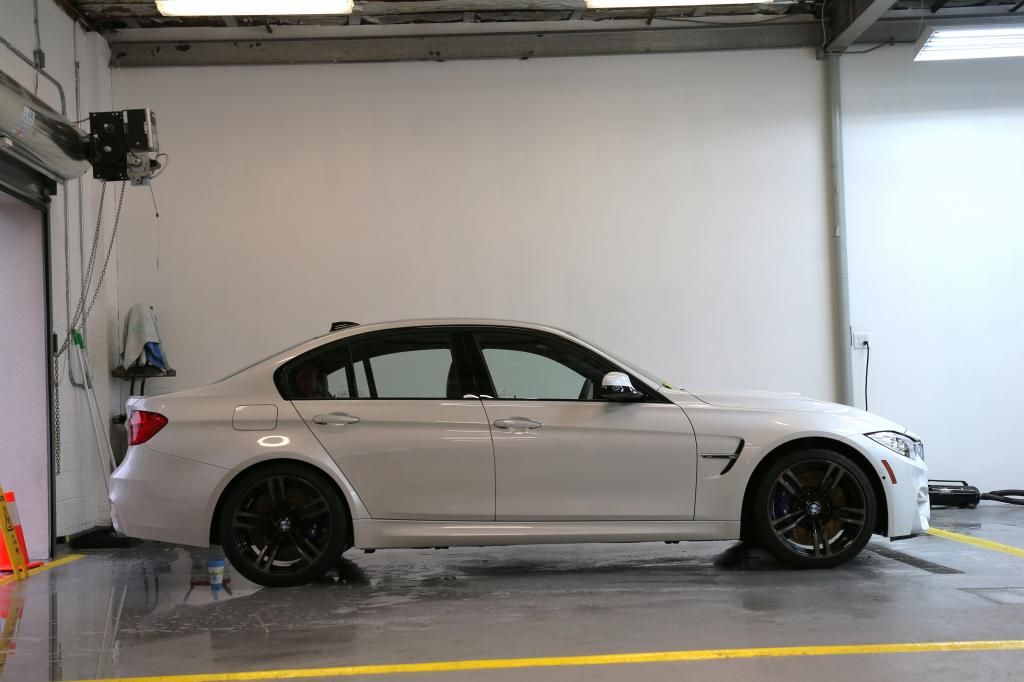
Before shots
![Click the image to open in full size.]()
![Click the image to open in full size.]()
![Click the image to open in full size.]()
![Click the image to open in full size.]()
![Click the image to open in full size.]()
![Click the image to open in full size.]()
![Click the image to open in full size.]()
![Click the image to open in full size.]()
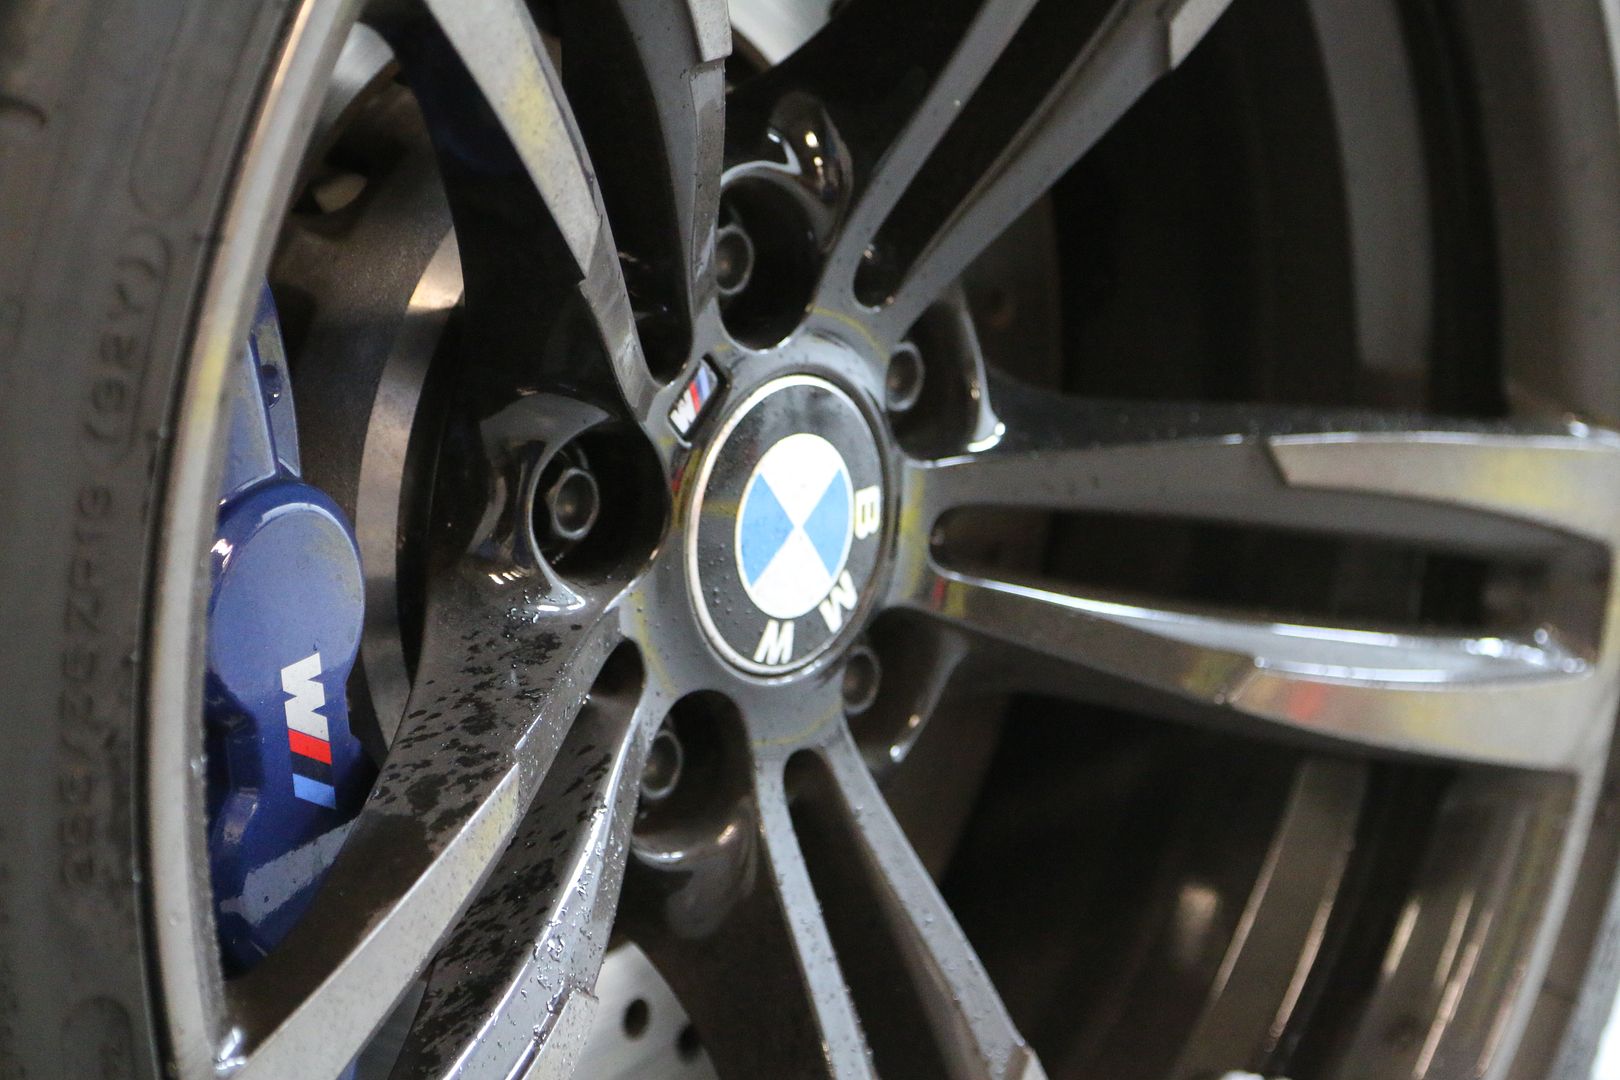
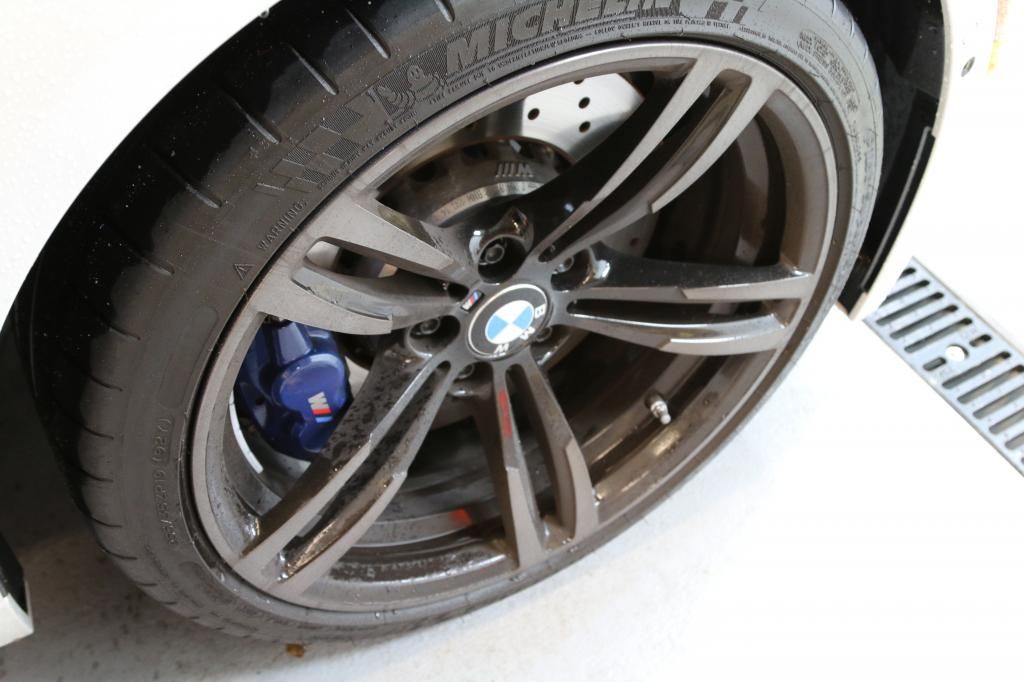
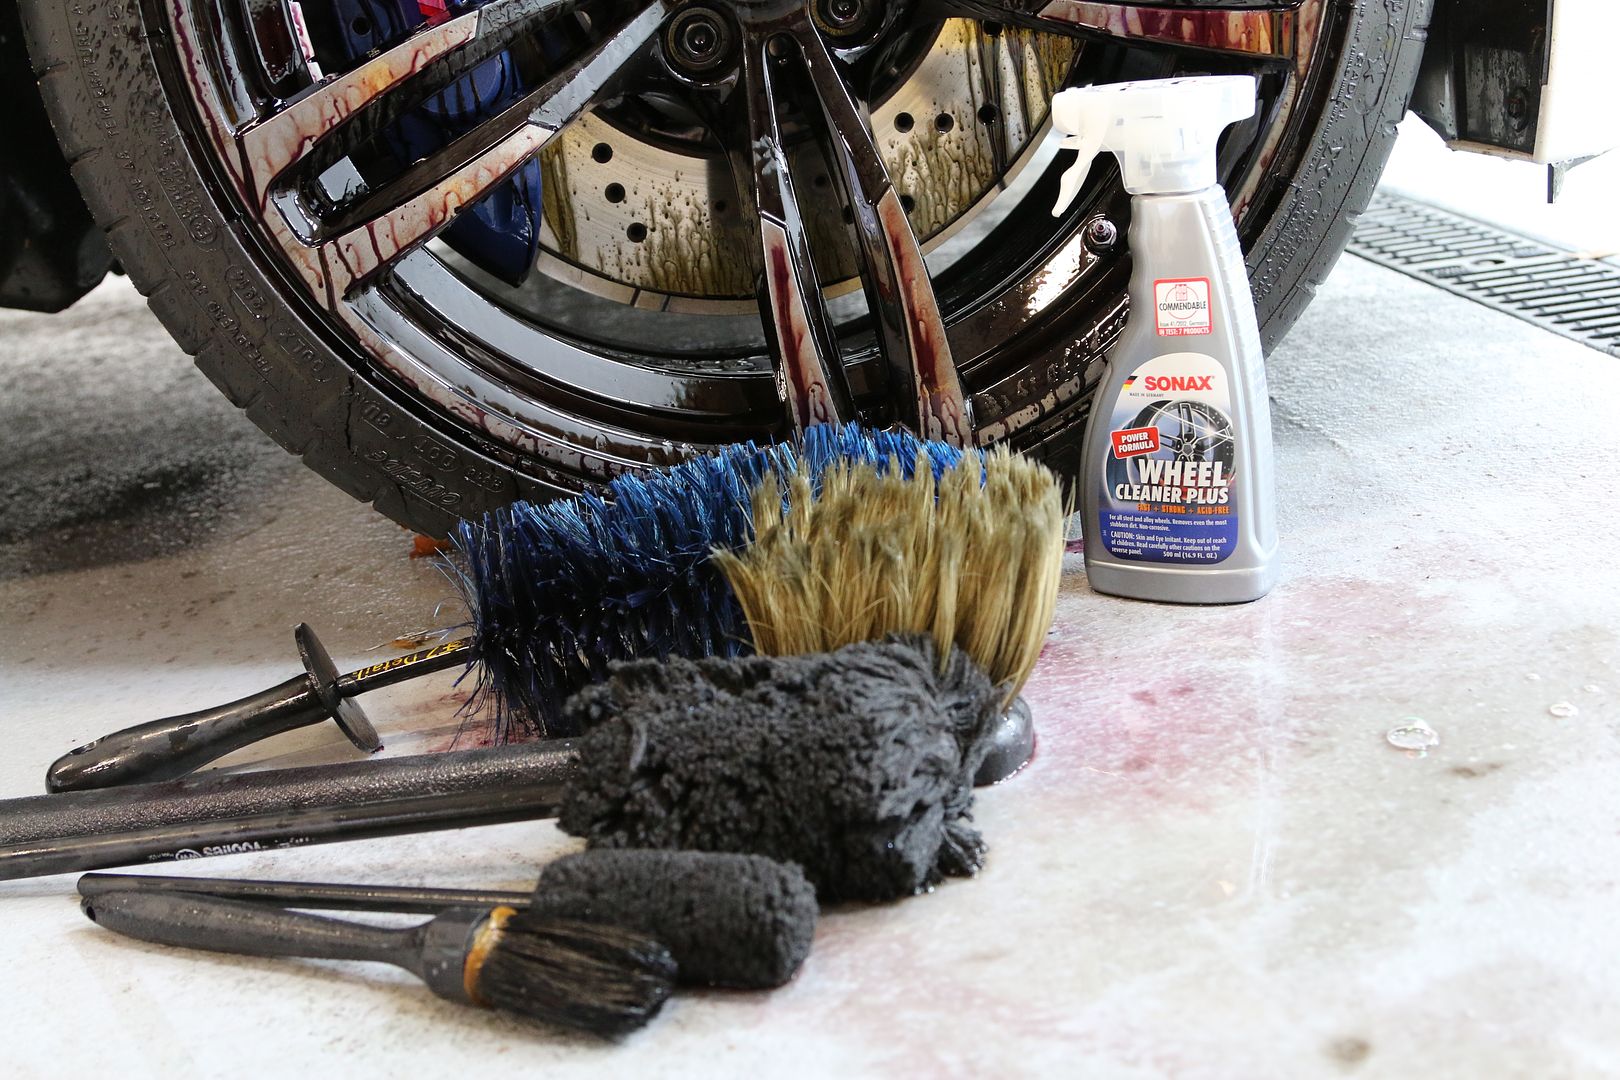
Wheel cleaning - Sonax Wheel Cleaner Plus and various brushes
![Click the image to open in full size.]()
Uber Boar's Hair Brush for the lugs
![Click the image to open in full size.]()
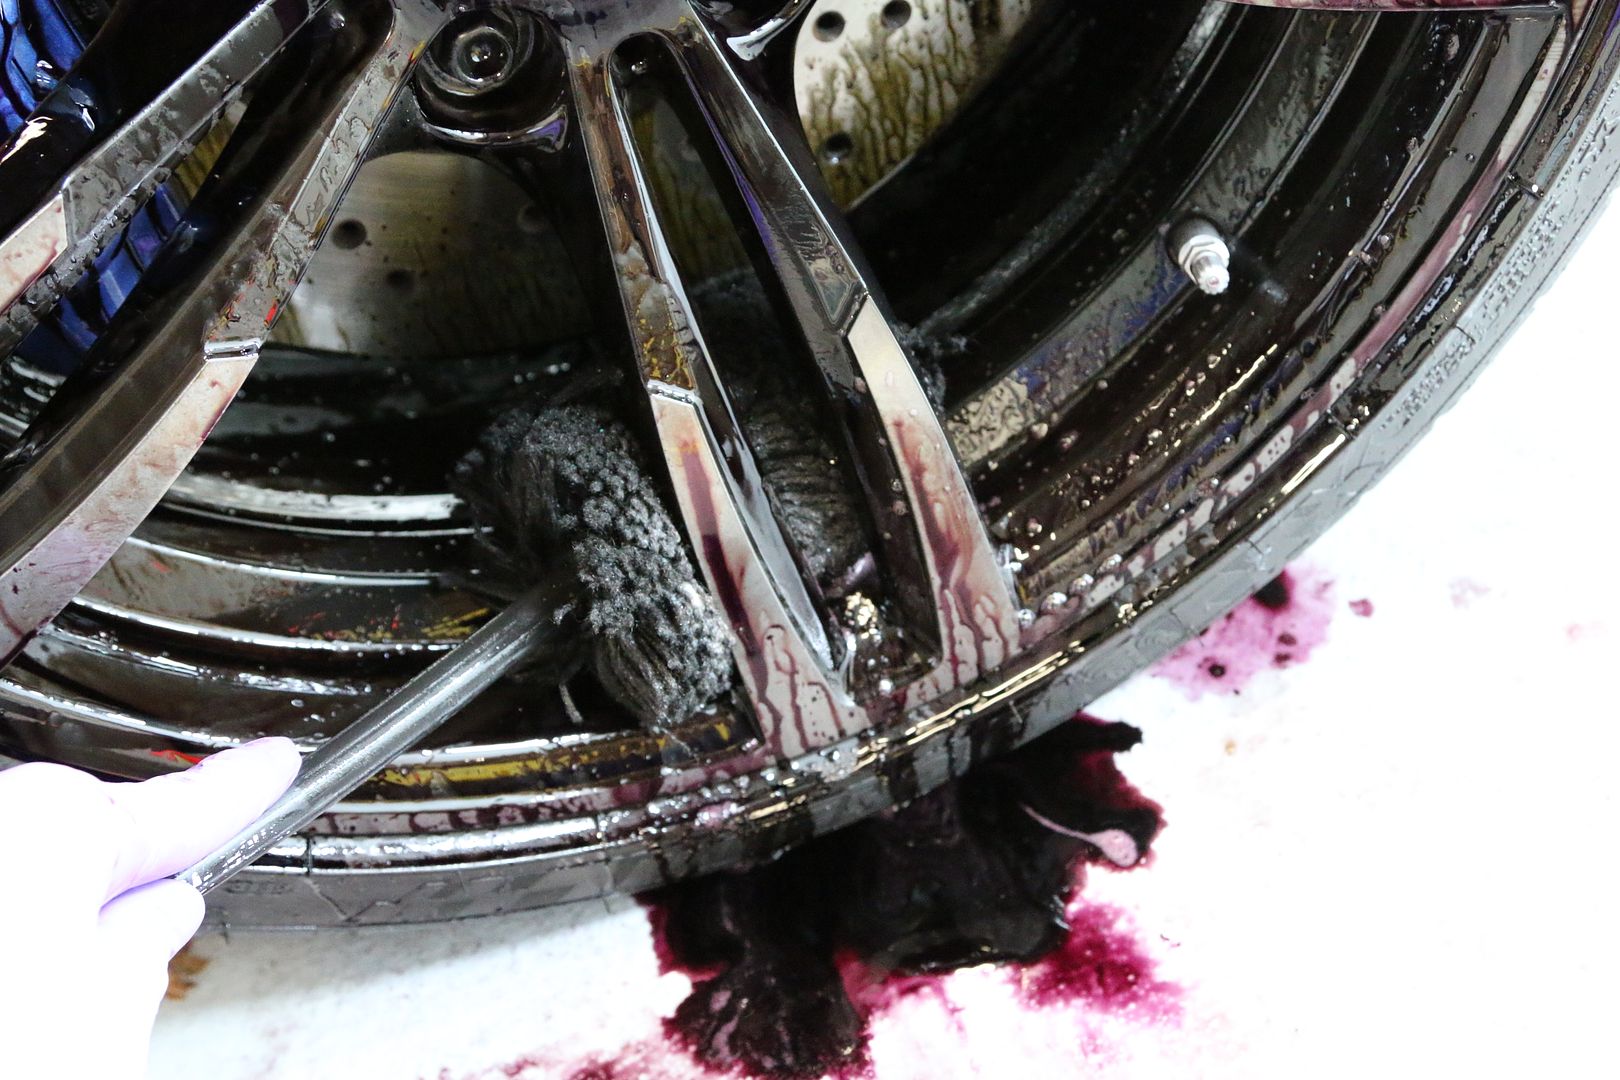
Wheel Woolies for behind the spokes and the first 1/2 of the inner wheel barrels
![Click the image to open in full size.]()
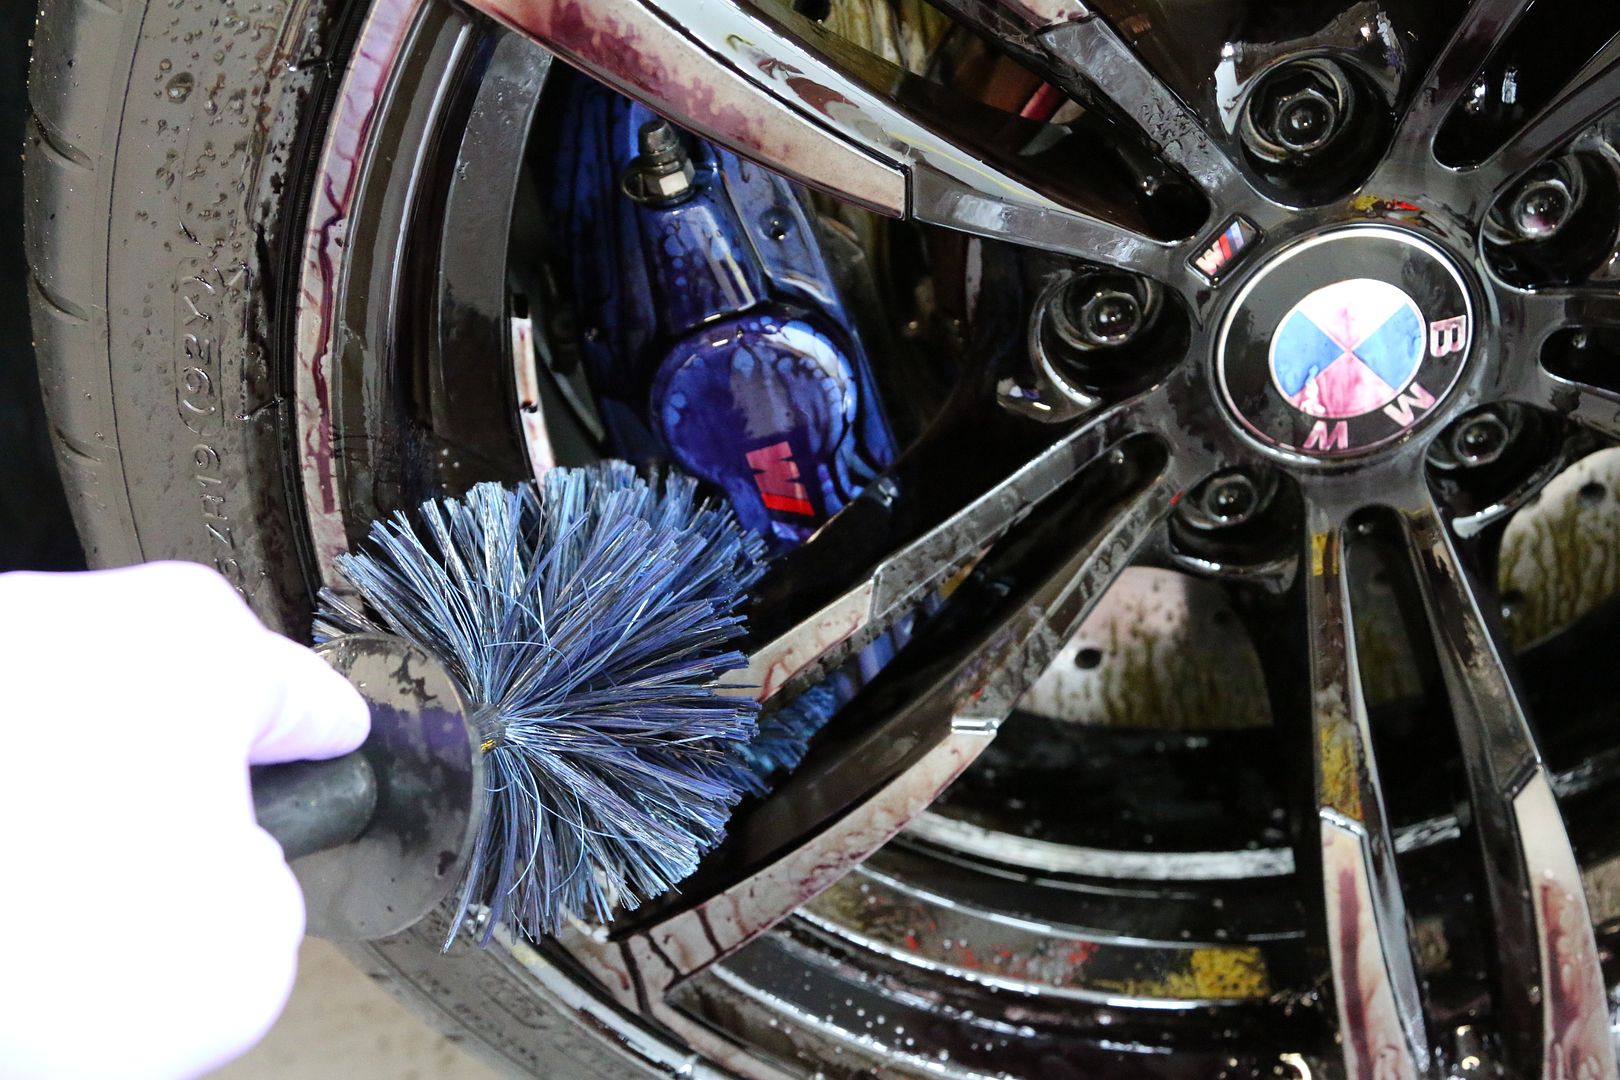
EZ Detail Brush for the back half of the wheels and in between the calipers and wheels - super tight especially with the stock 19's.
![Click the image to open in full size.]()
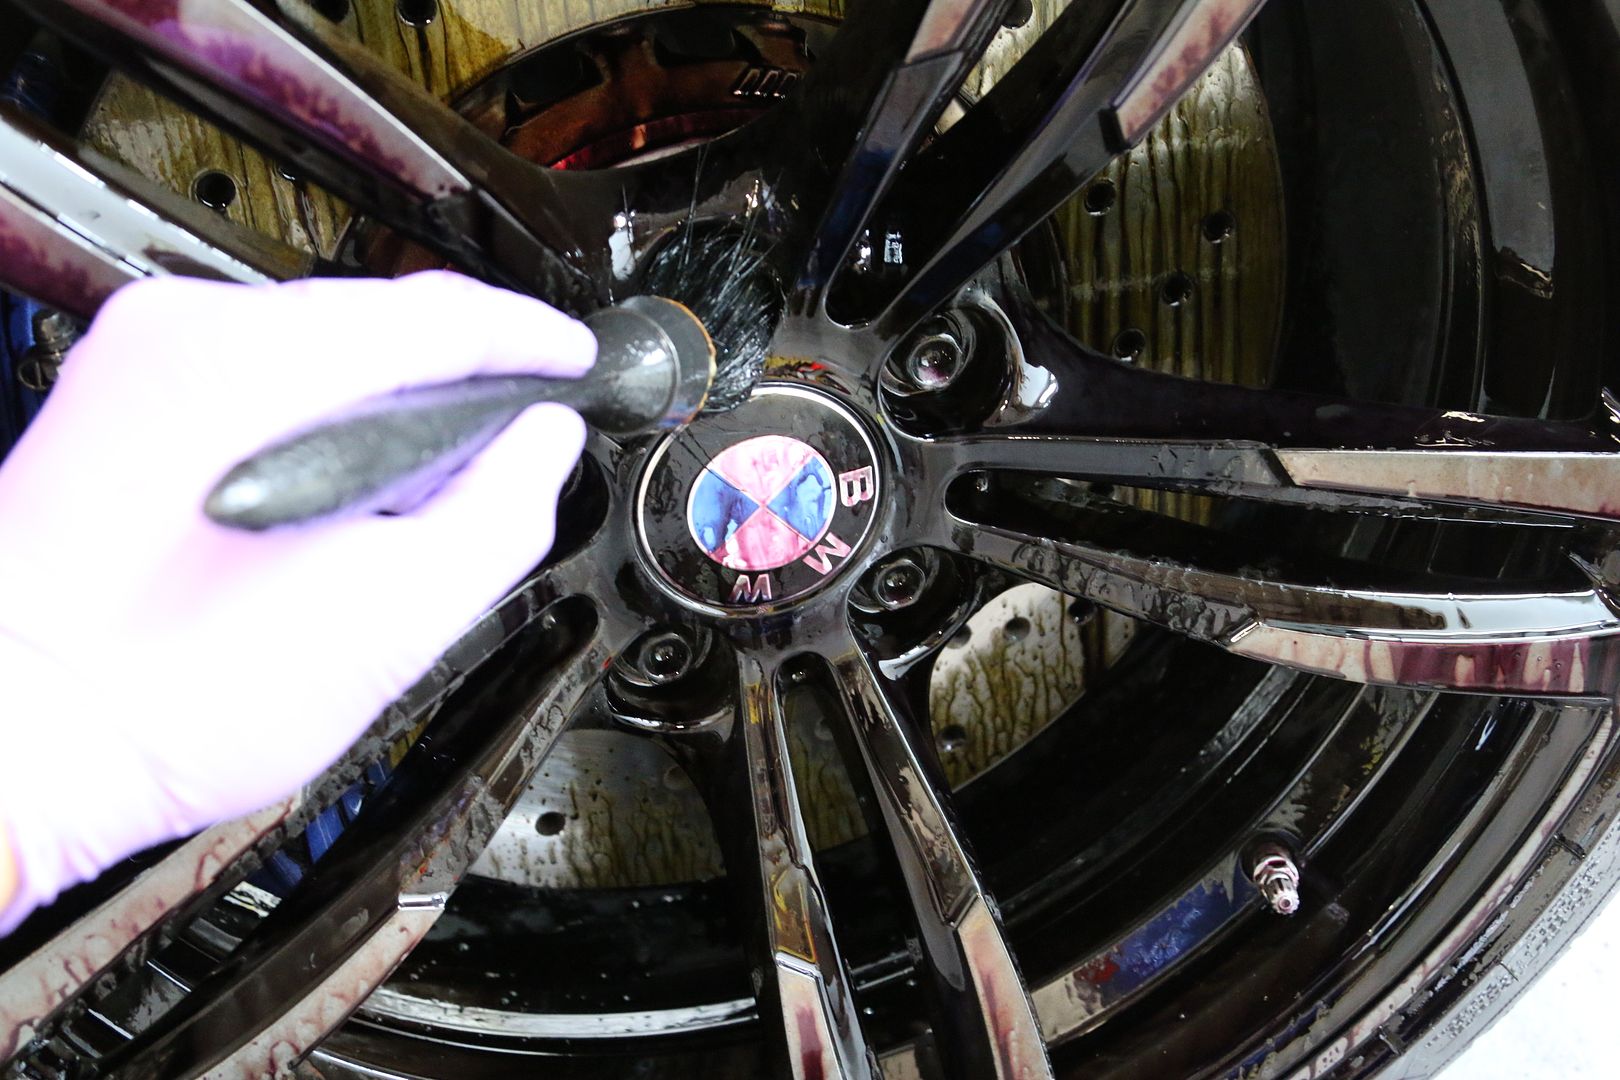
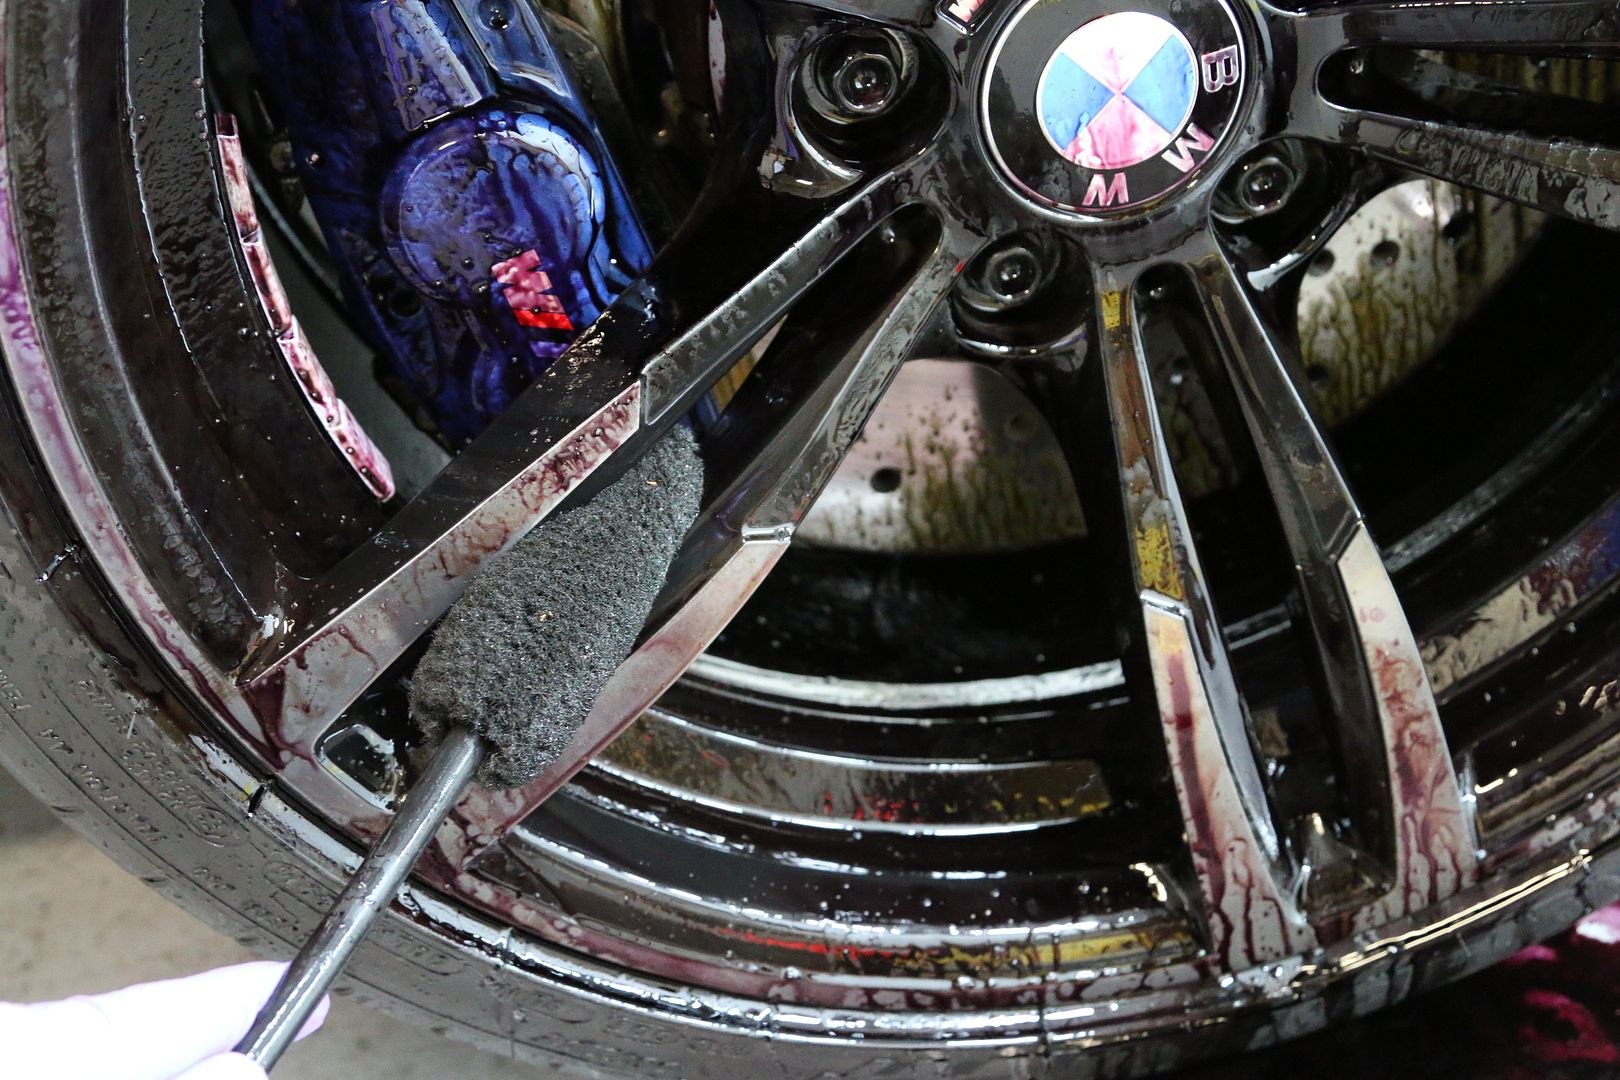
Smaller Wheel Woolies for between the spokes
![Click the image to open in full size.]()
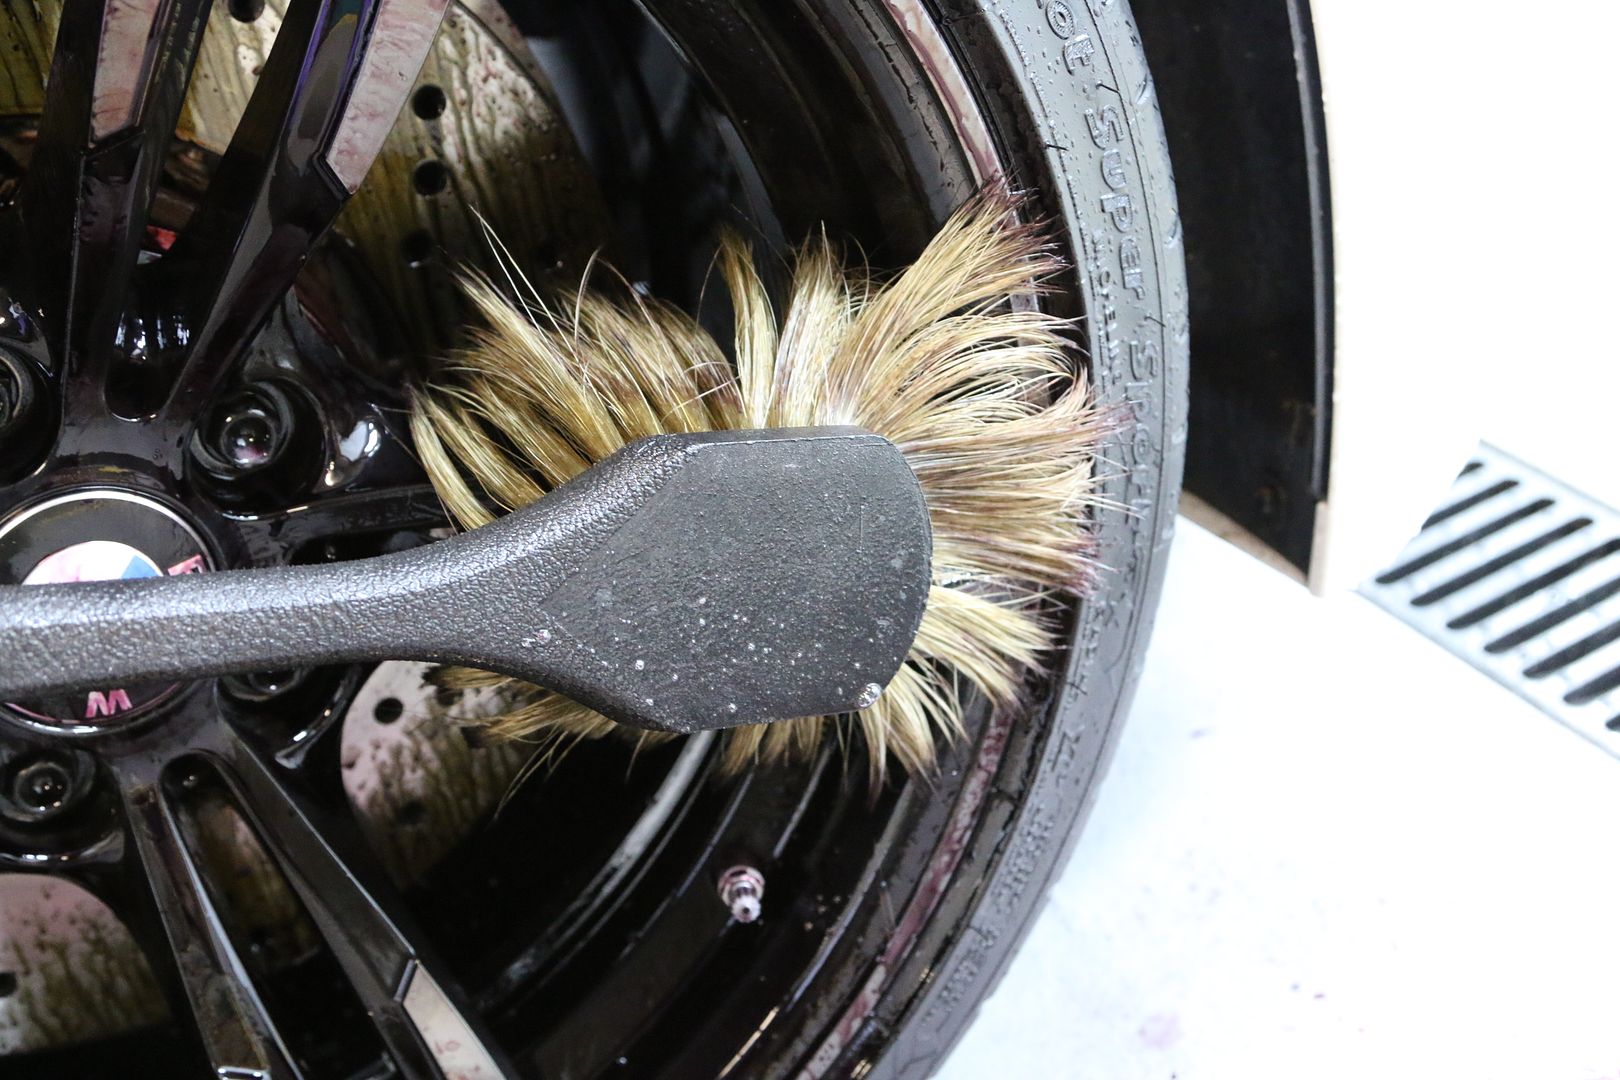
Adam's Boulder Brush for the face of the wheels - super gentle.
![Click the image to open in full size.]()
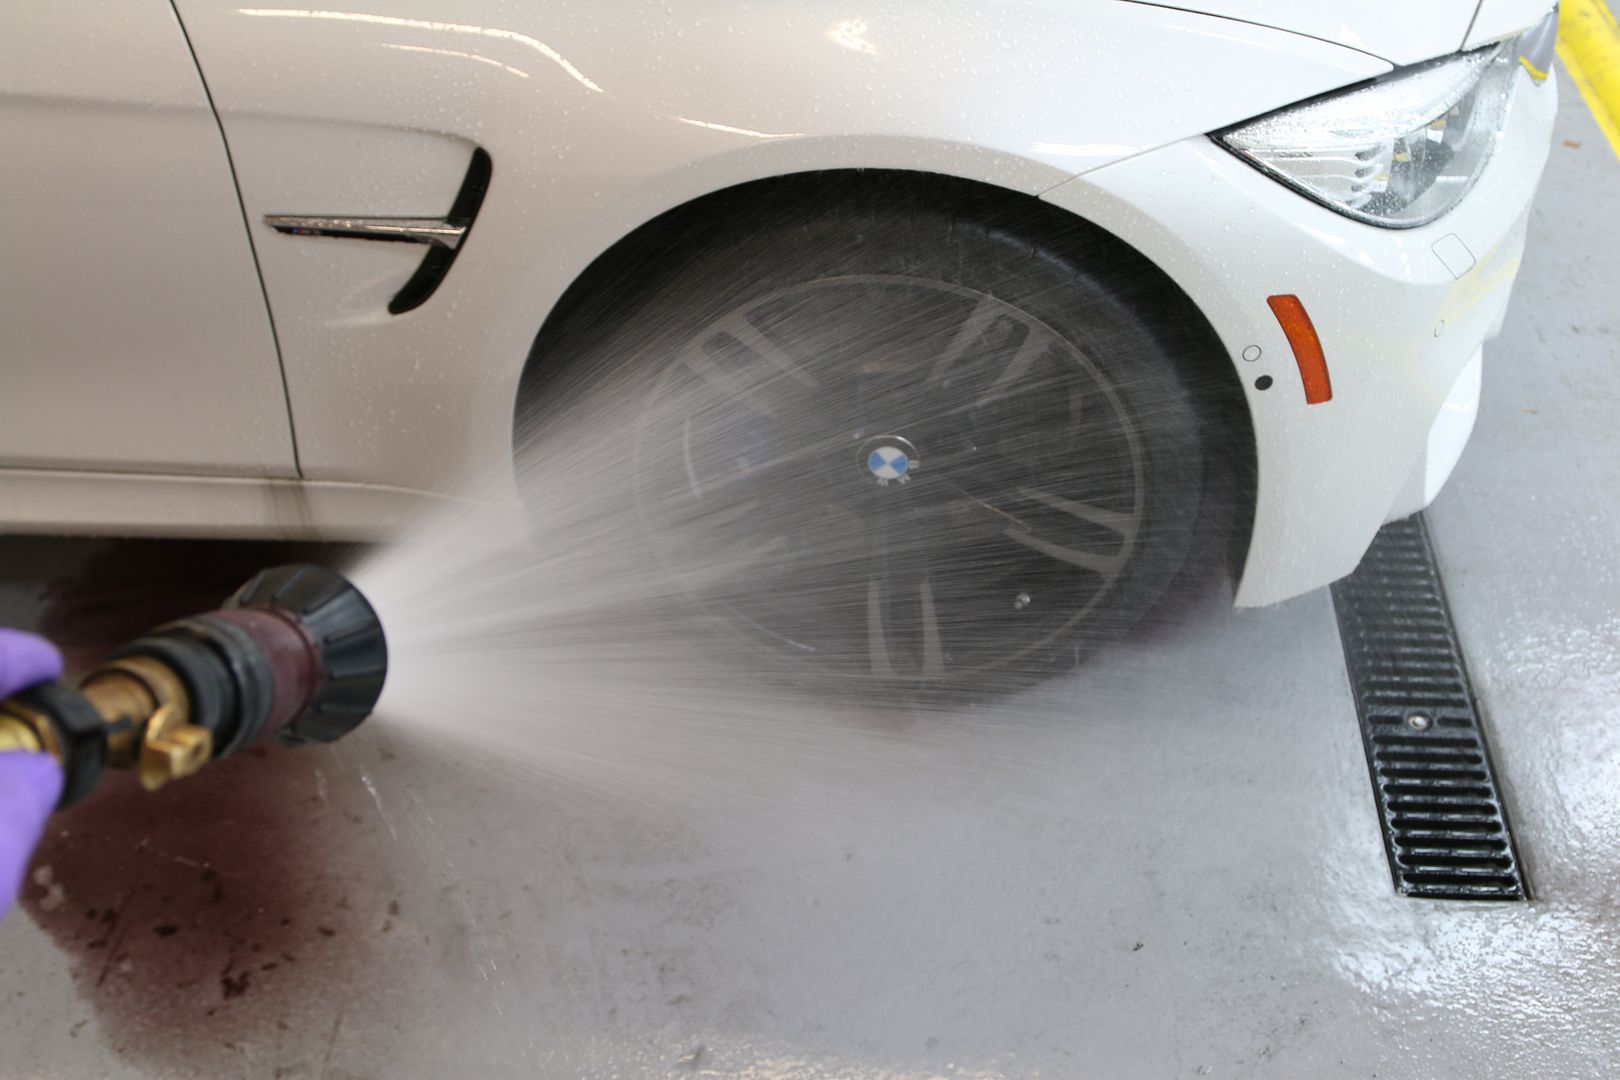
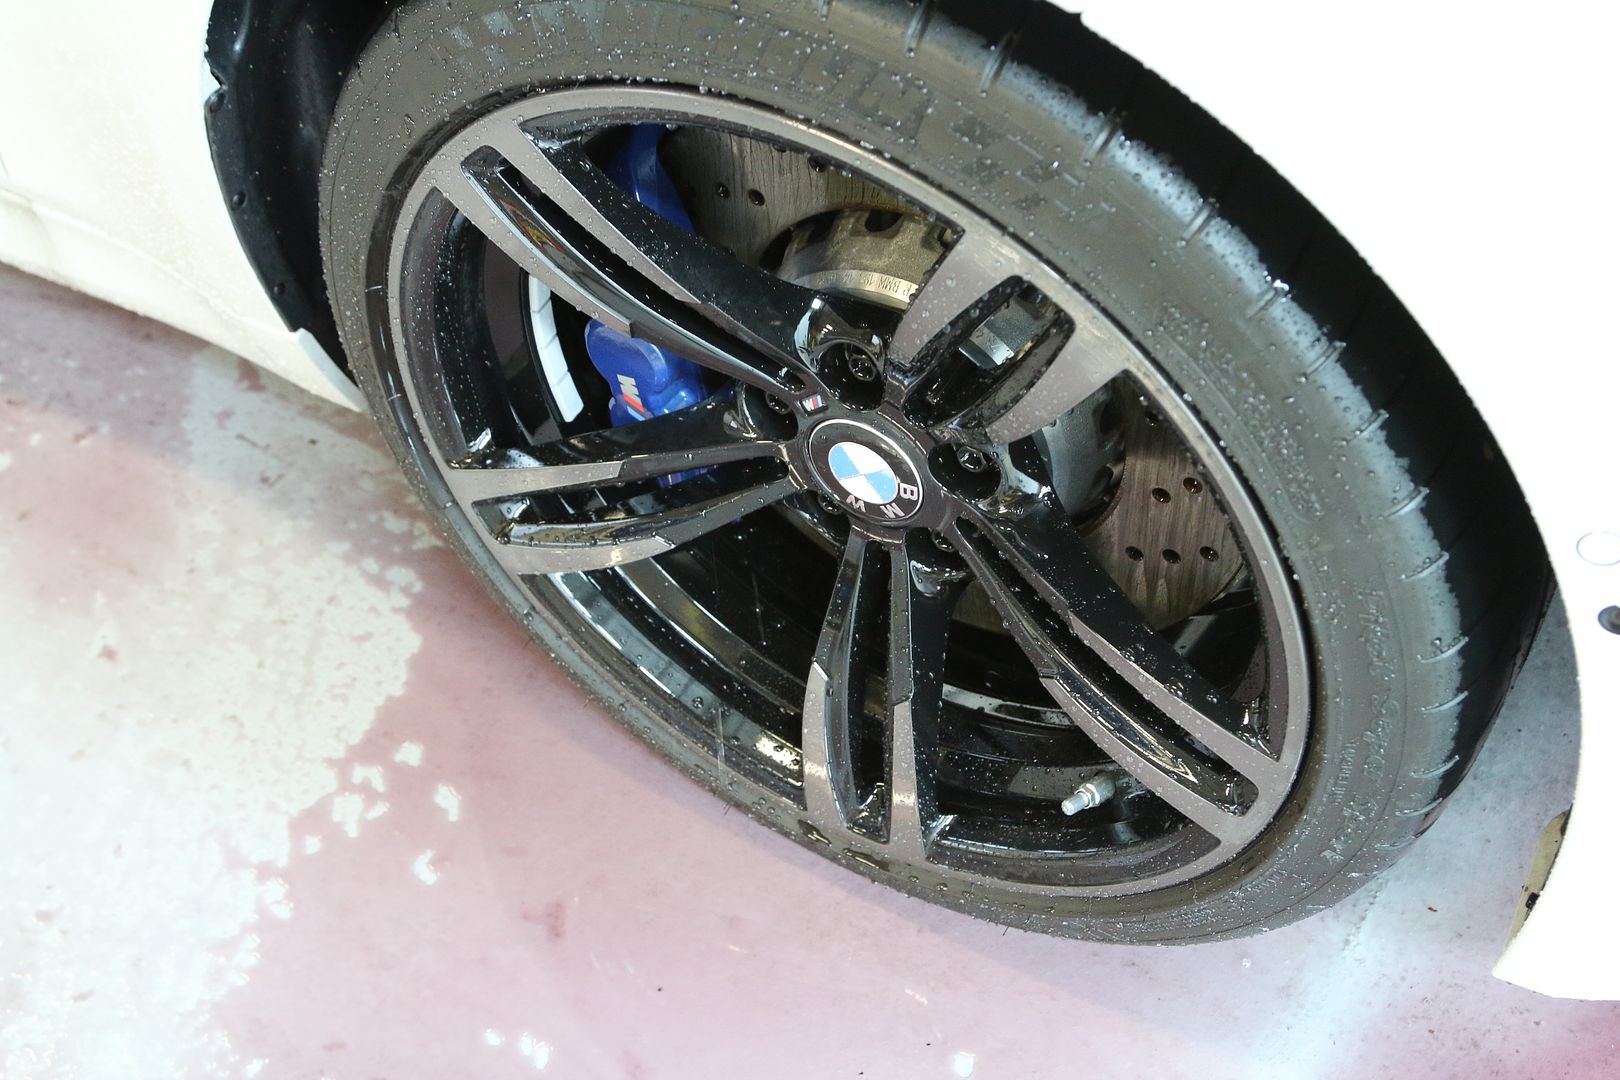
Rinse them off.
![Click the image to open in full size.]()
![Click the image to open in full size.]()
![Click the image to open in full size.]()
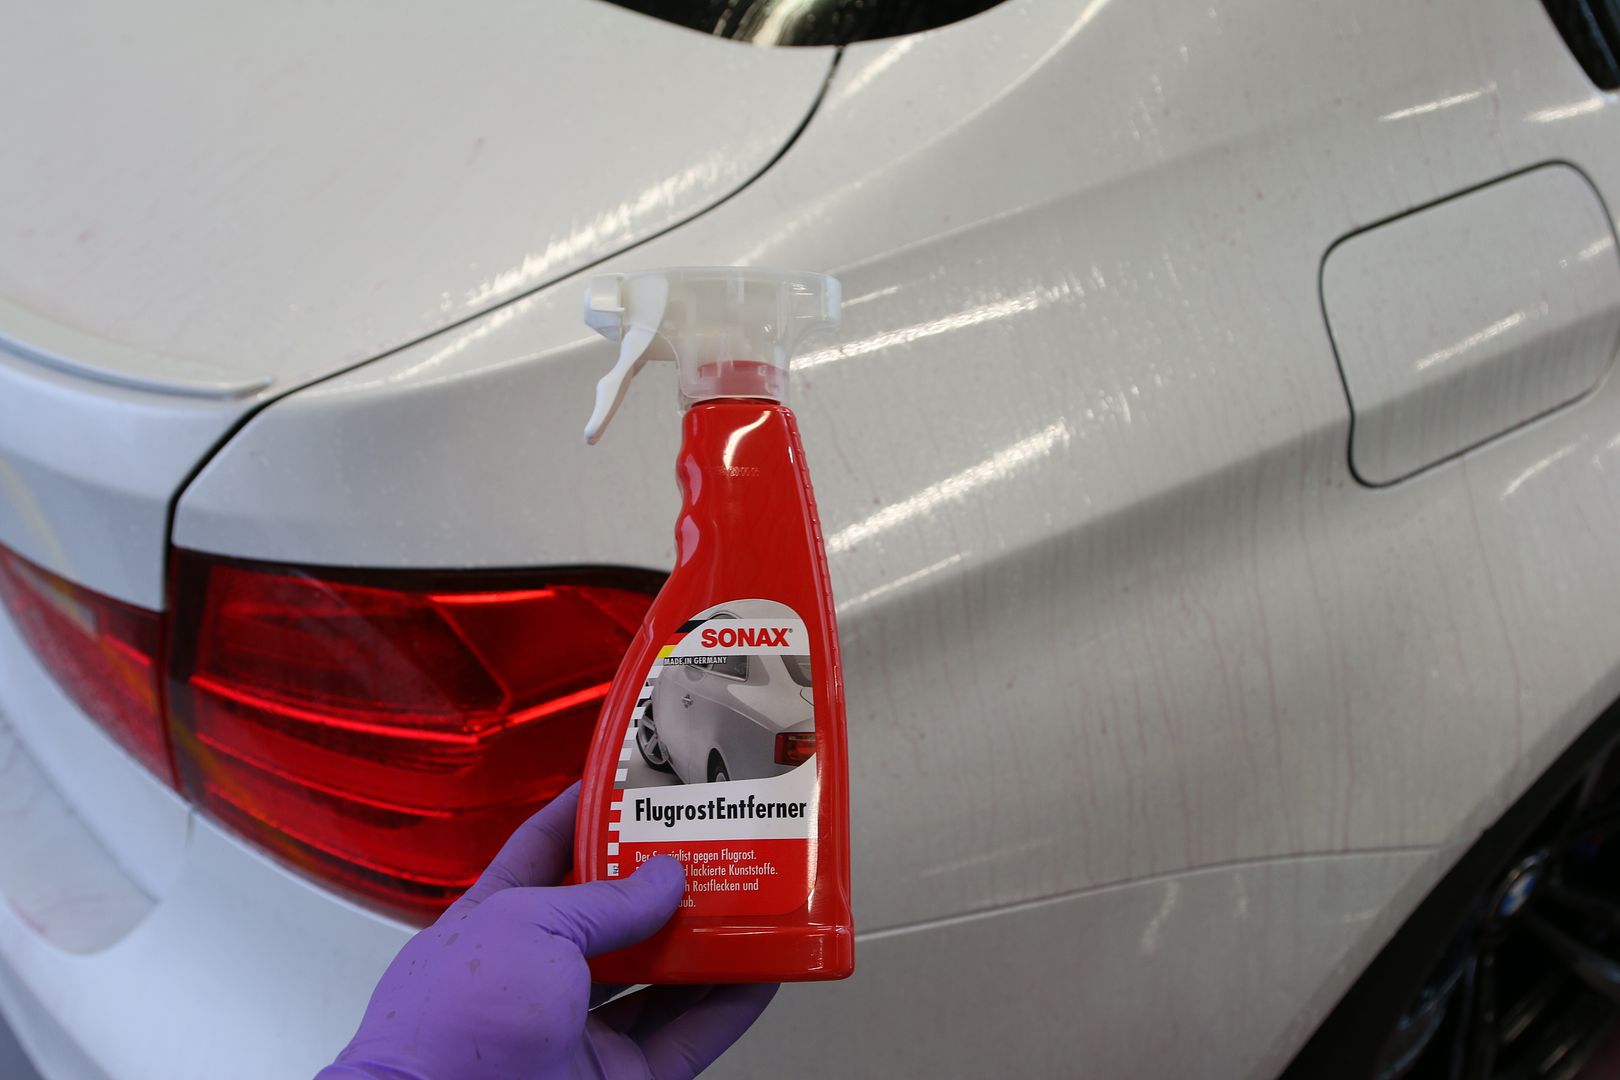
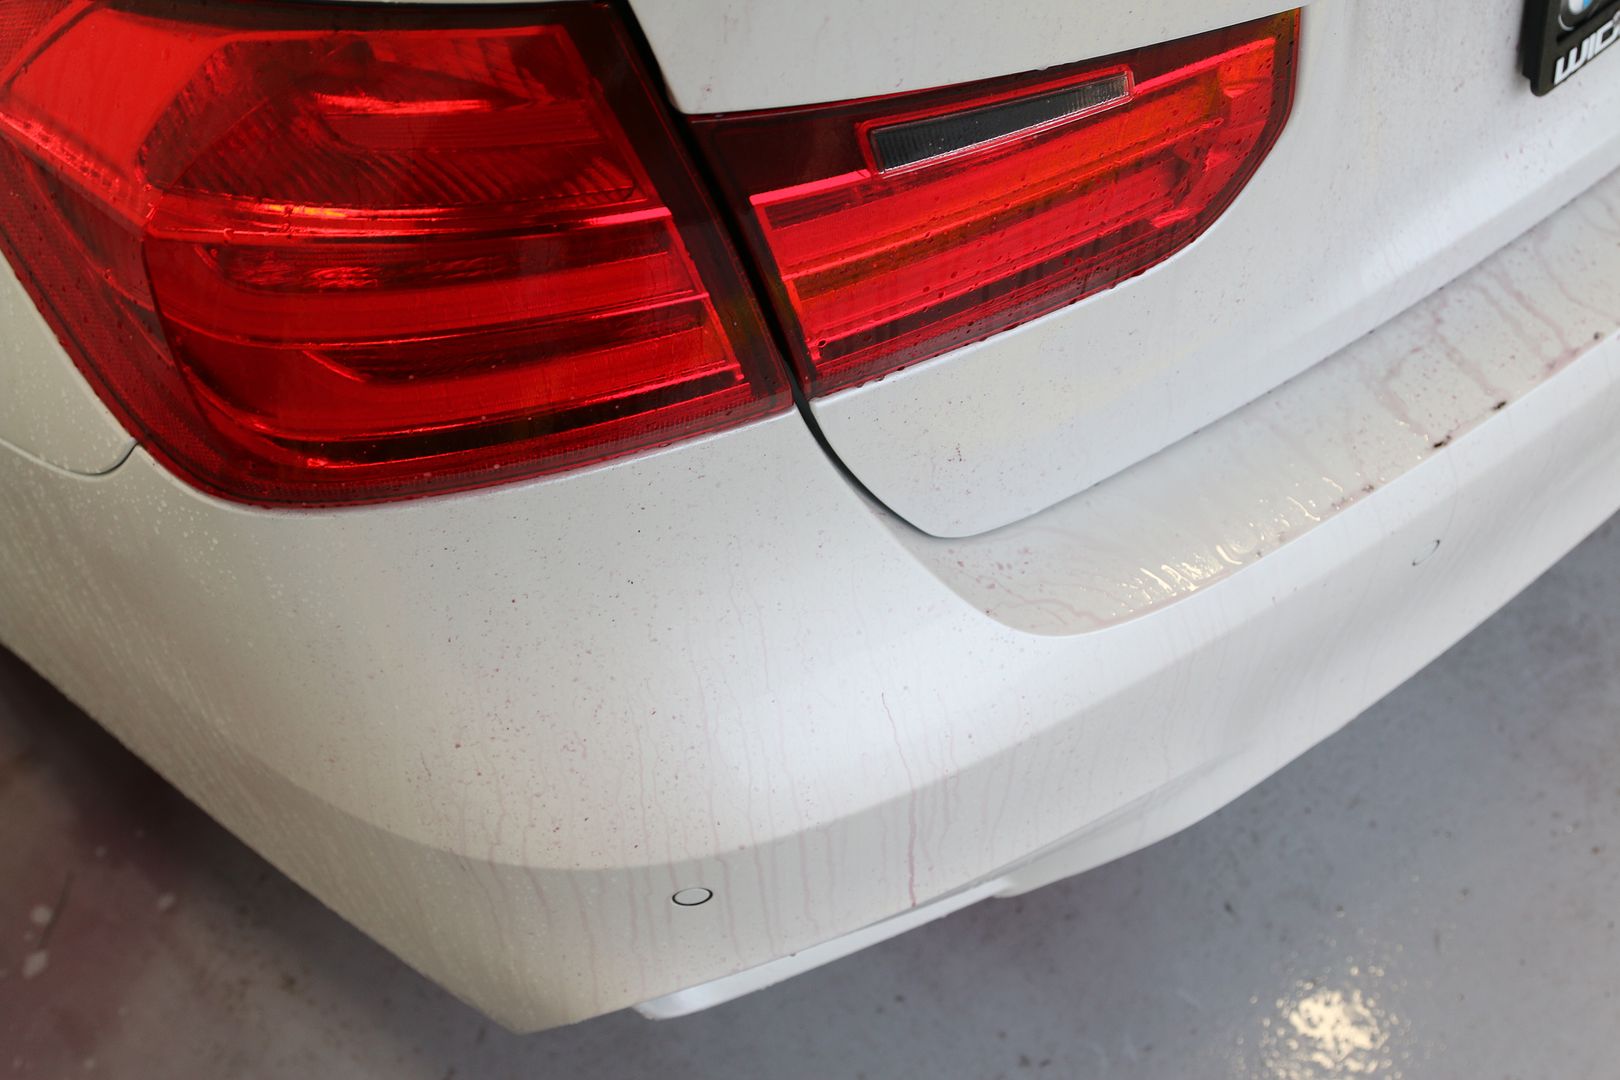
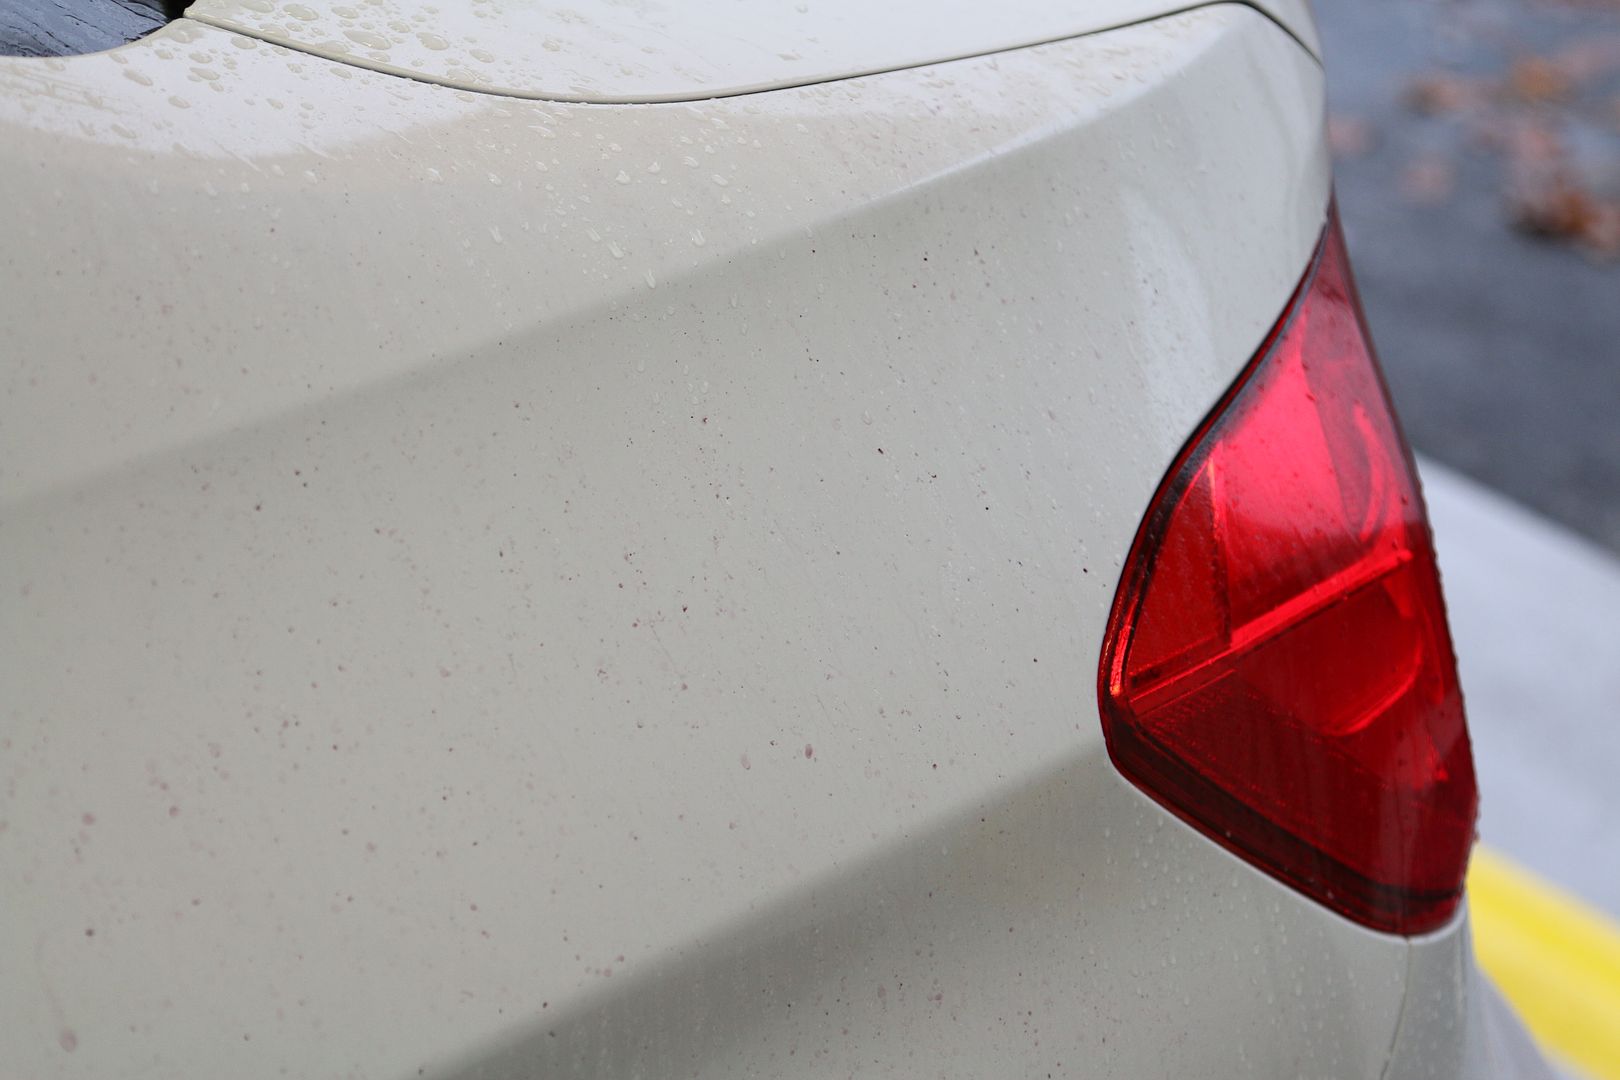
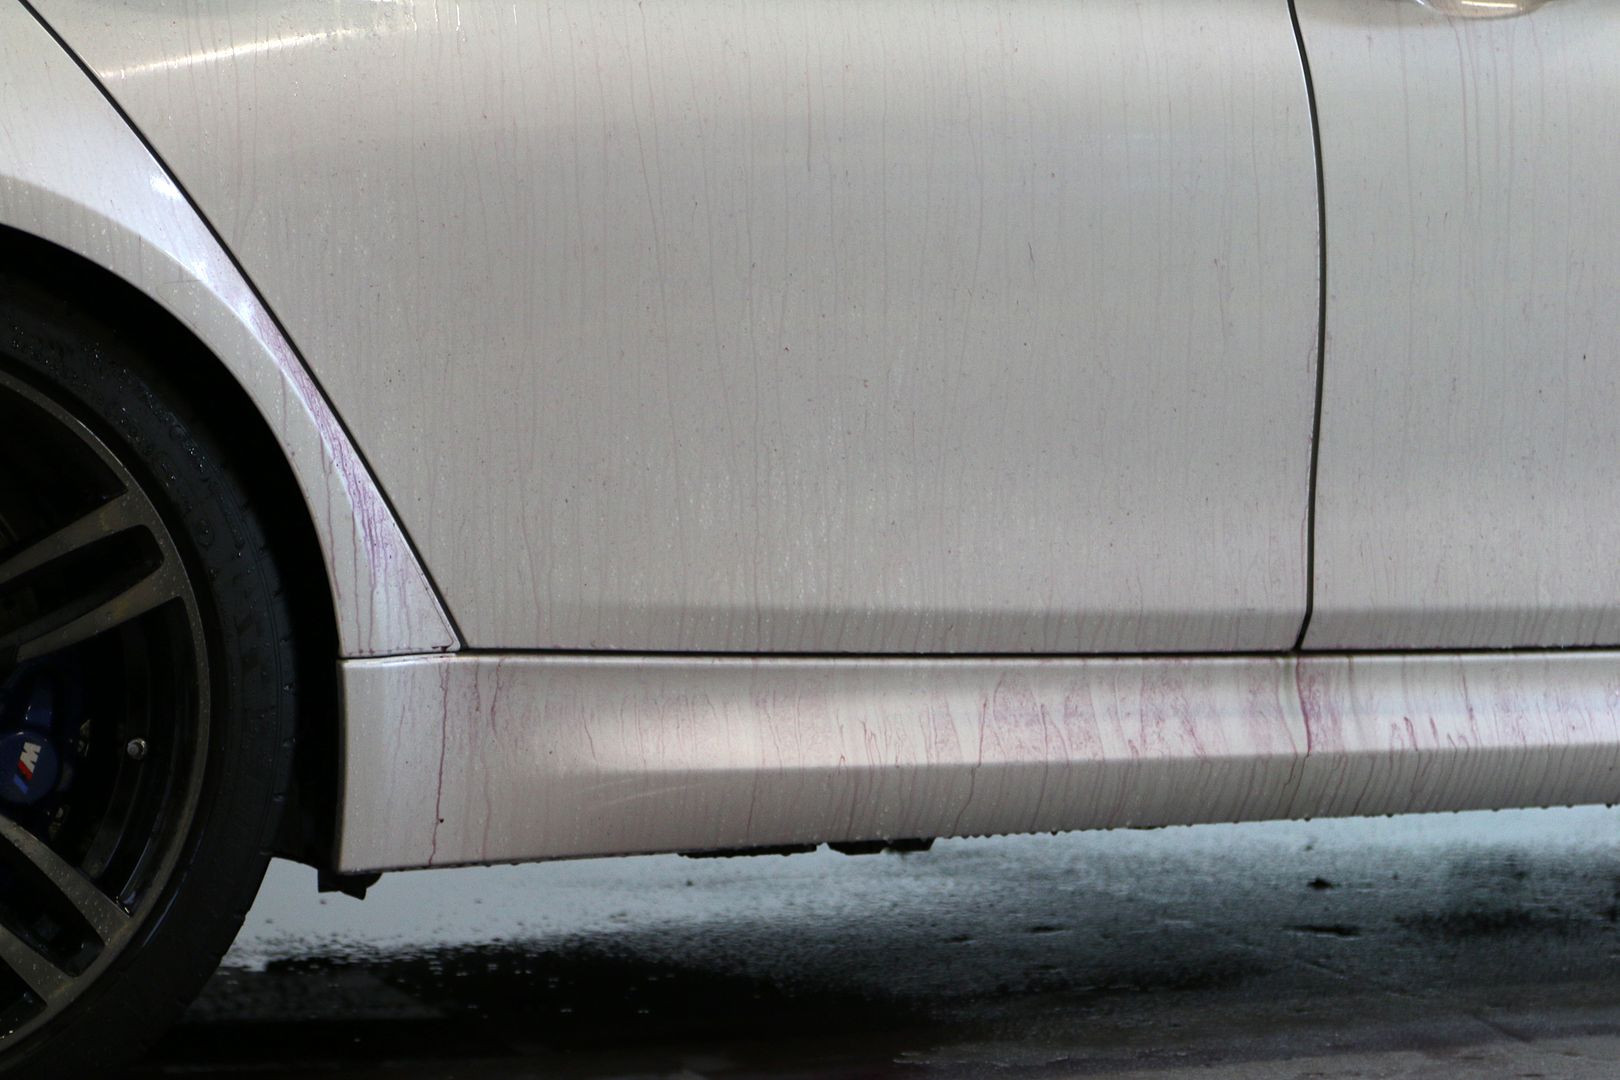
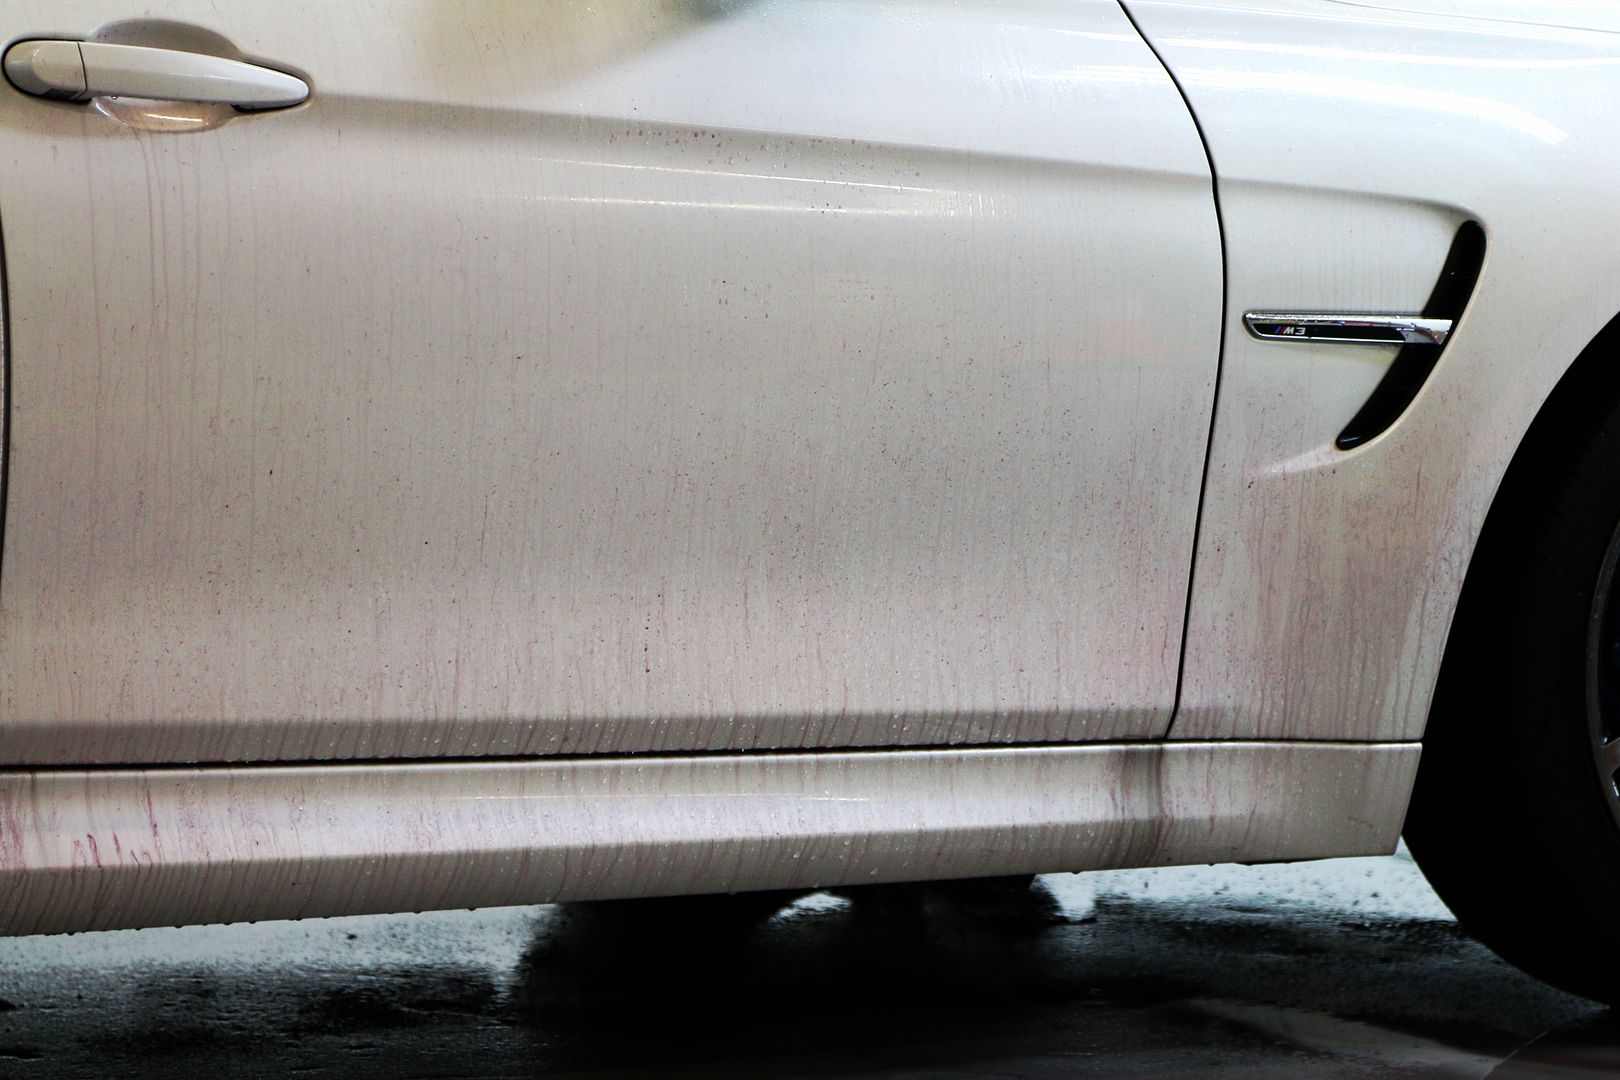
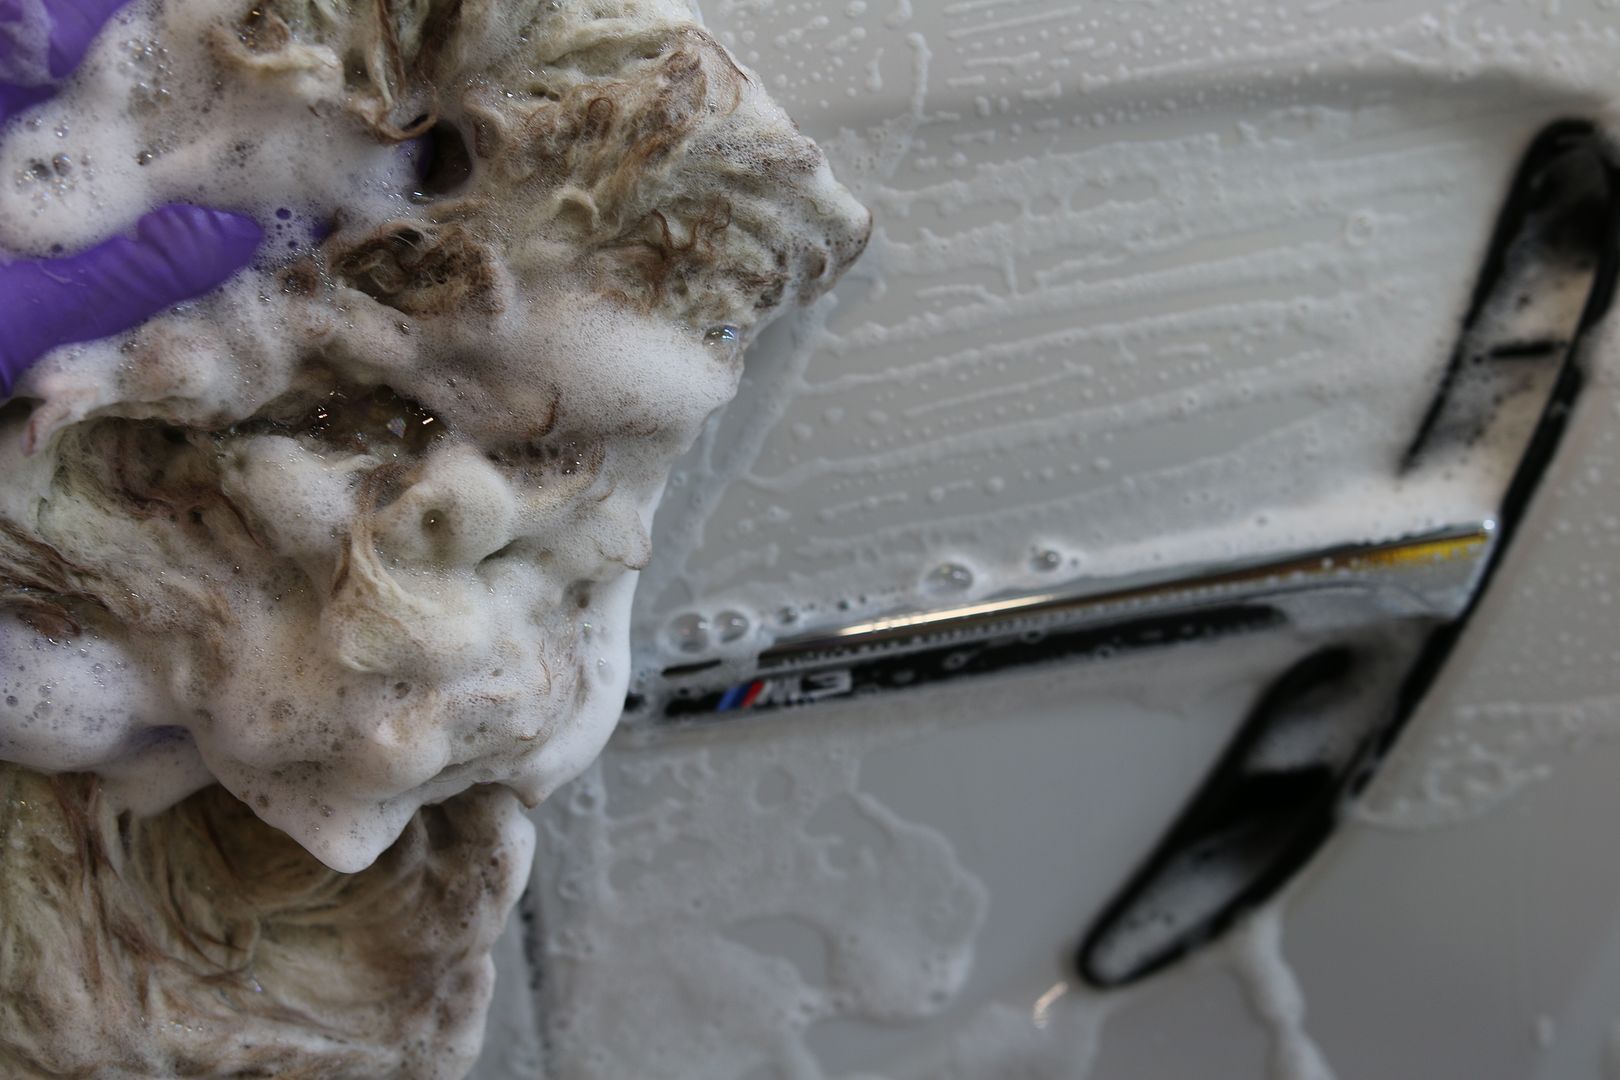
Decon with Sonax Fallout Remover (it pulled up quite a bit of iron particles and fallout with only a few hundred miles on it)
![Click the image to open in full size.]()
![Click the image to open in full size.]()
![Click the image to open in full size.]()
![Click the image to open in full size.]()
![Click the image to open in full size.]()
![Click the image to open in full size.]()
![Click the image to open in full size.]()
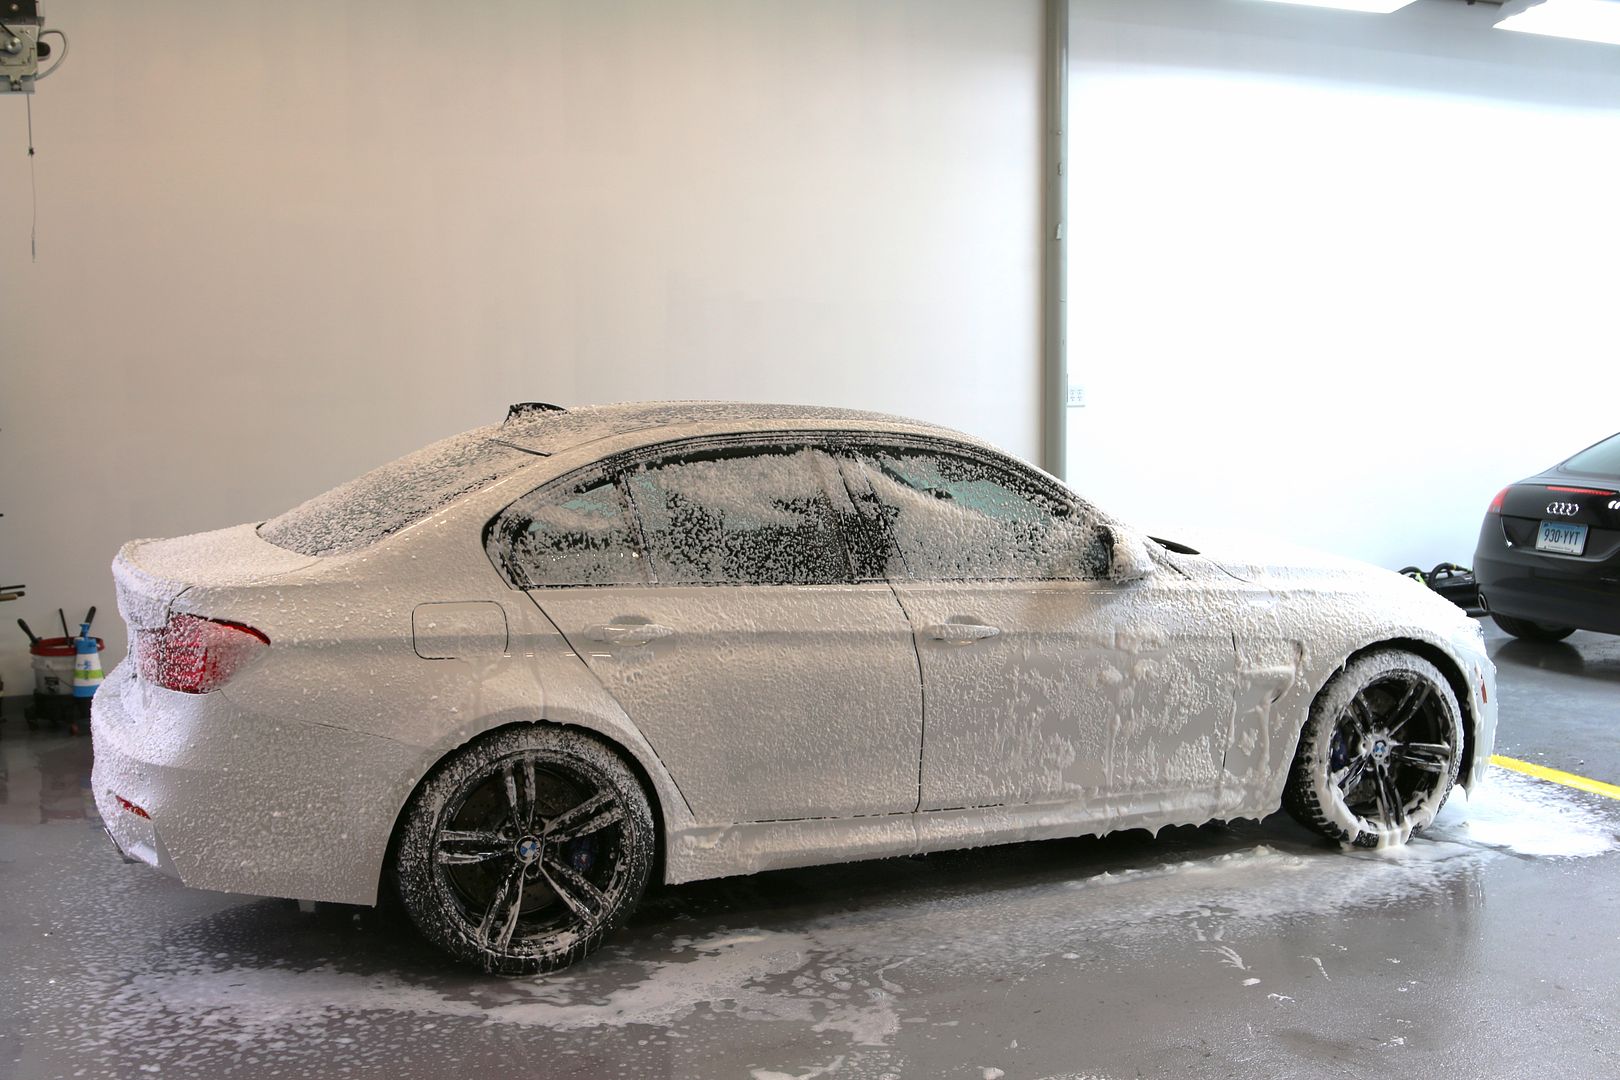
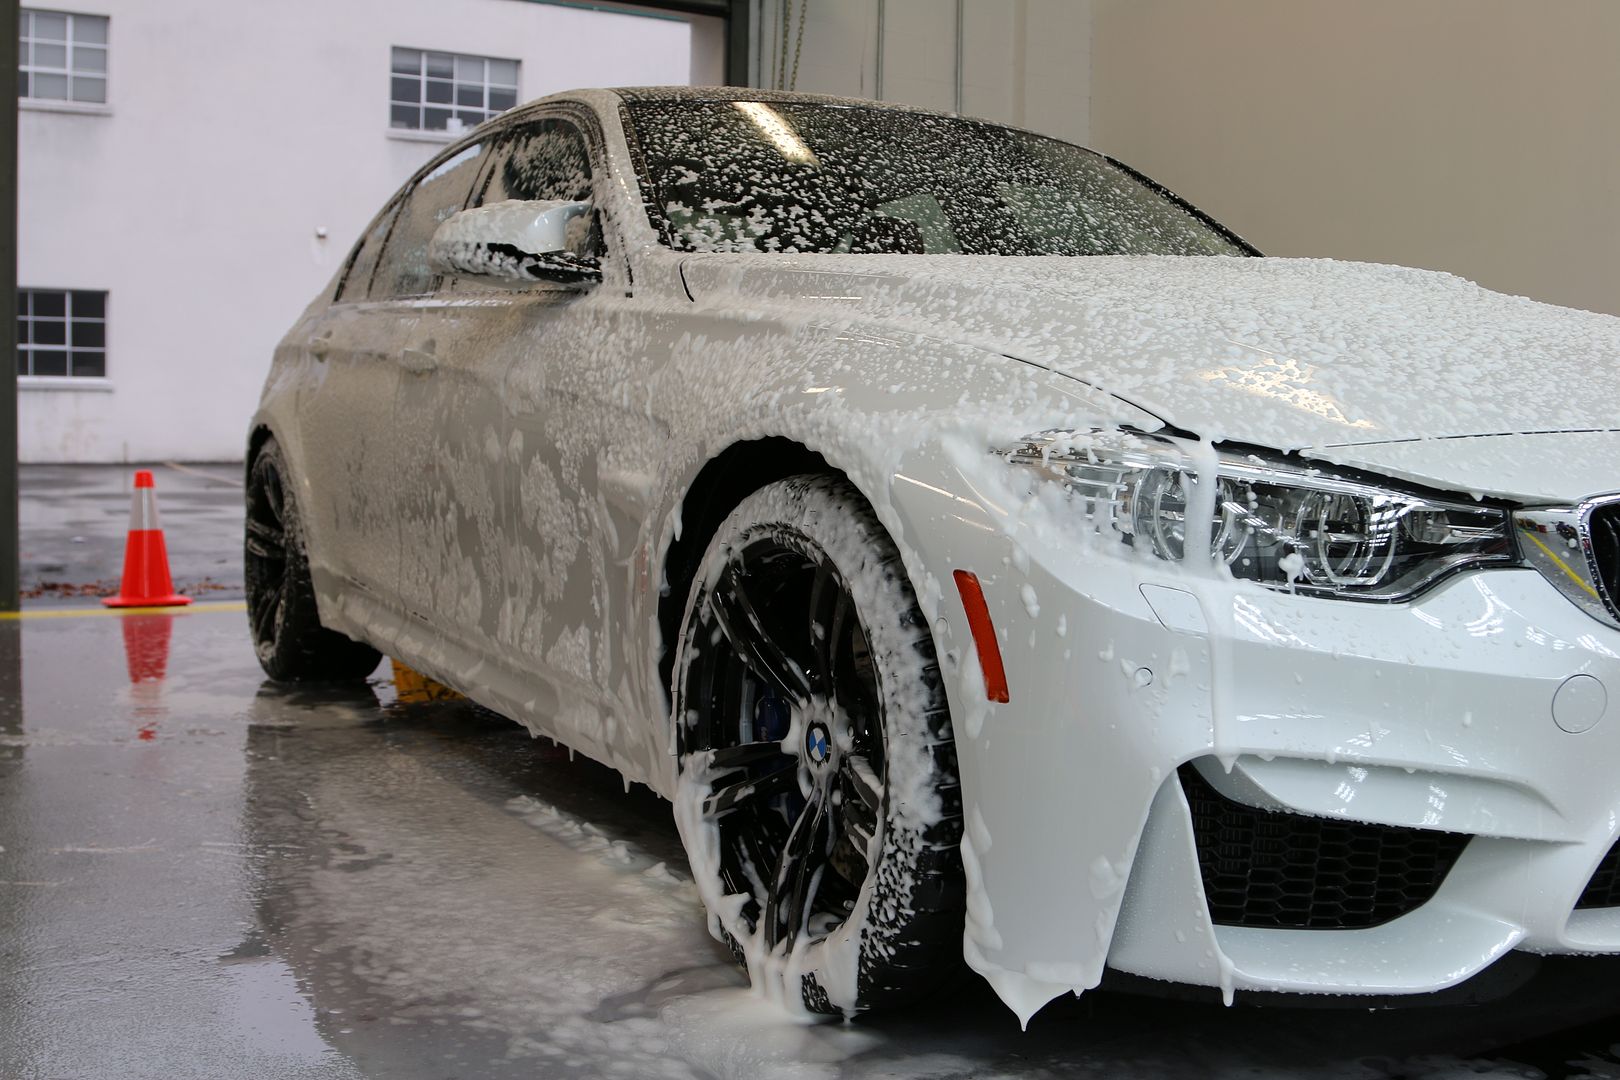
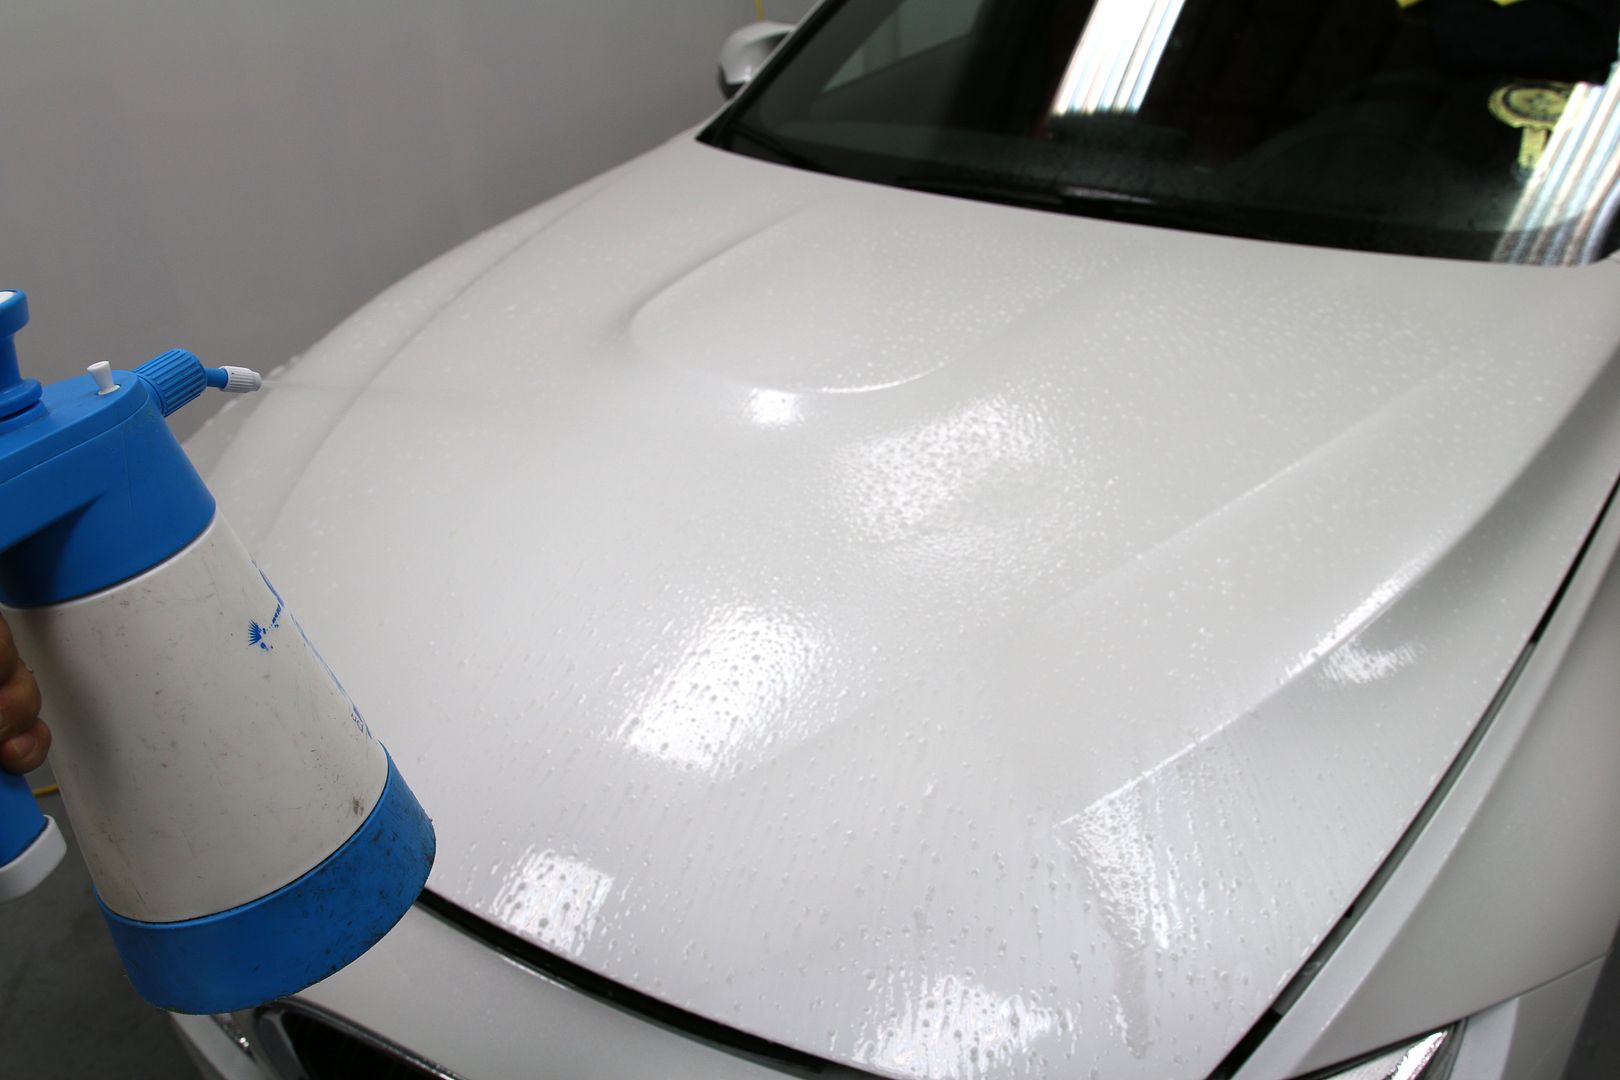
After all the decon wash pressure washed off we foam the car
![Click the image to open in full size.]()
![Click the image to open in full size.]()
![Click the image to open in full size.]()
![Click the image to open in full size.]()
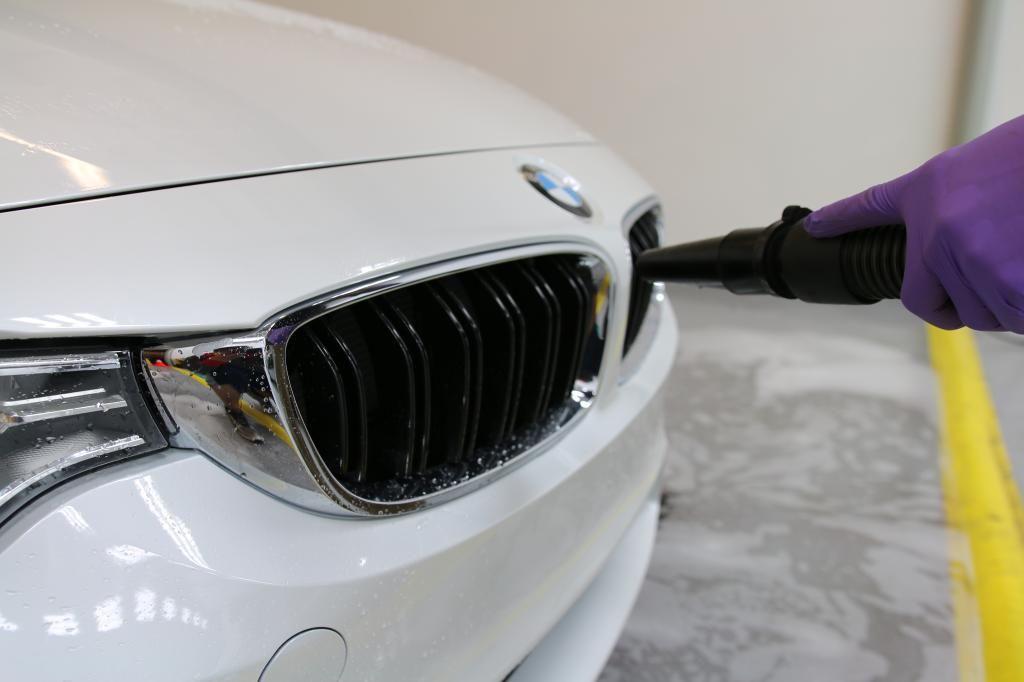
Rinse and blow dry
![Click the image to open in full size.]()
![Click the image to open in full size.]()
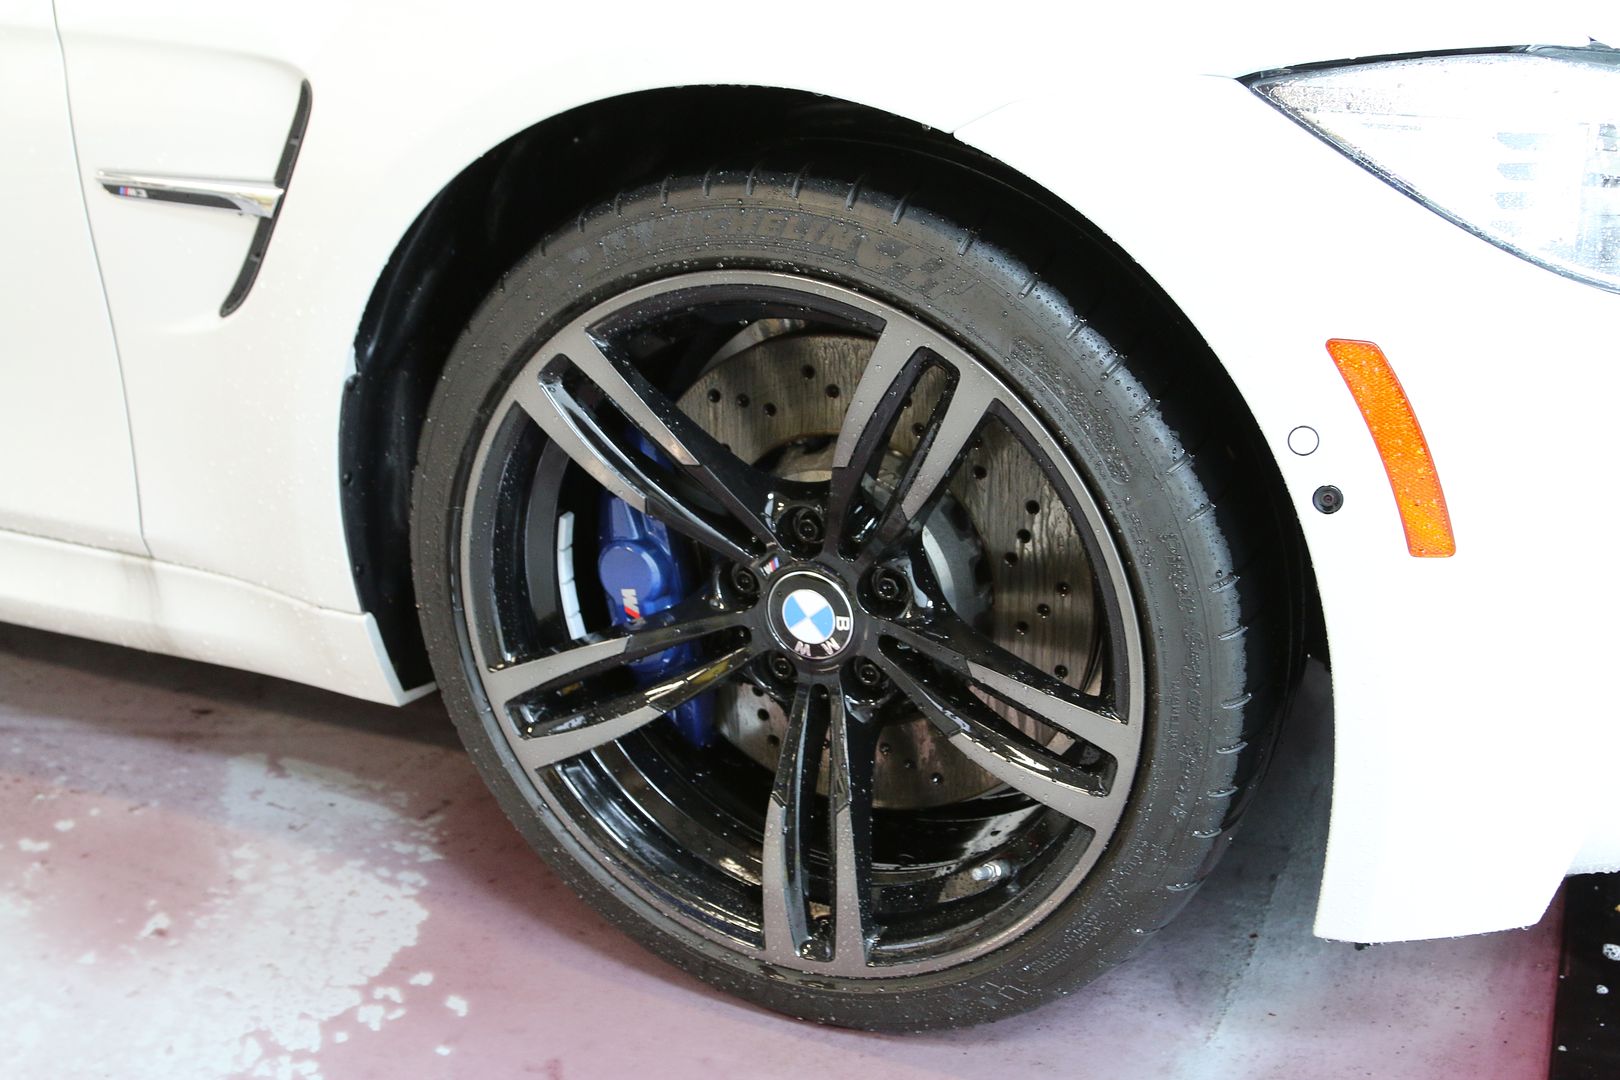
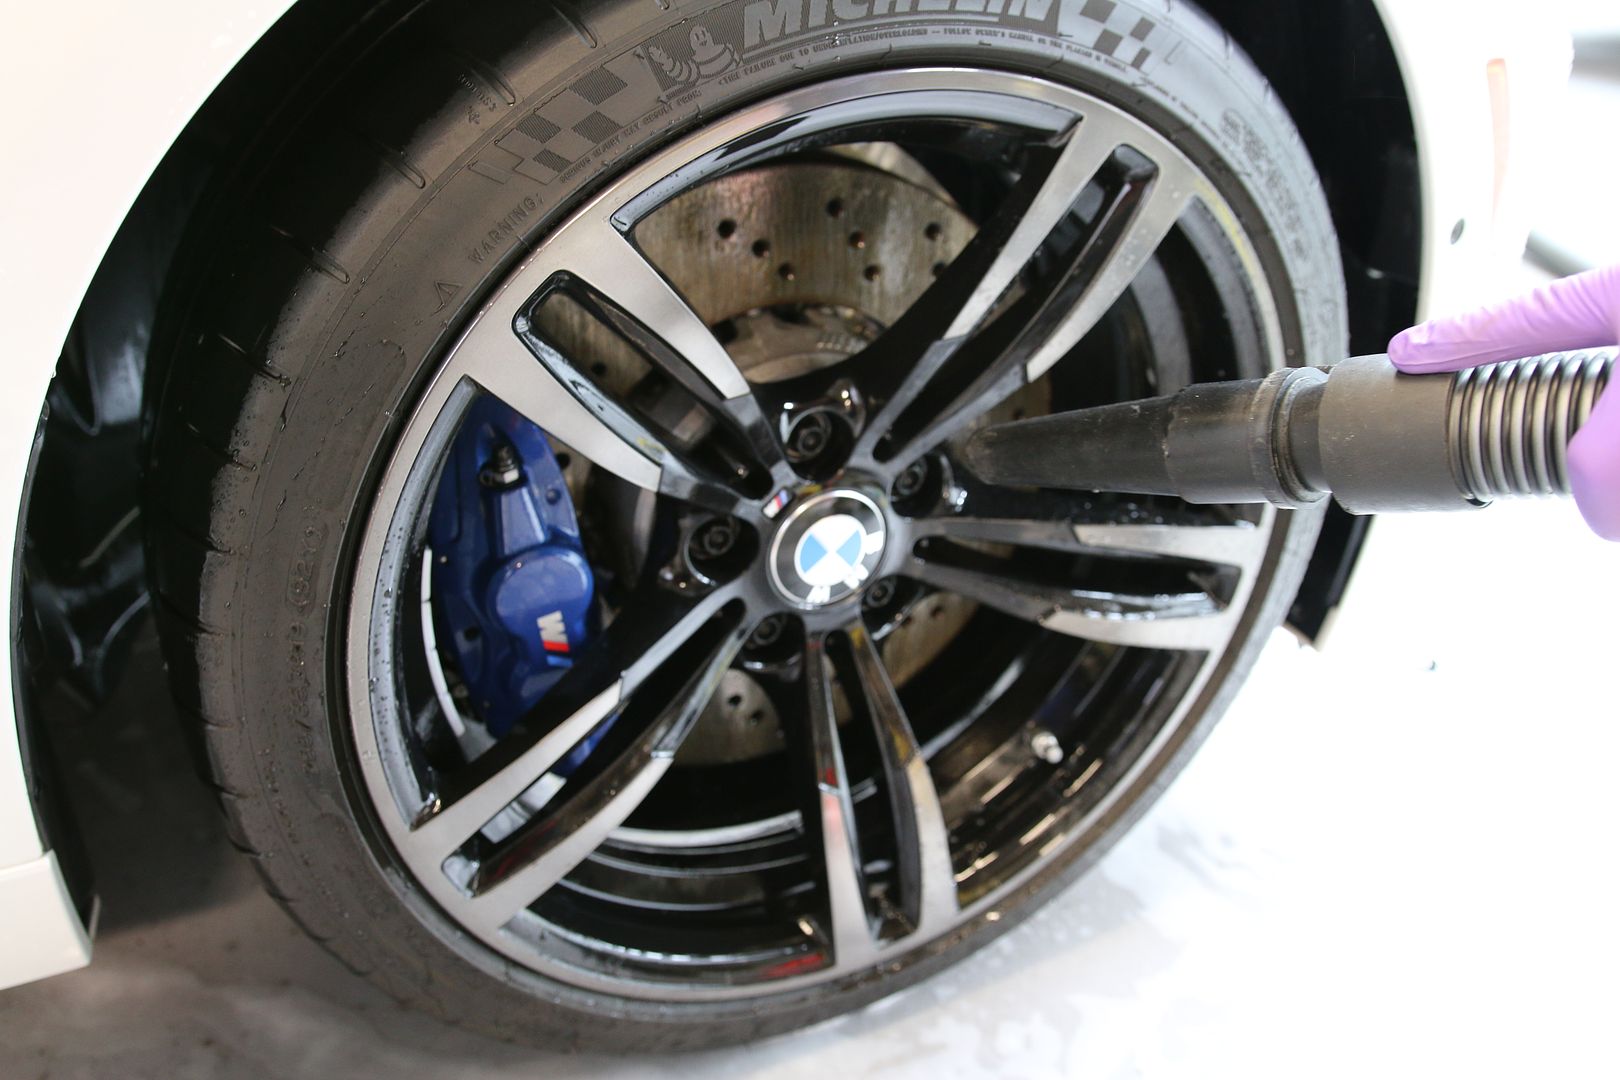
With the darker/matte wheels I have found we always need to go back and hit them up with a detail spray to ensure they are perfectly clean.
![Click the image to open in full size.]()
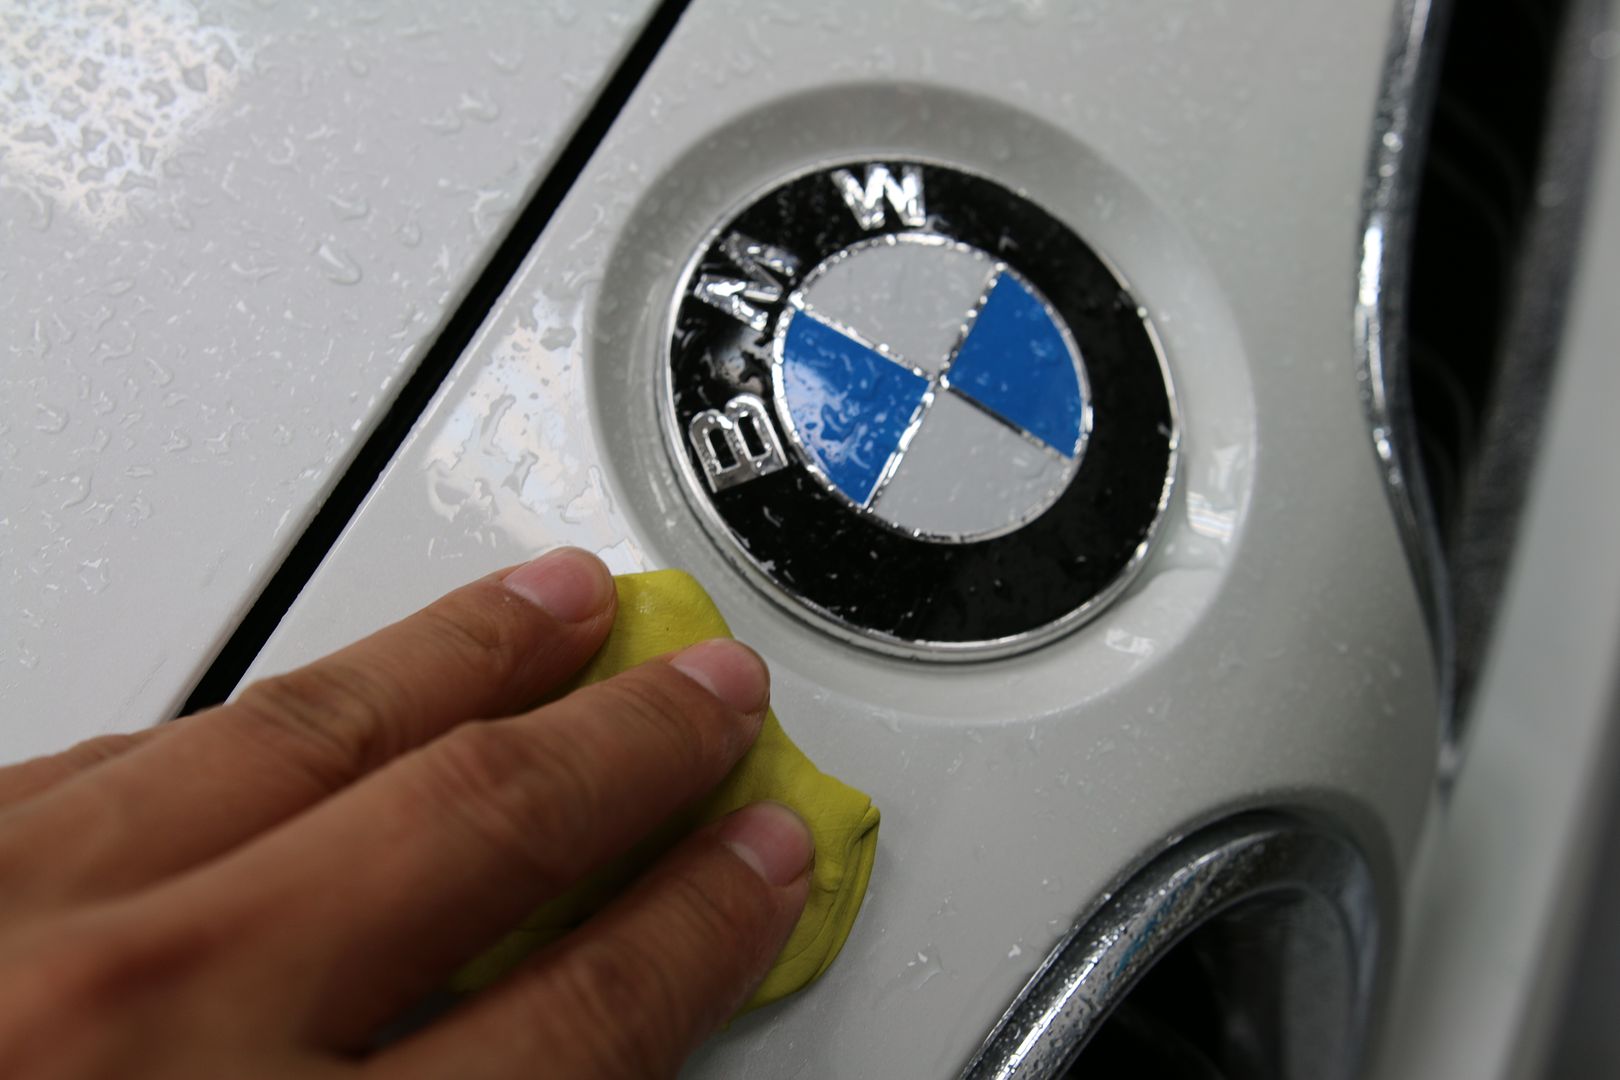
Washed and Dried - next up clay bar
![Click the image to open in full size.]()
![Click the image to open in full size.]()
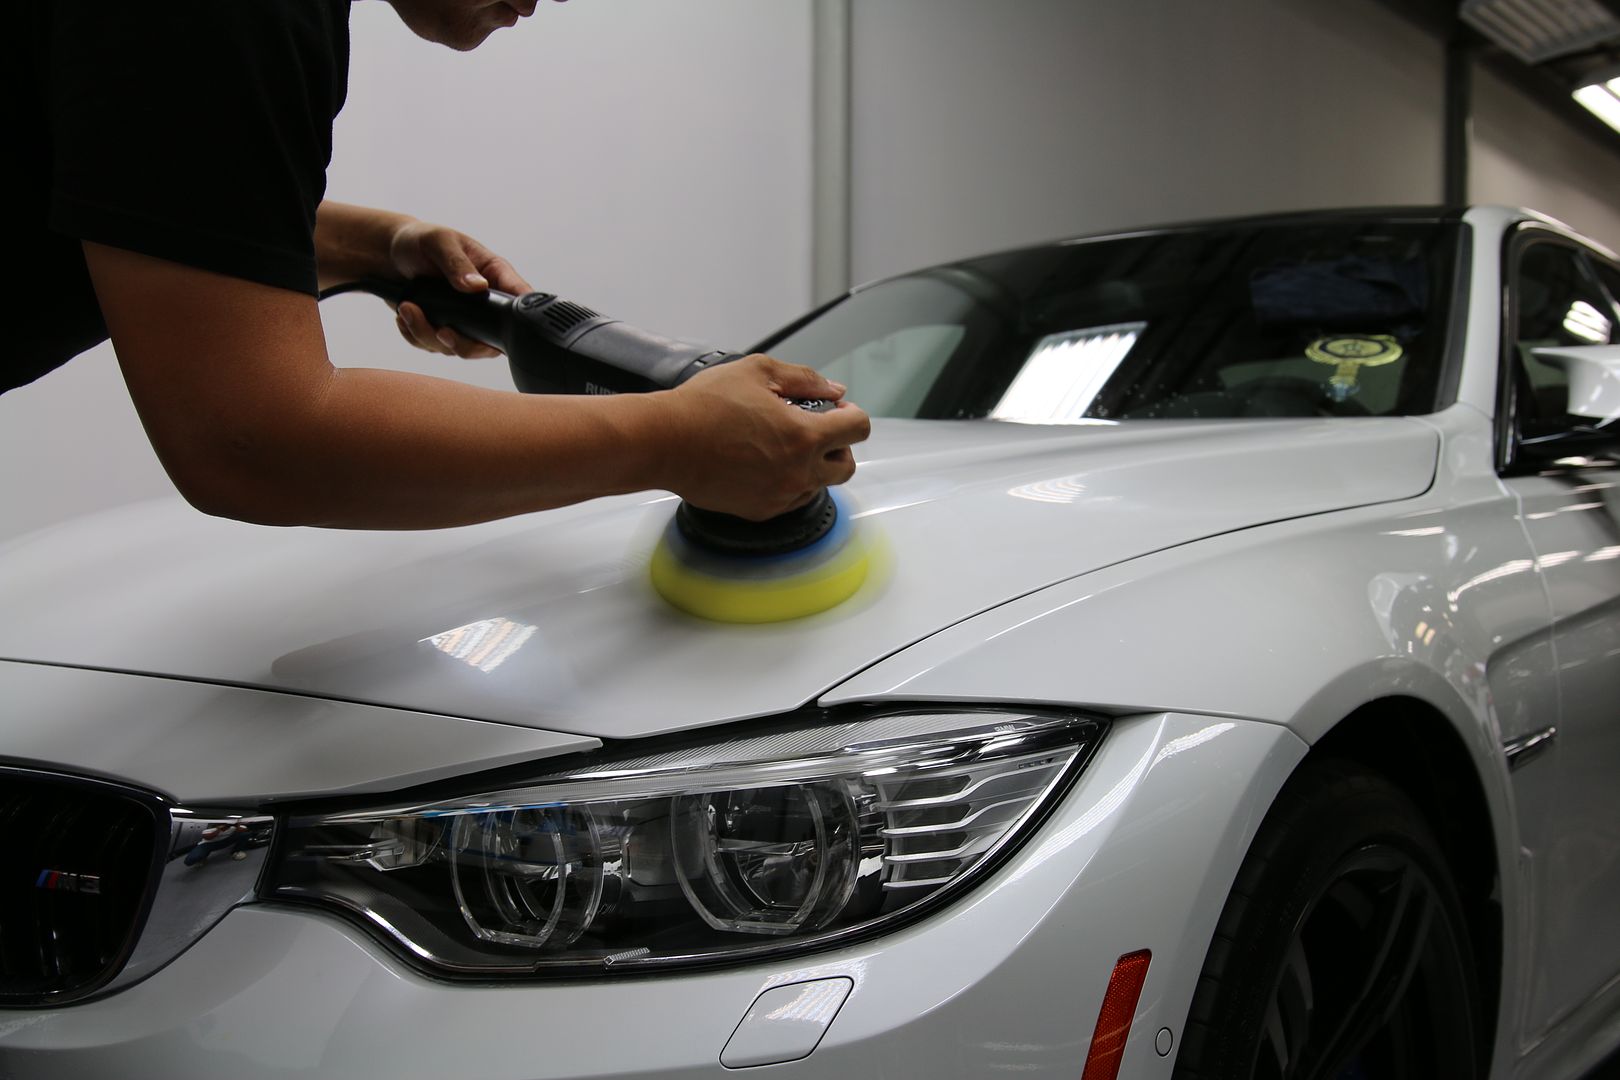
Making sure the car is perfect prior to the Xpel Ultimate Clear Film installation. A good polish with Sonax Perfect Finish and the Rupes LHR21 with Rupes Yellow Pad.
![Click the image to open in full size.]()
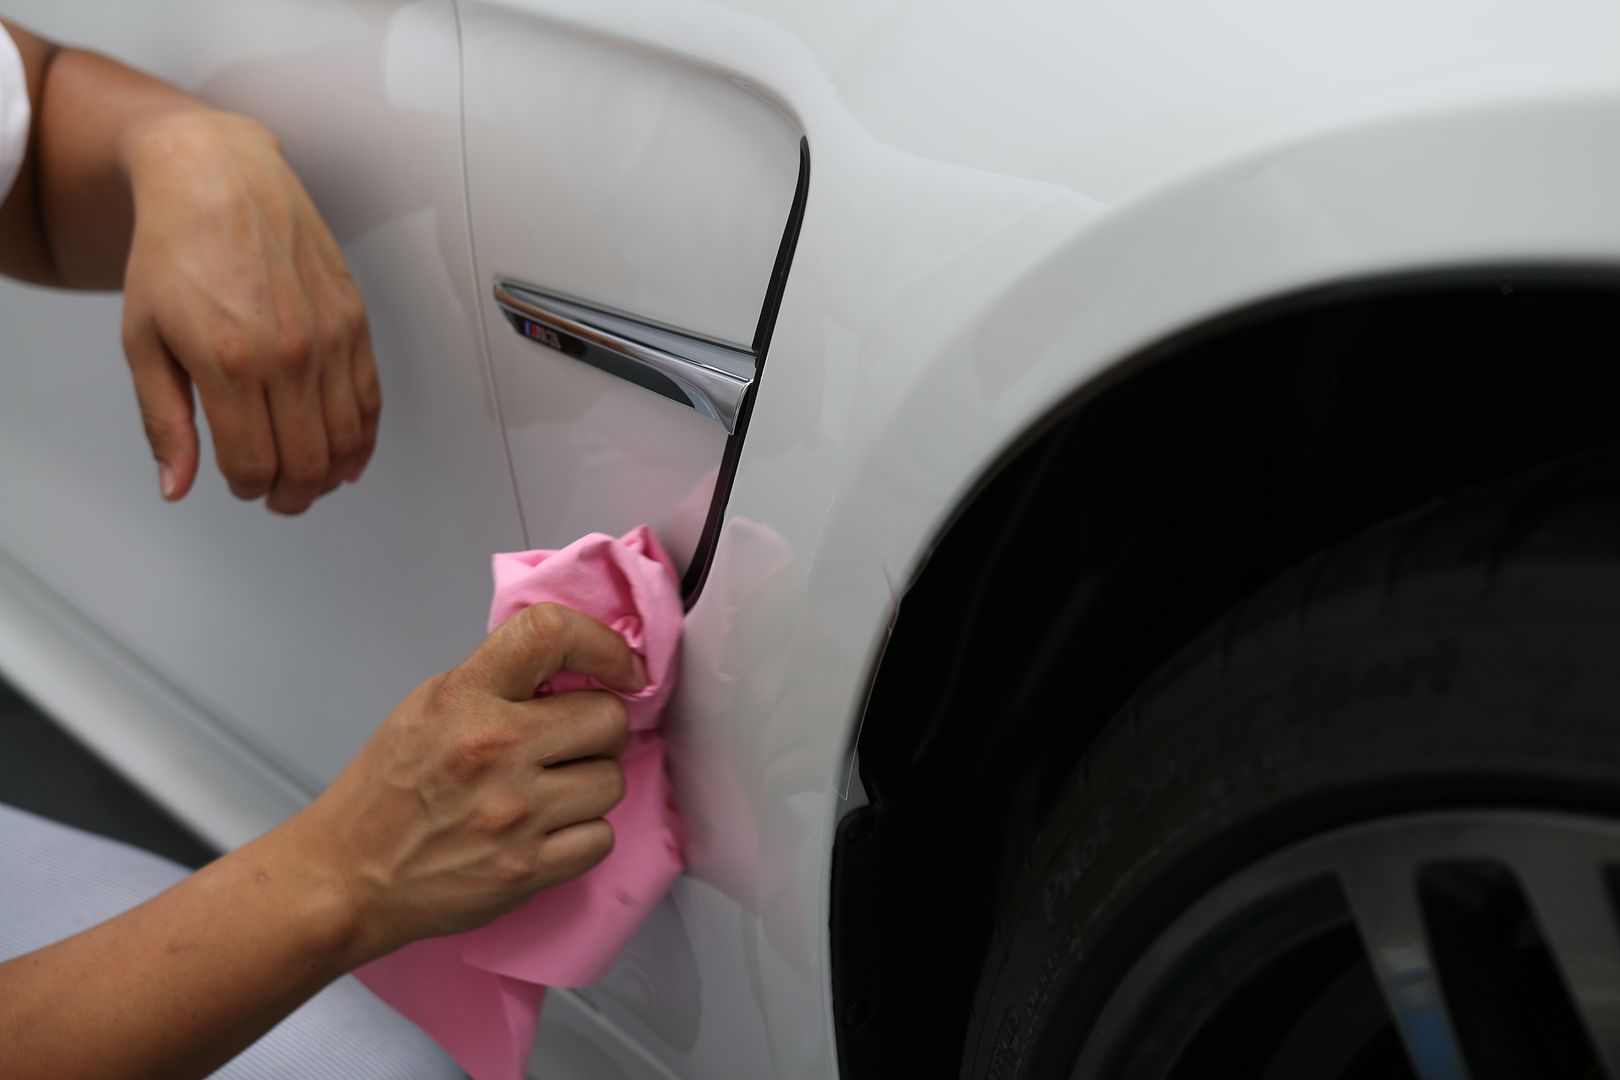
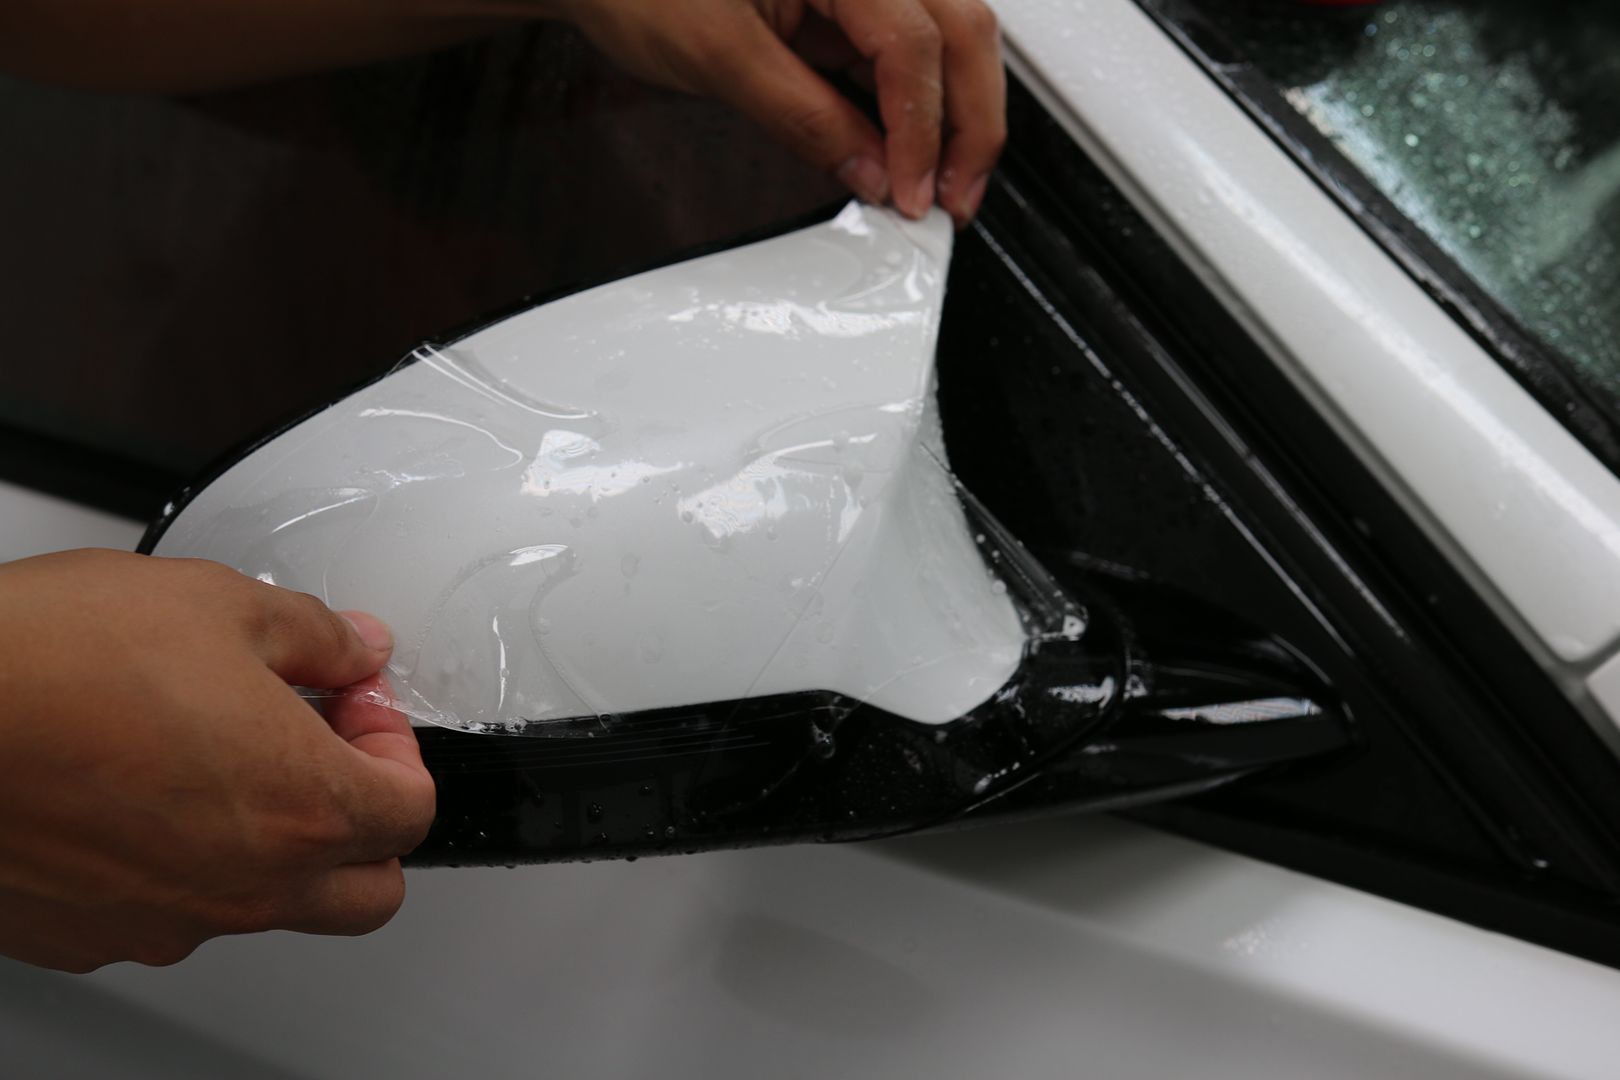
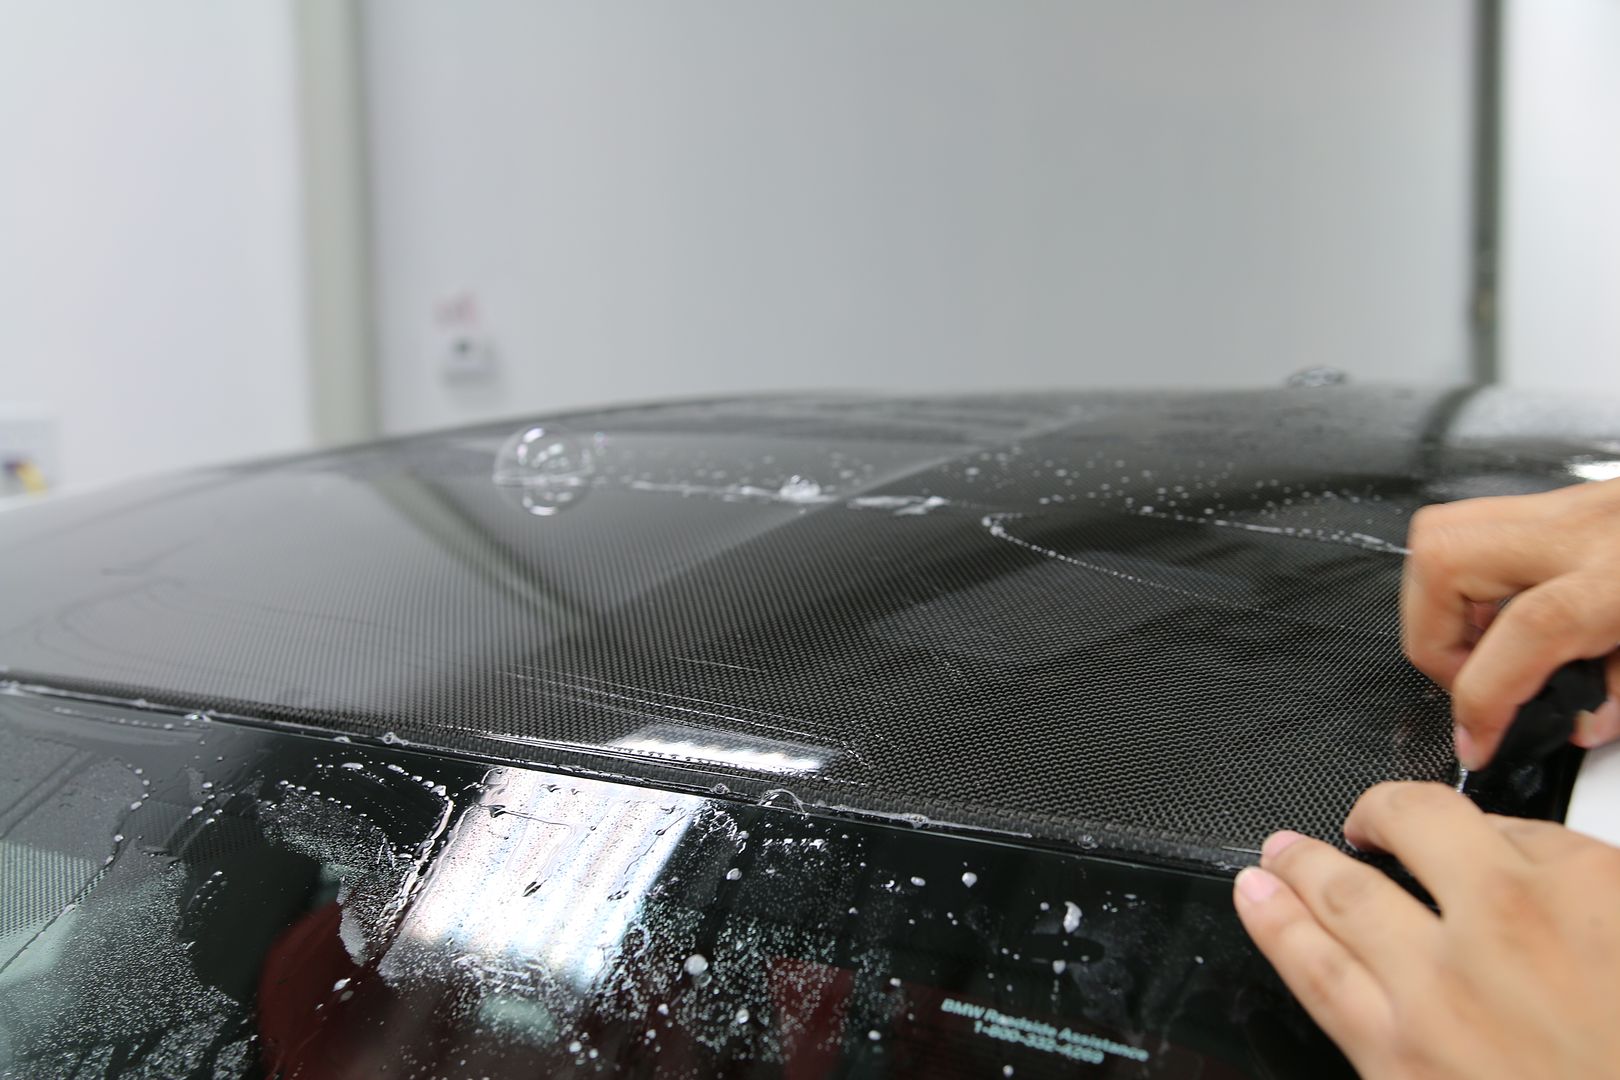
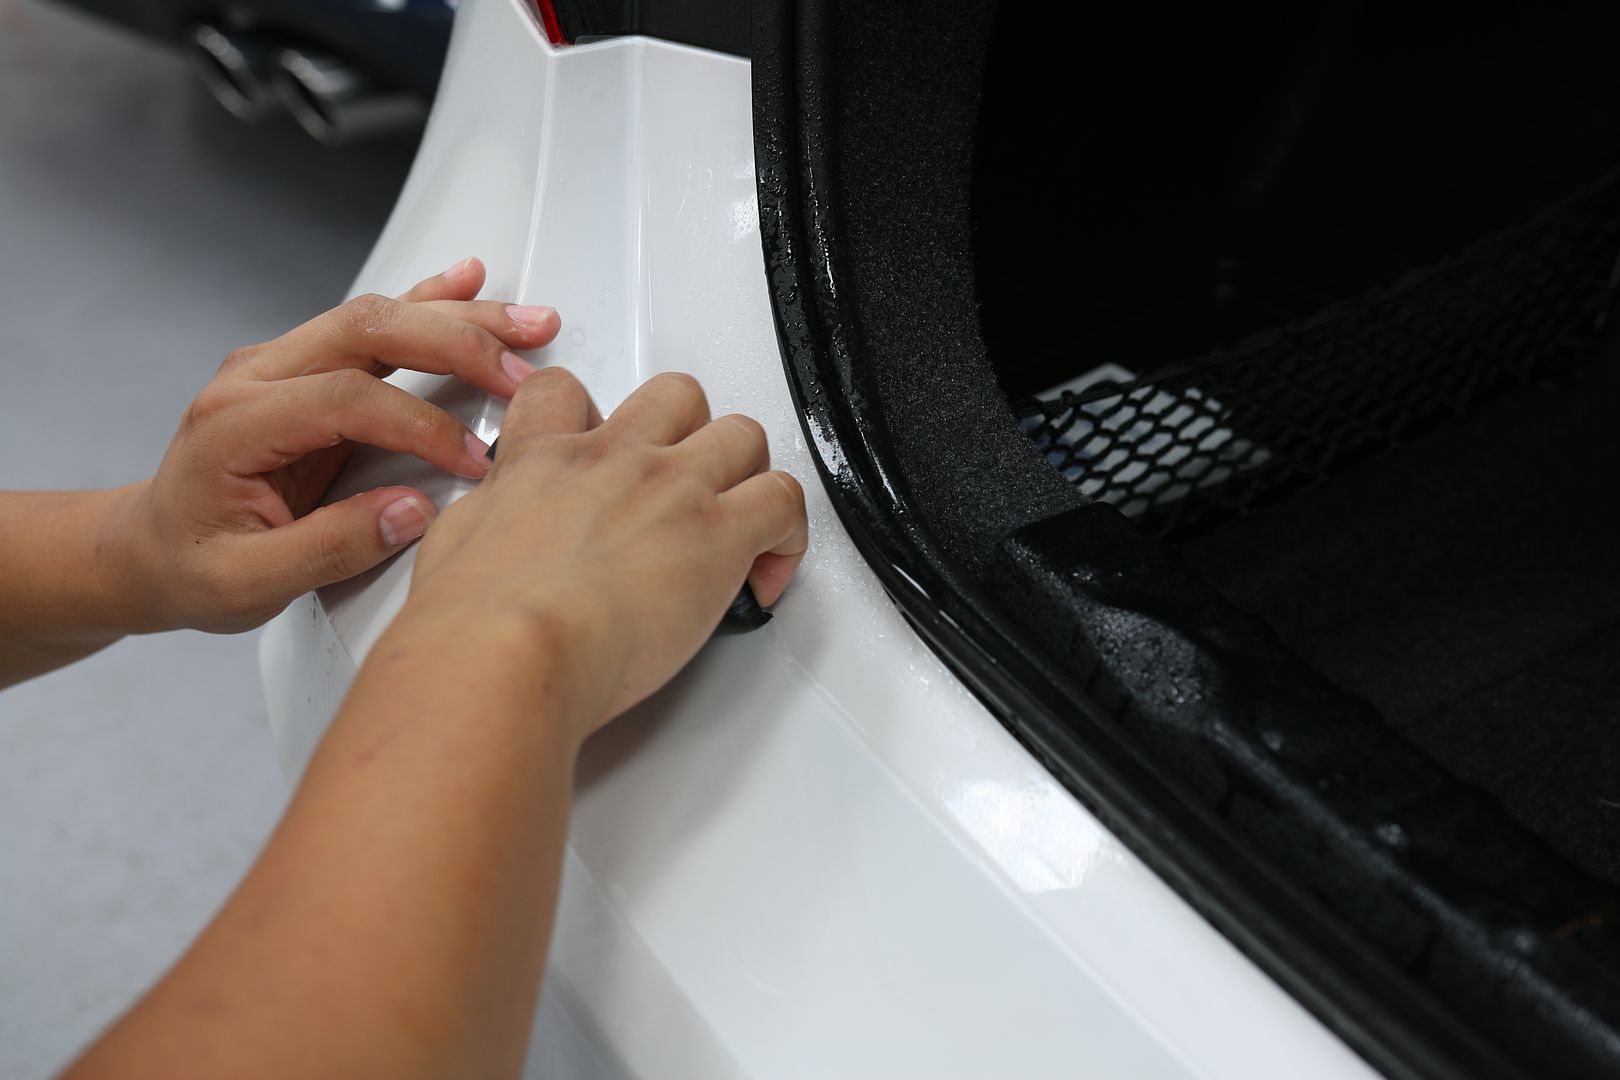
After the complete prep we made sure all the areas that were getting protected with Xpel were cleaned a few times with an IPA wipe down.
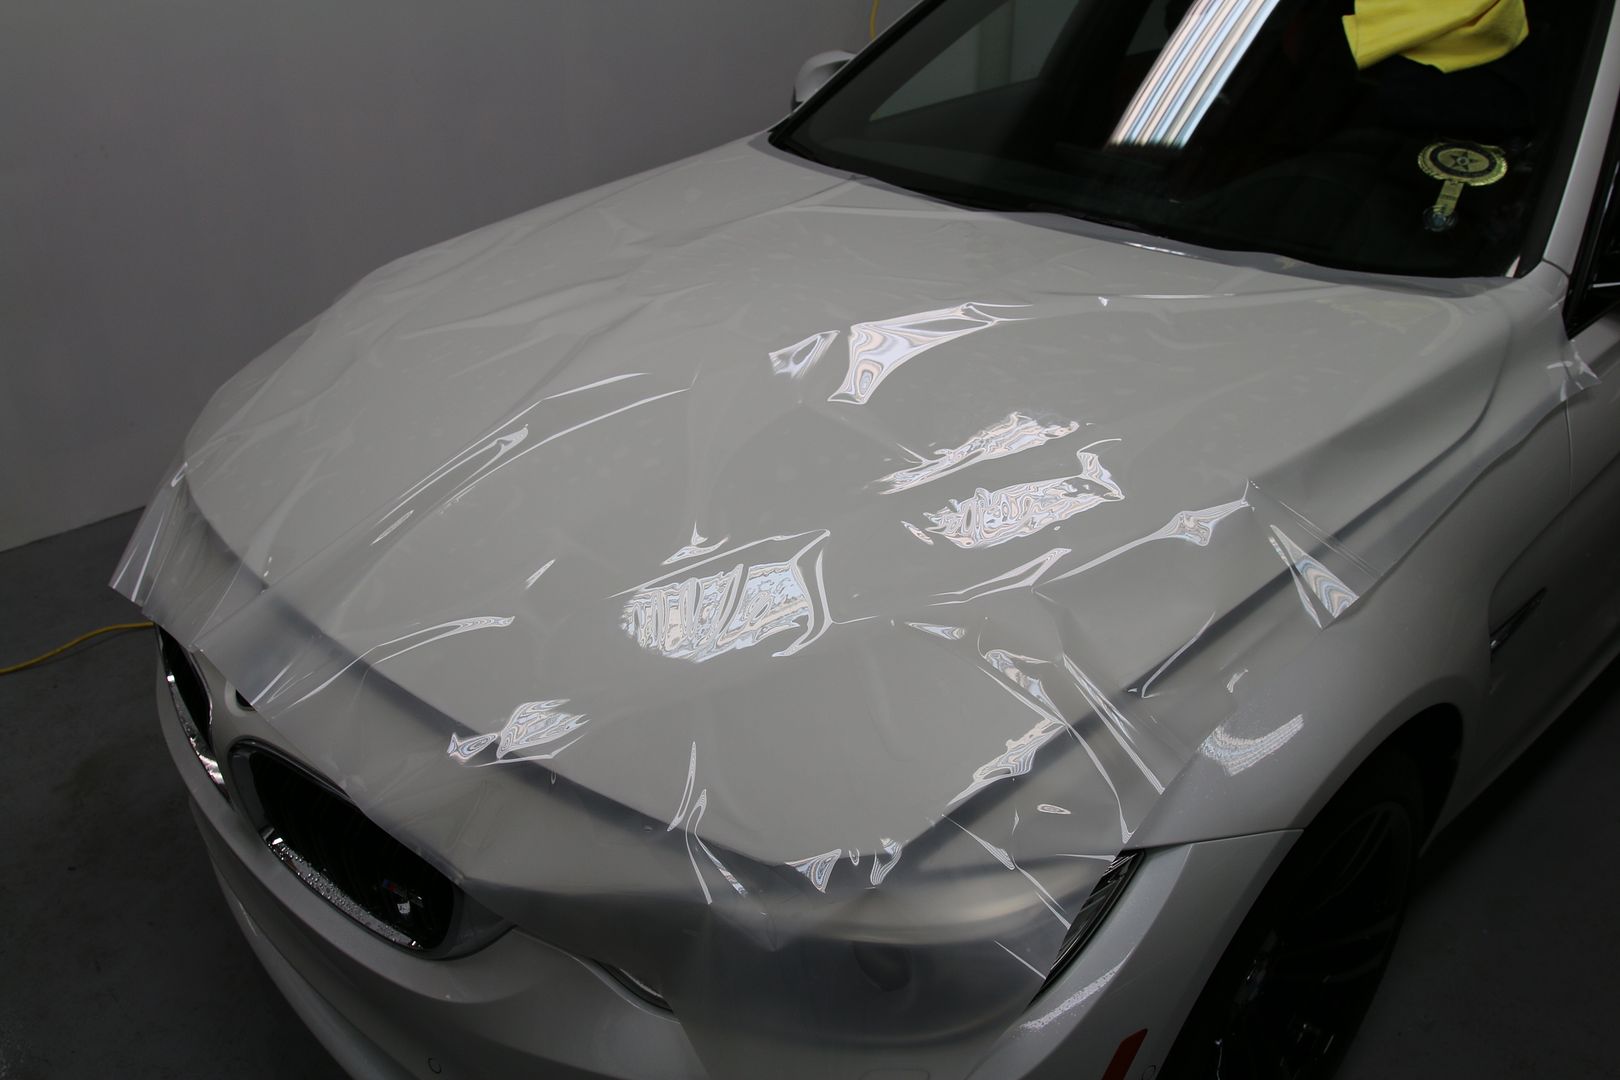
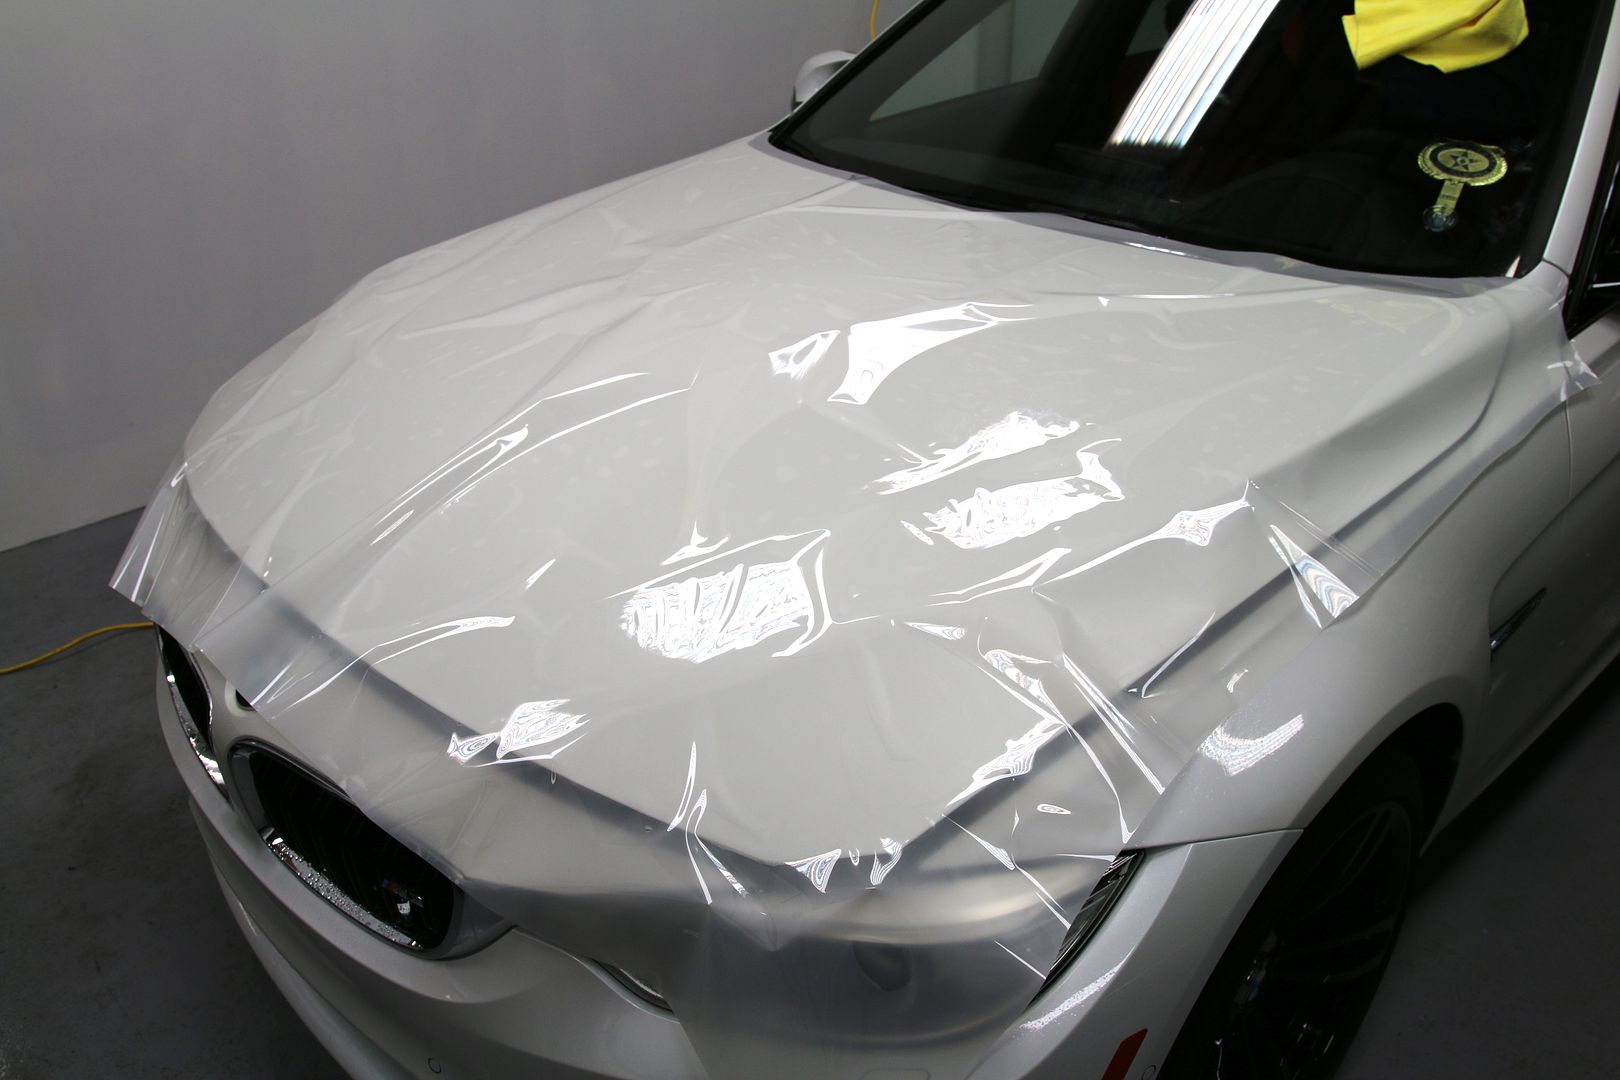
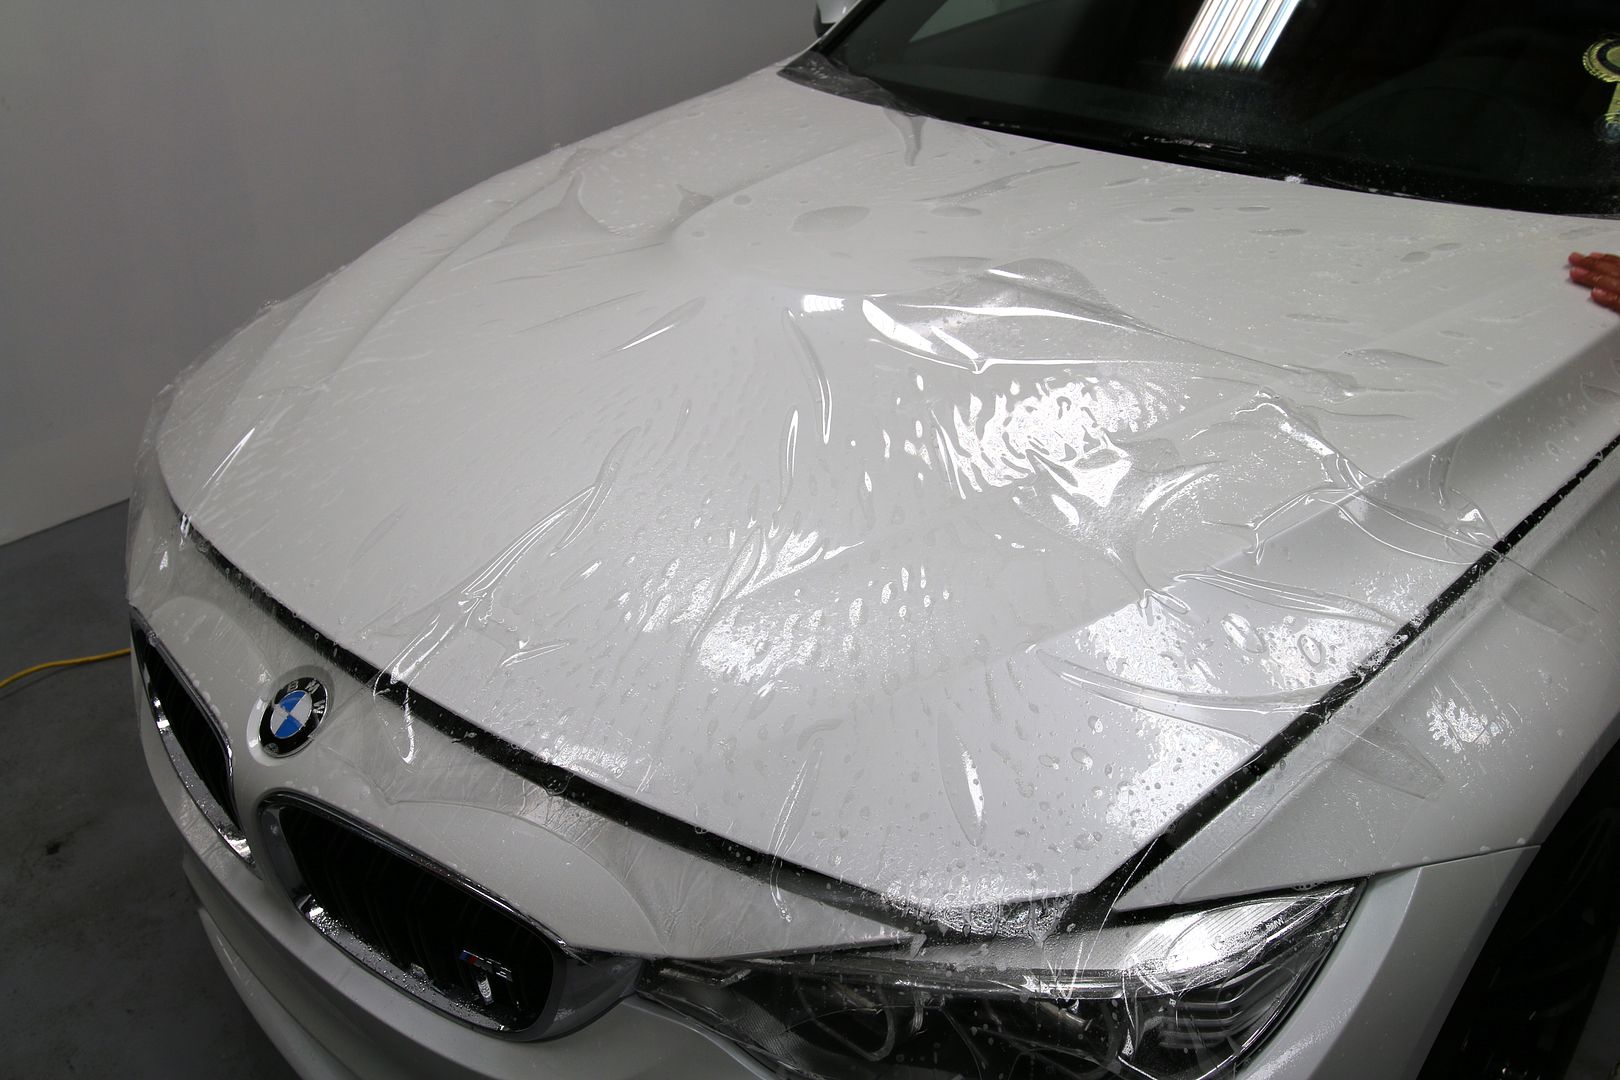
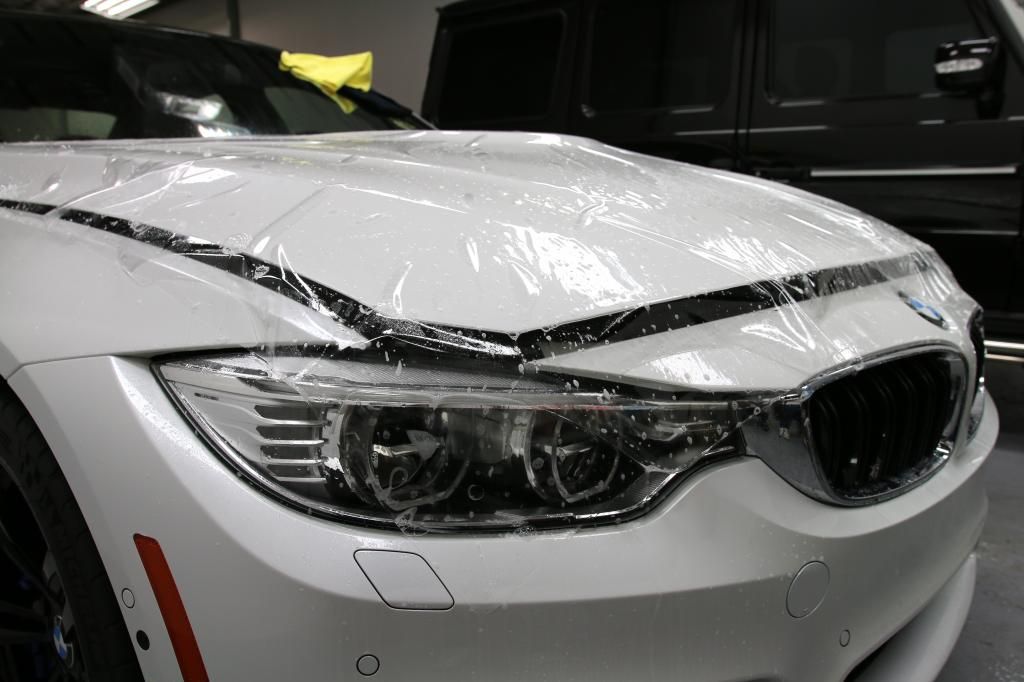
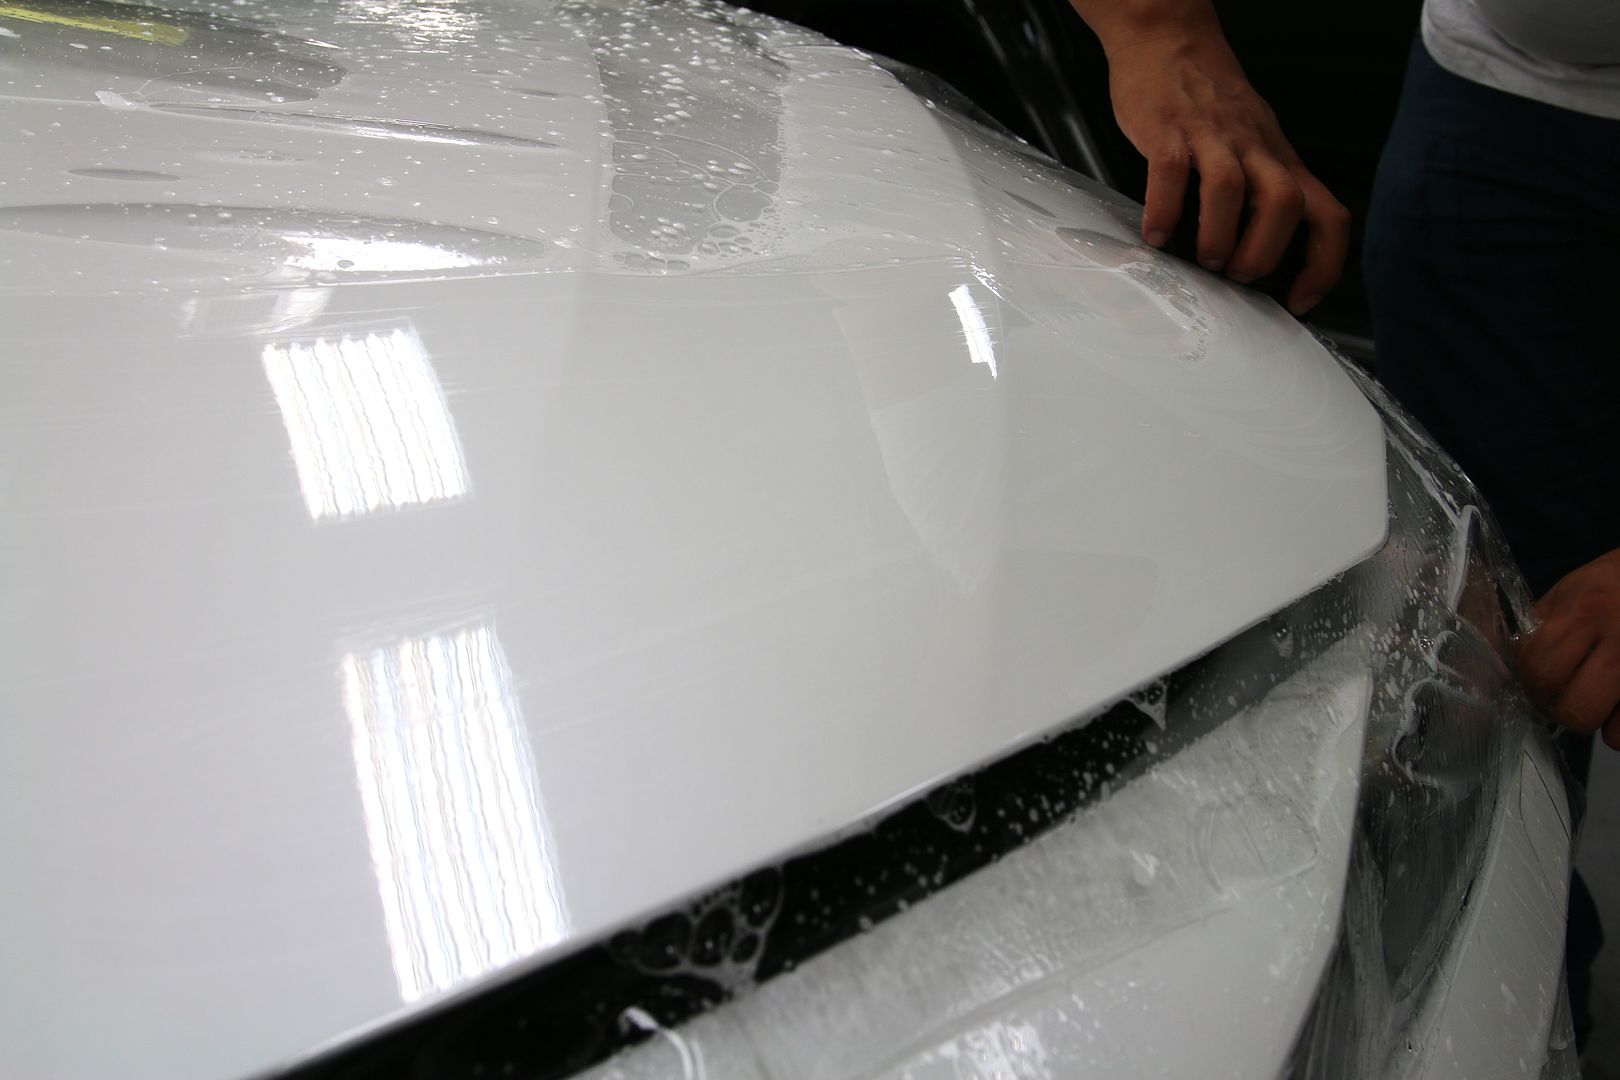
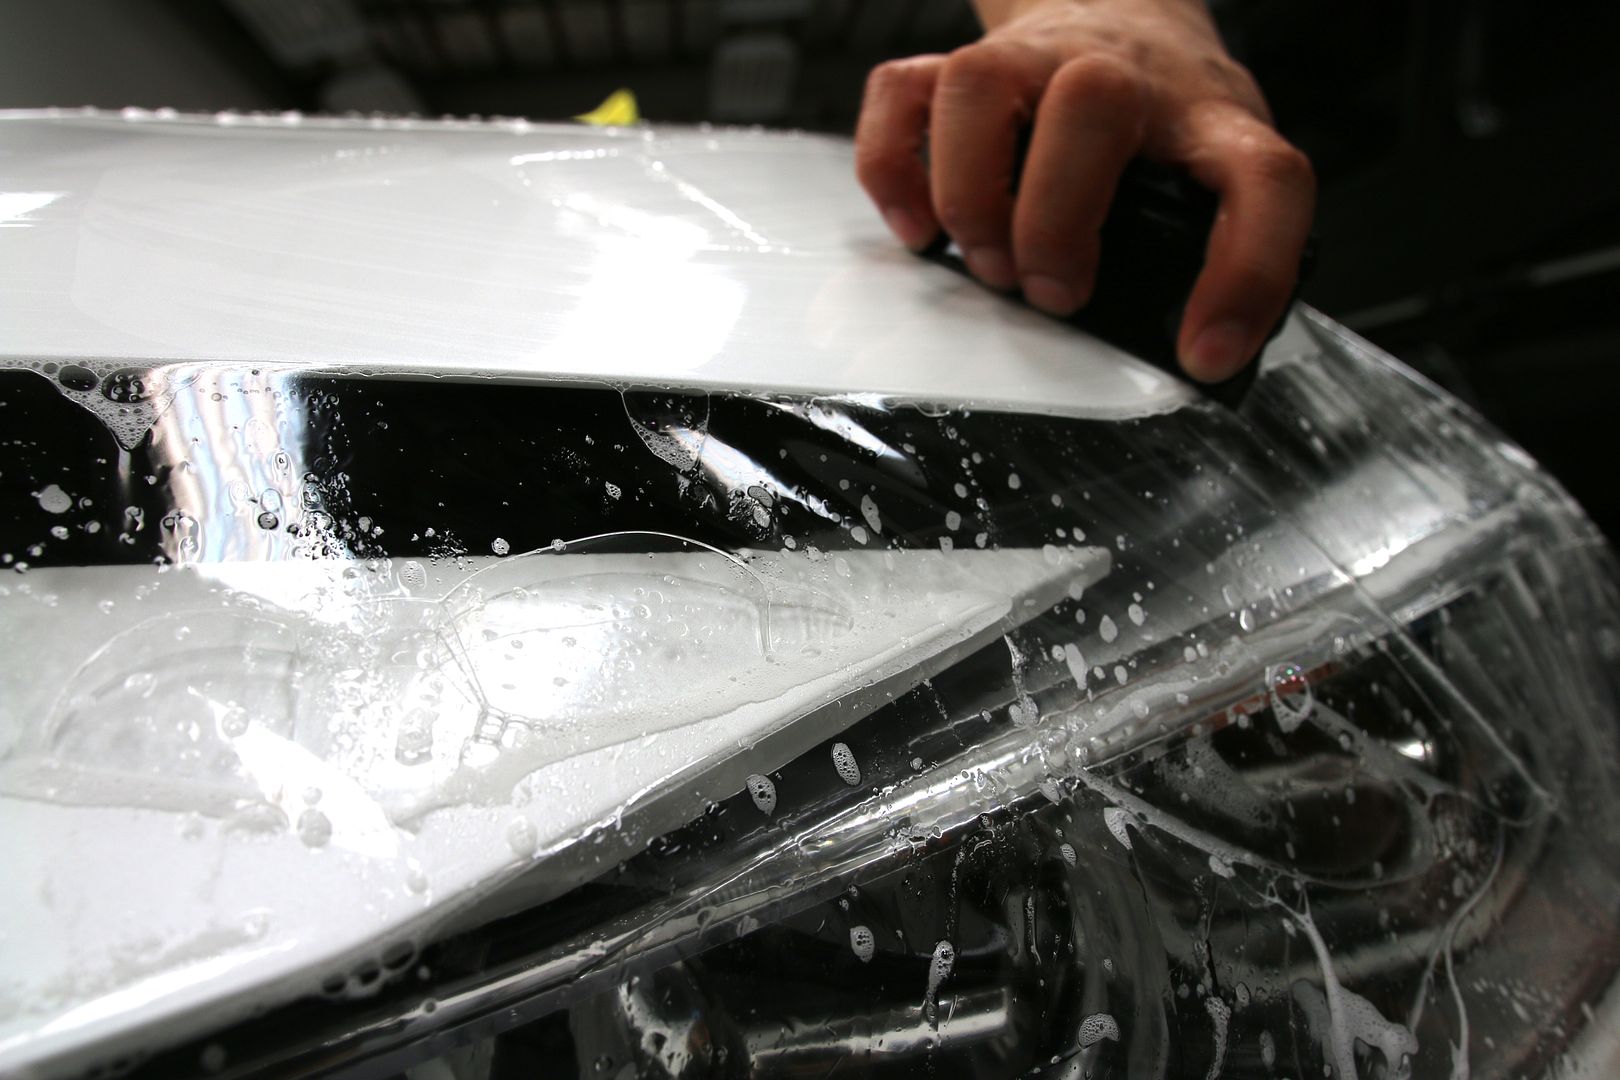
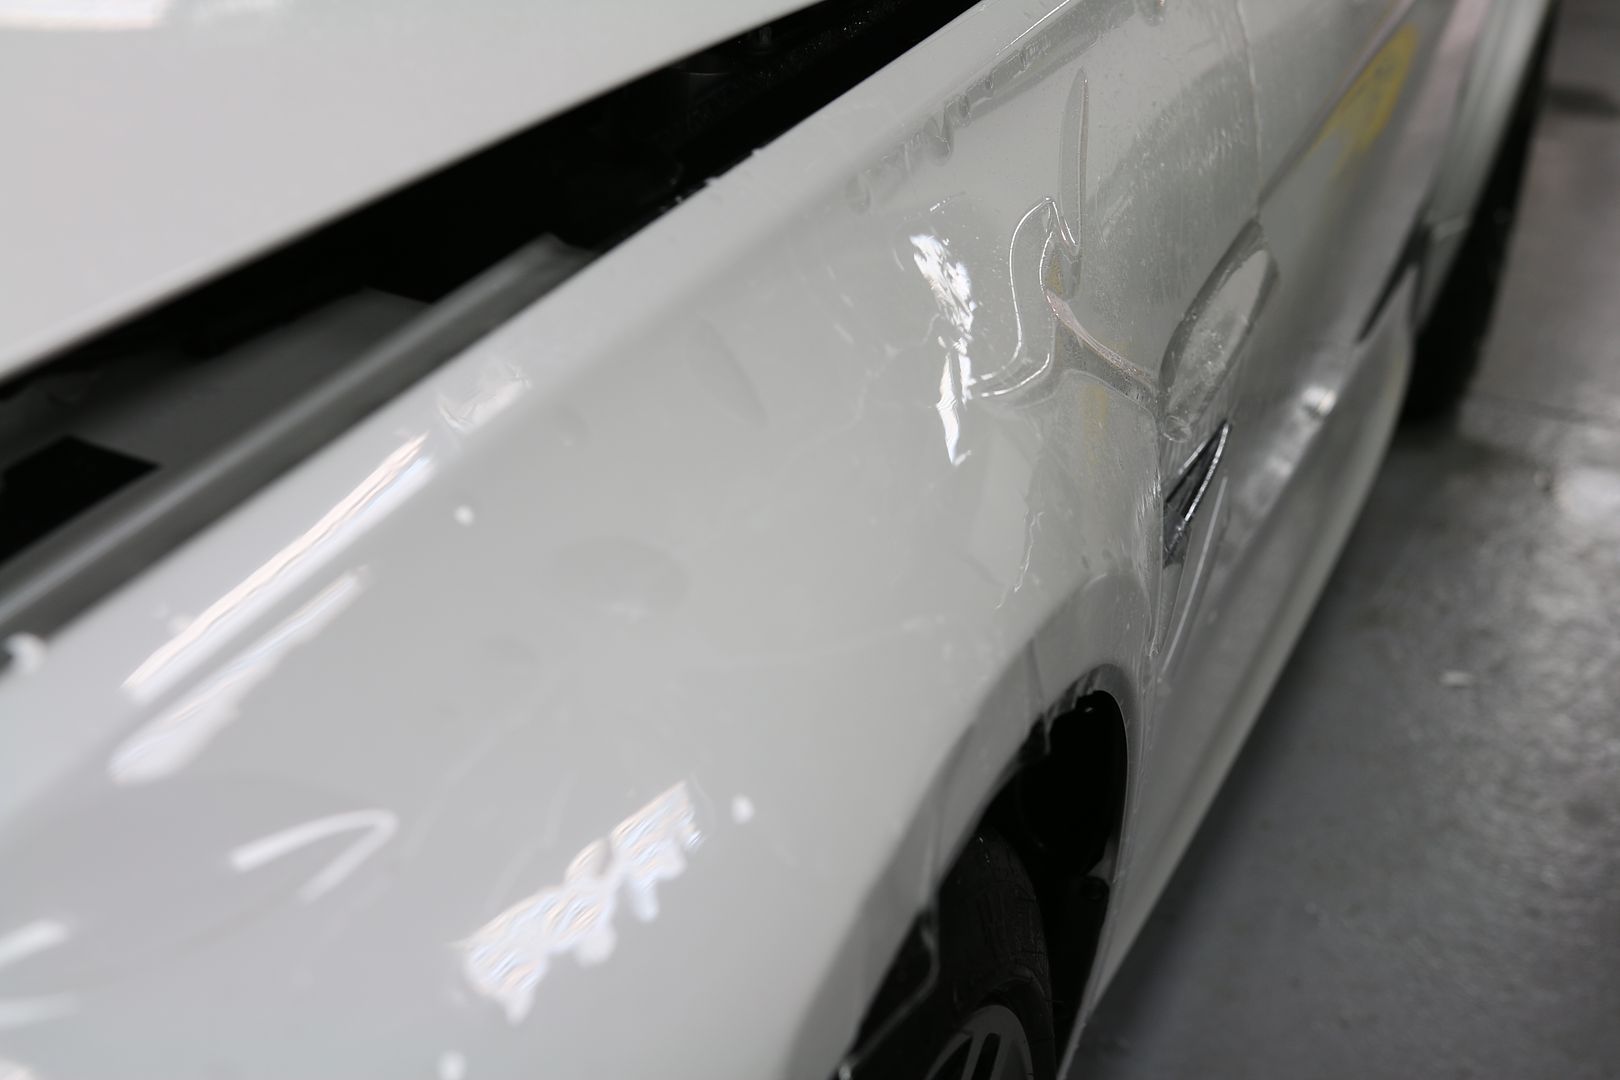
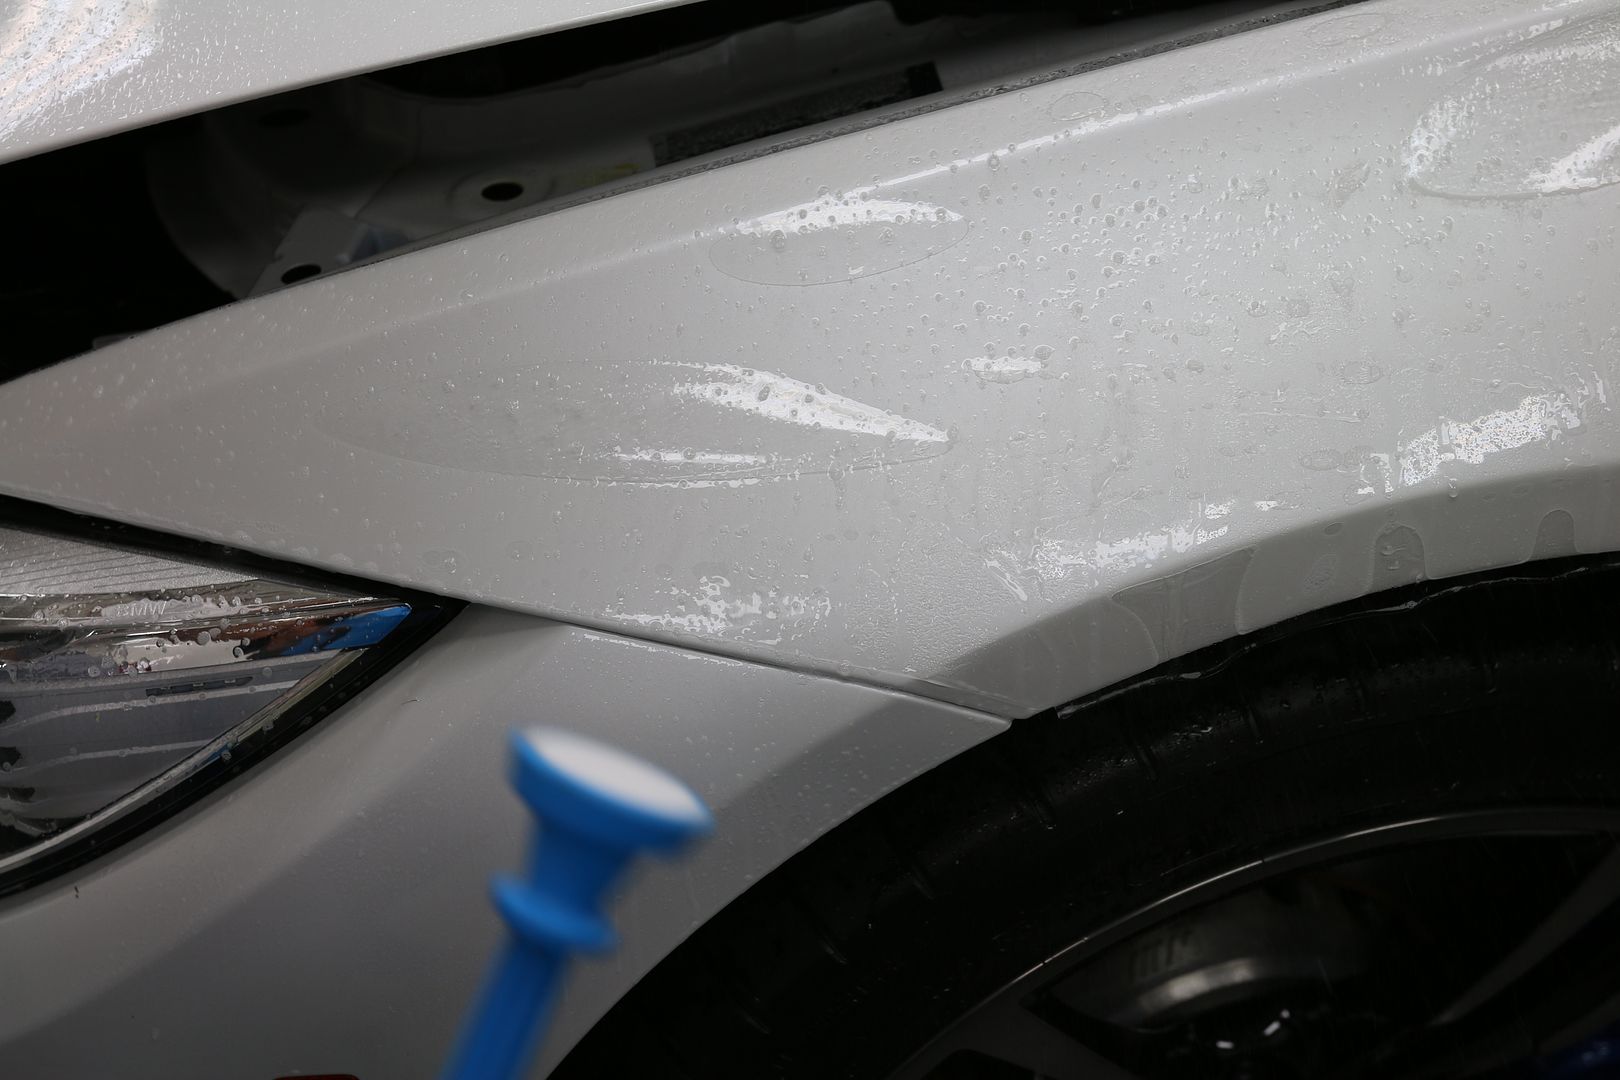
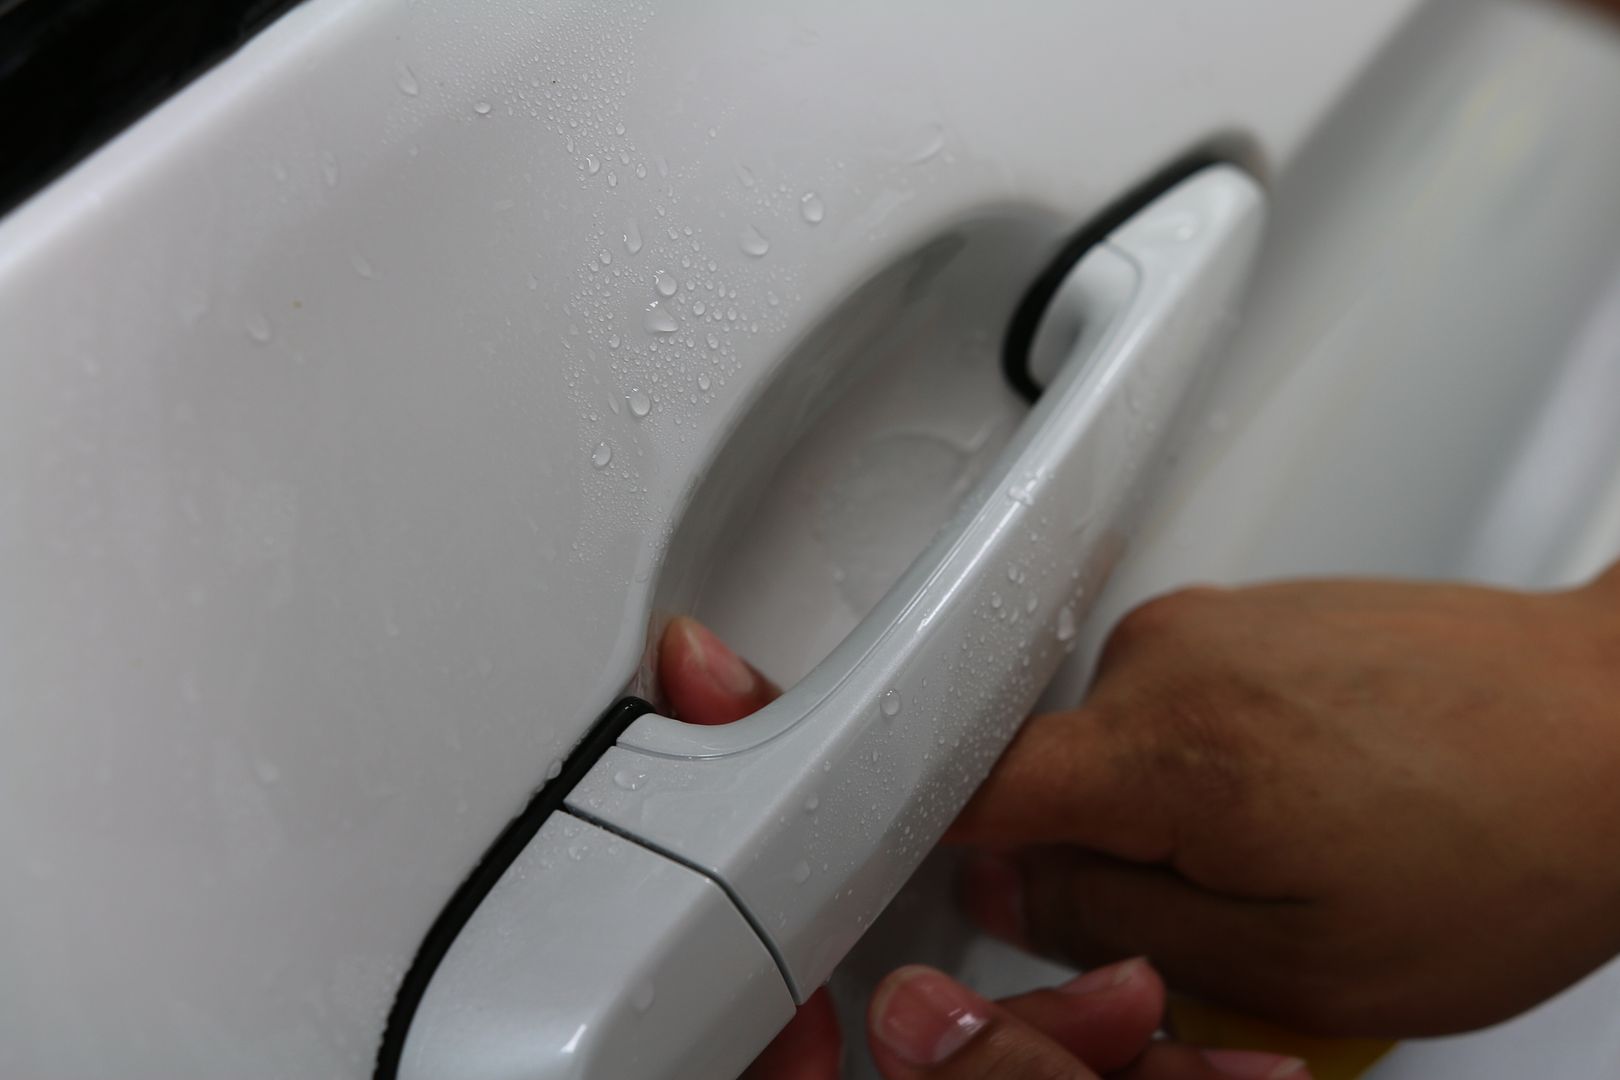
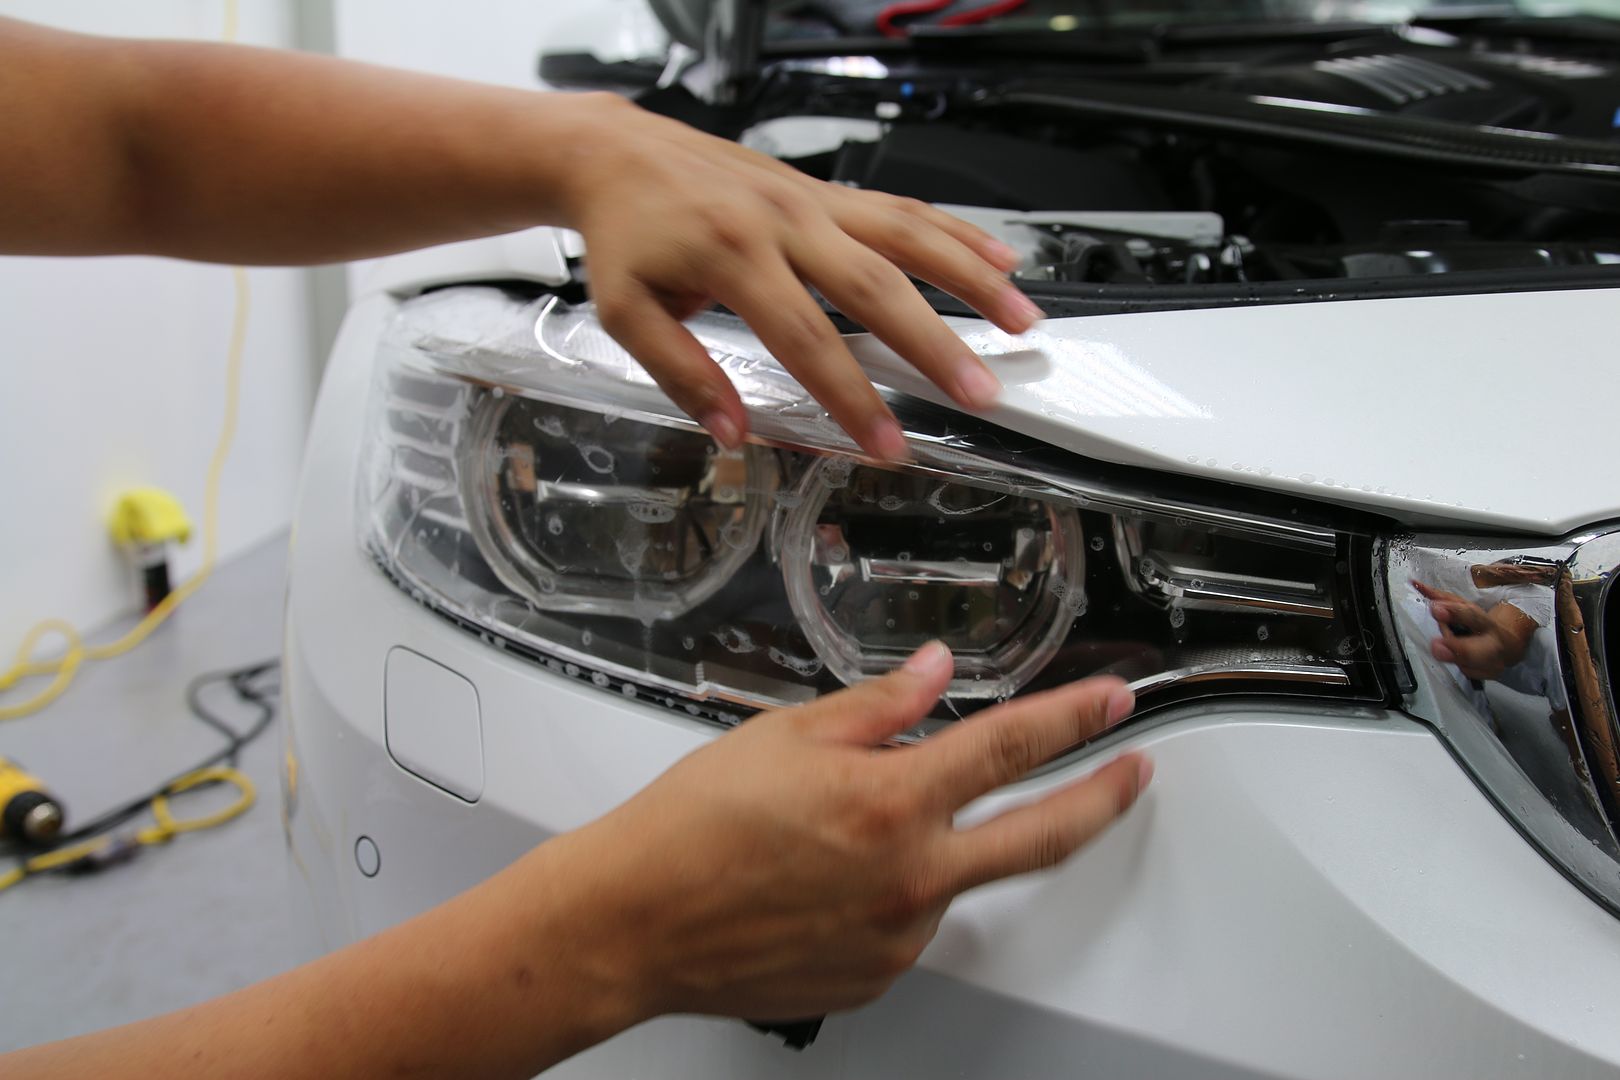
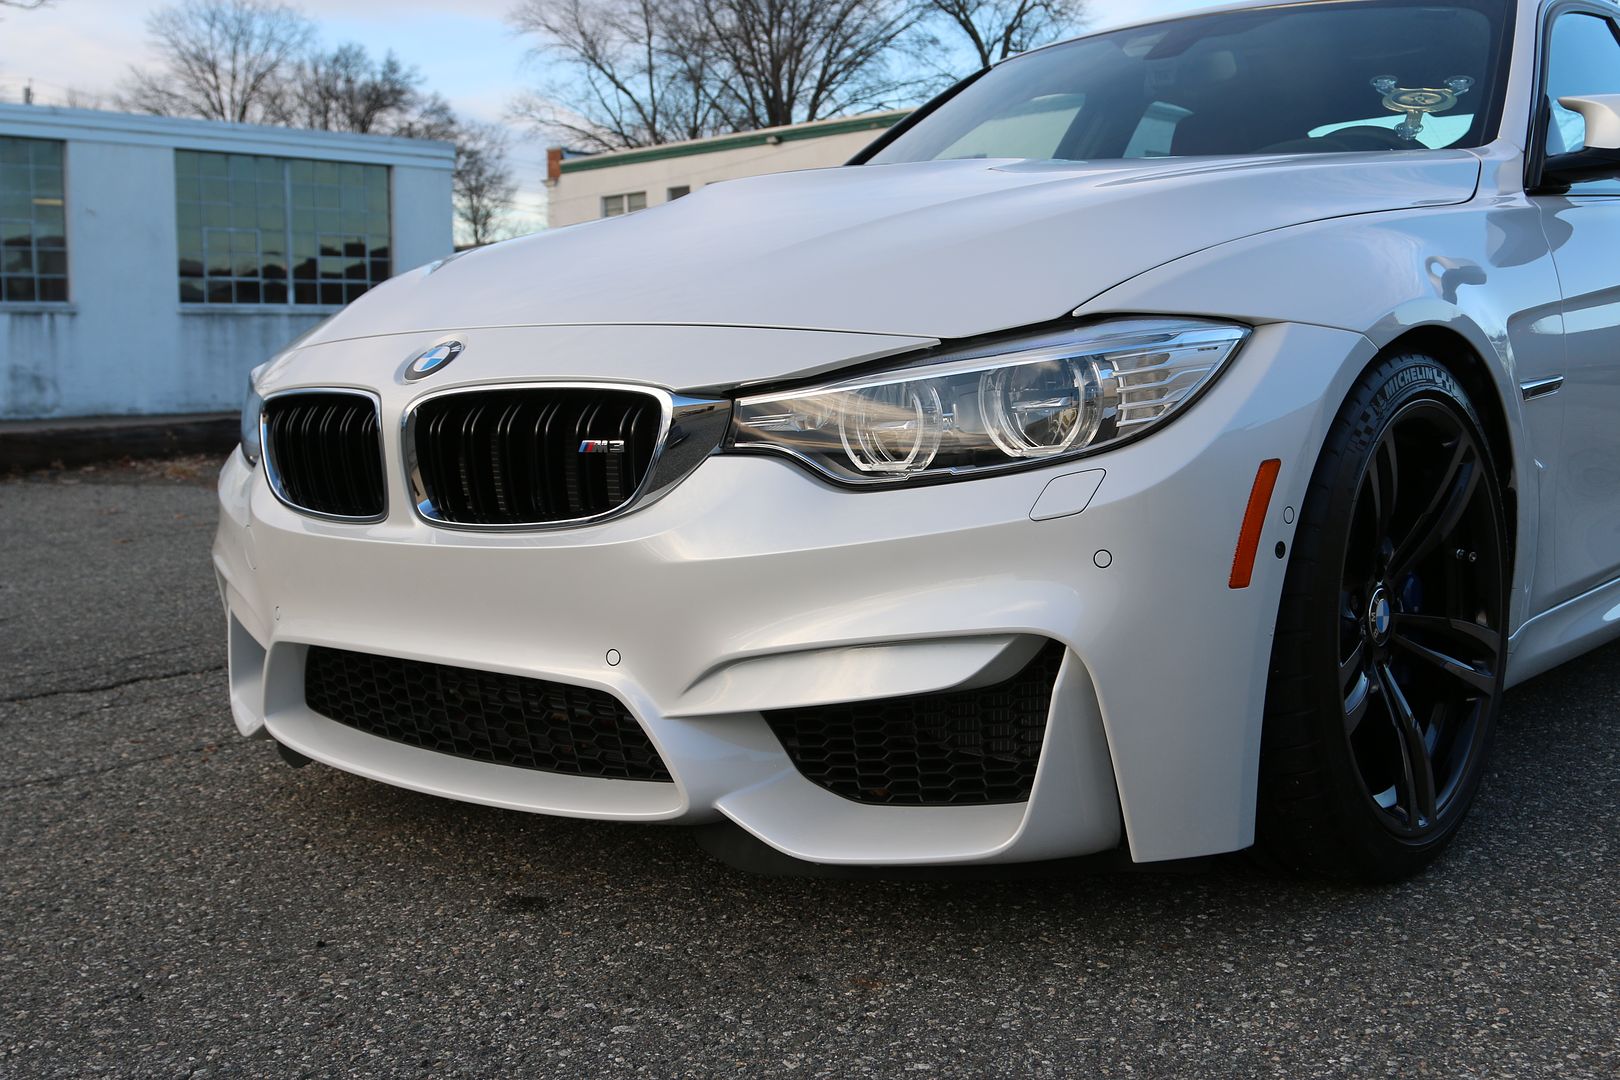
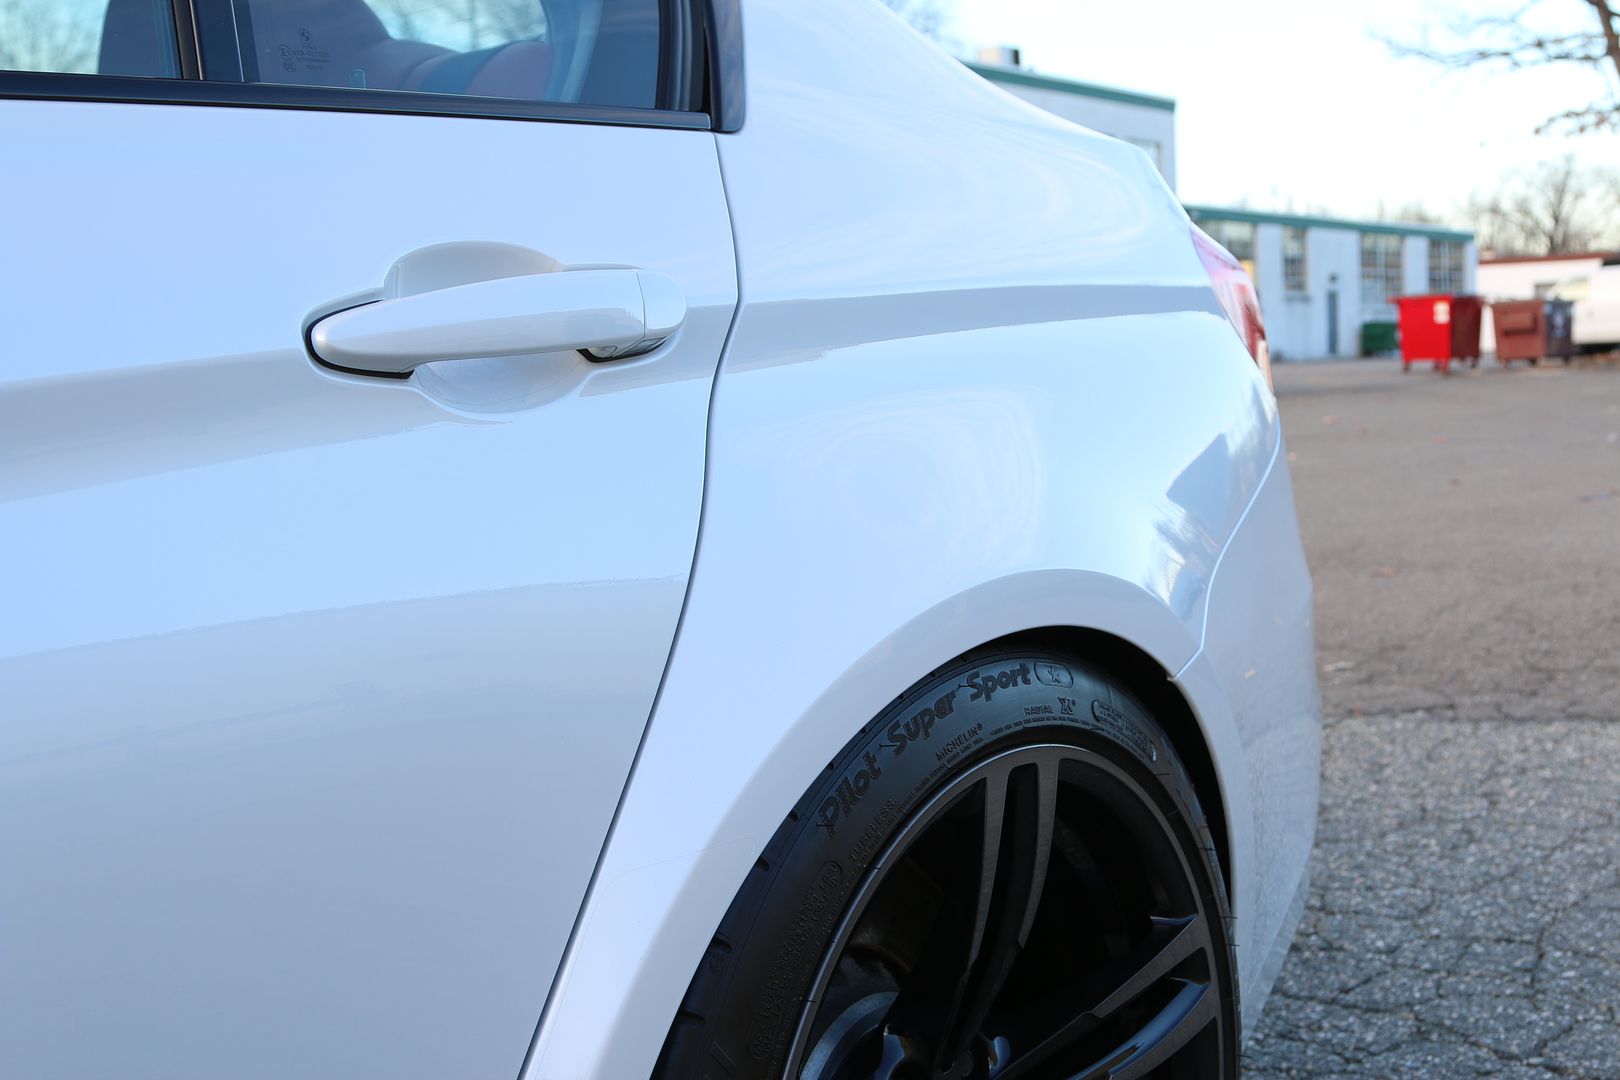
Areas being covered - front bumper, full front fenders, full hood, mirrors, headlights, a pillars, front of the roof, door cups, full side skirts, luggage area on the back bumper and behind the rear wheels on the rear bumper.
![Click the image to open in full size.]()
![Click the image to open in full size.]()
![Click the image to open in full size.]()
![Click the image to open in full size.]()
![Click the image to open in full size.]()
![Click the image to open in full size.]()
![Click the image to open in full size.]()
![Click the image to open in full size.]()
![Click the image to open in full size.]()
![Click the image to open in full size.]()
![Click the image to open in full size.]()
![Click the image to open in full size.]()
![Click the image to open in full size.]()
![Click the image to open in full size.]()
![Click the image to open in full size.]()
![Click the image to open in full size.]()
![Click the image to open in full size.]()
![Click the image to open in full size.]()
![Click the image to open in full size.]()
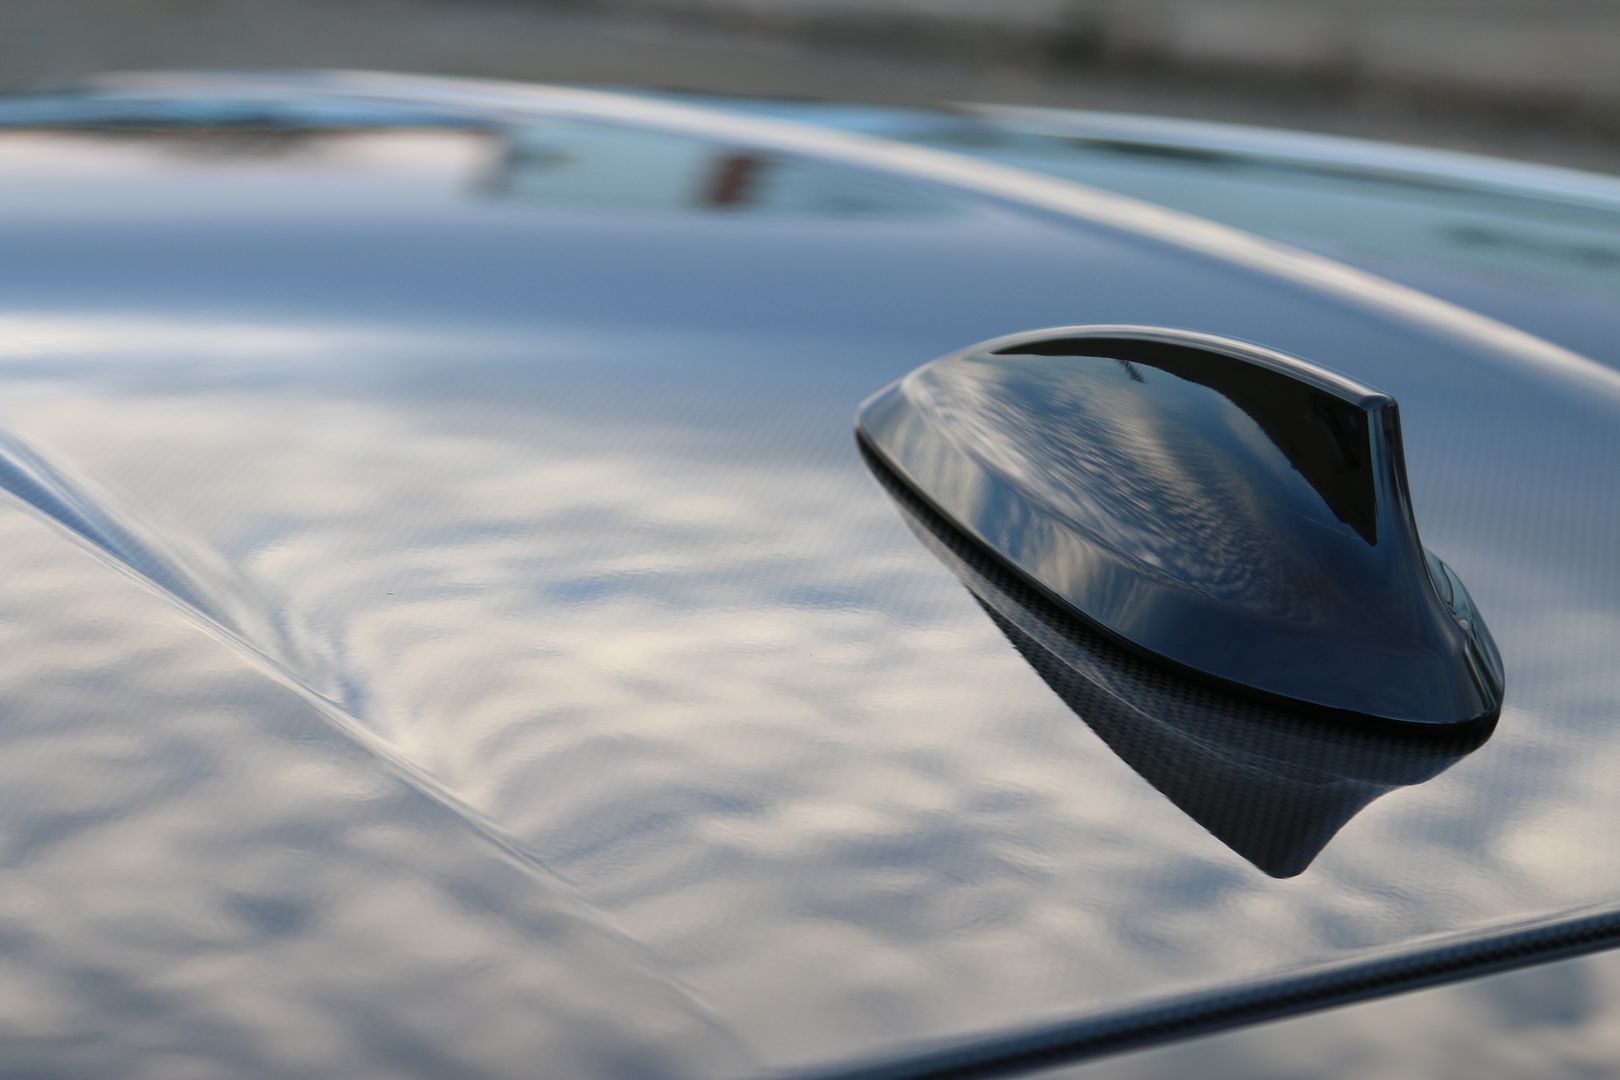
Some final touches -
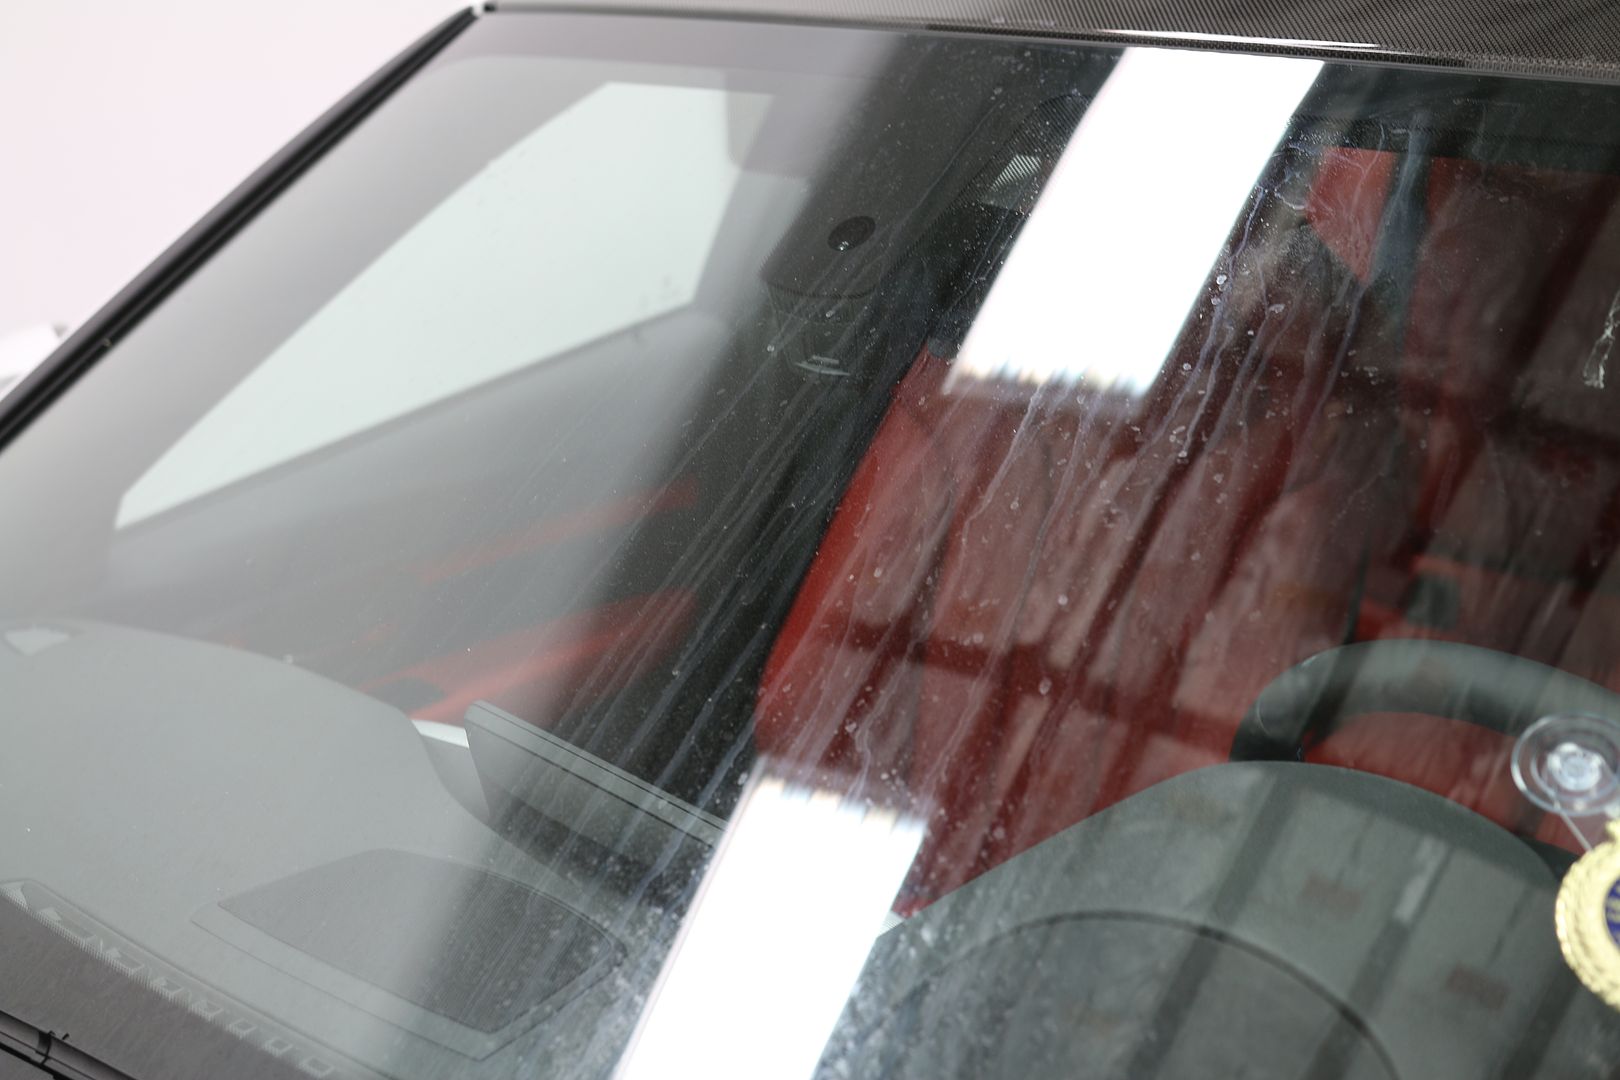
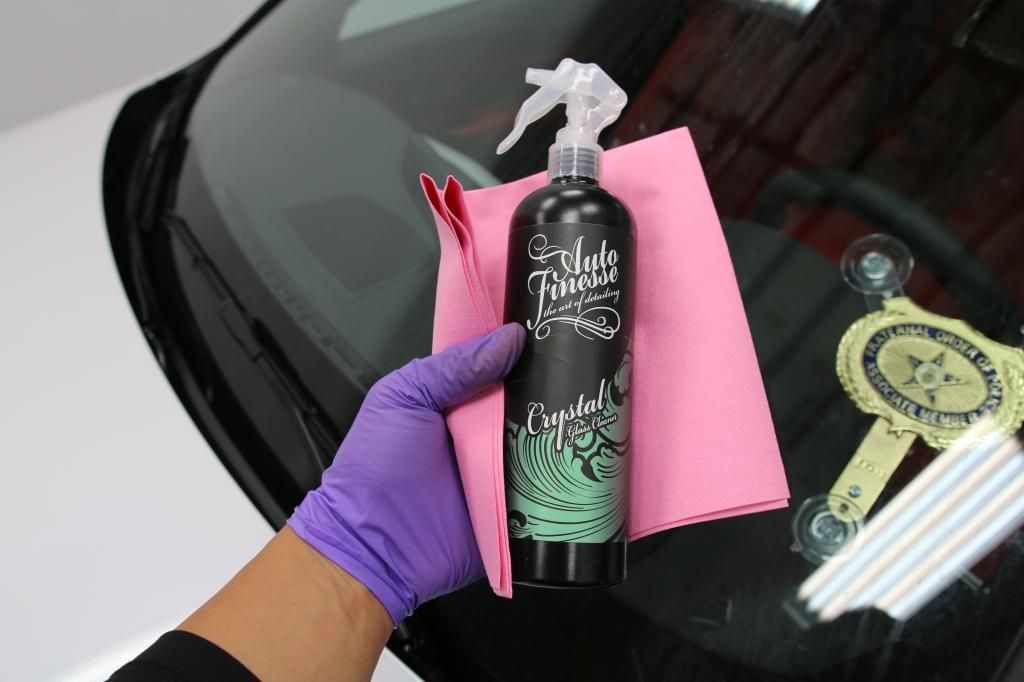
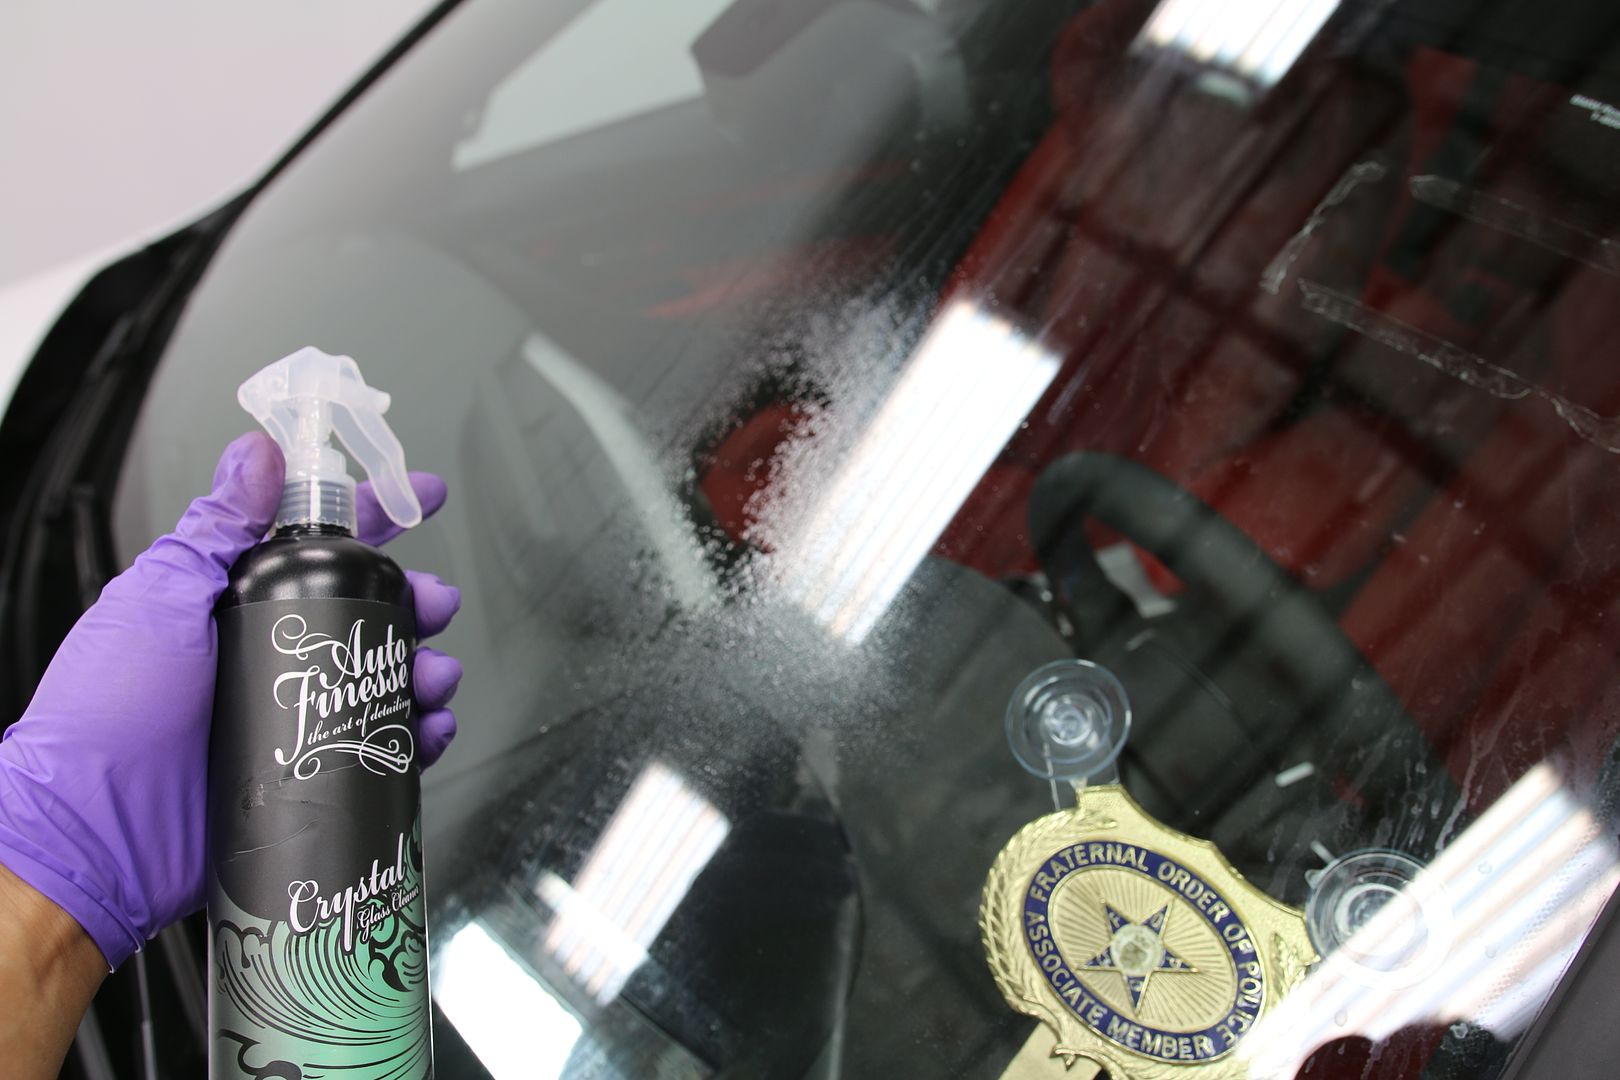
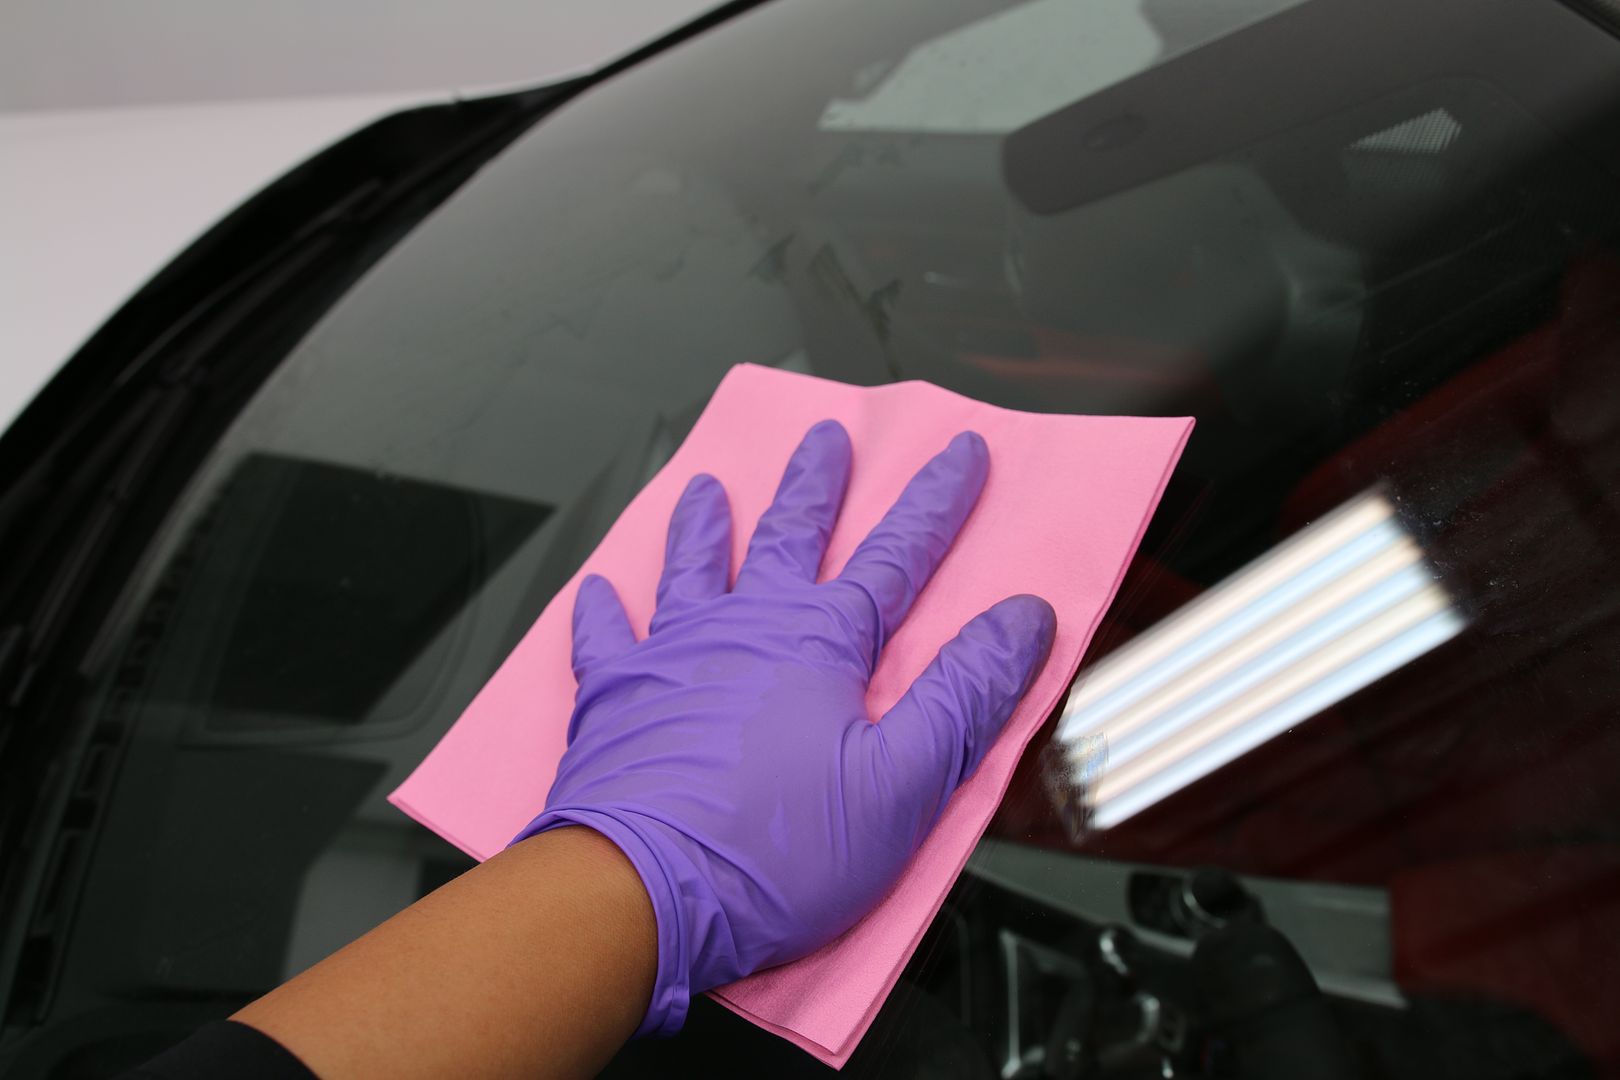
Glass cleaned after the Xpel Ultimate was installed -
![Click the image to open in full size.]()
![Click the image to open in full size.]()
![Click the image to open in full size.]()
![Click the image to open in full size.]()
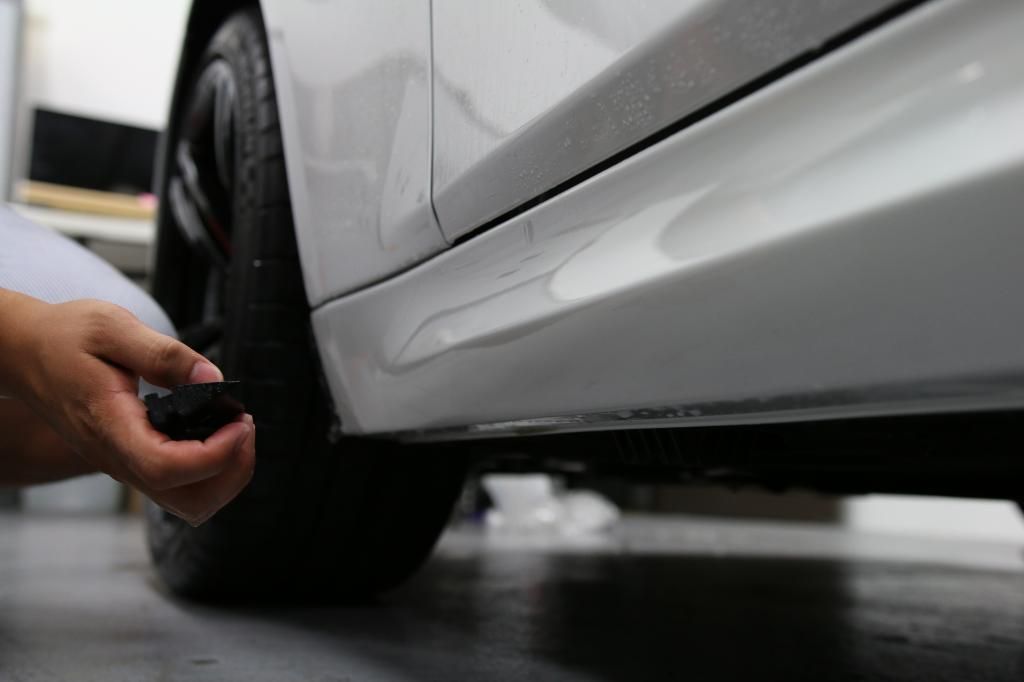
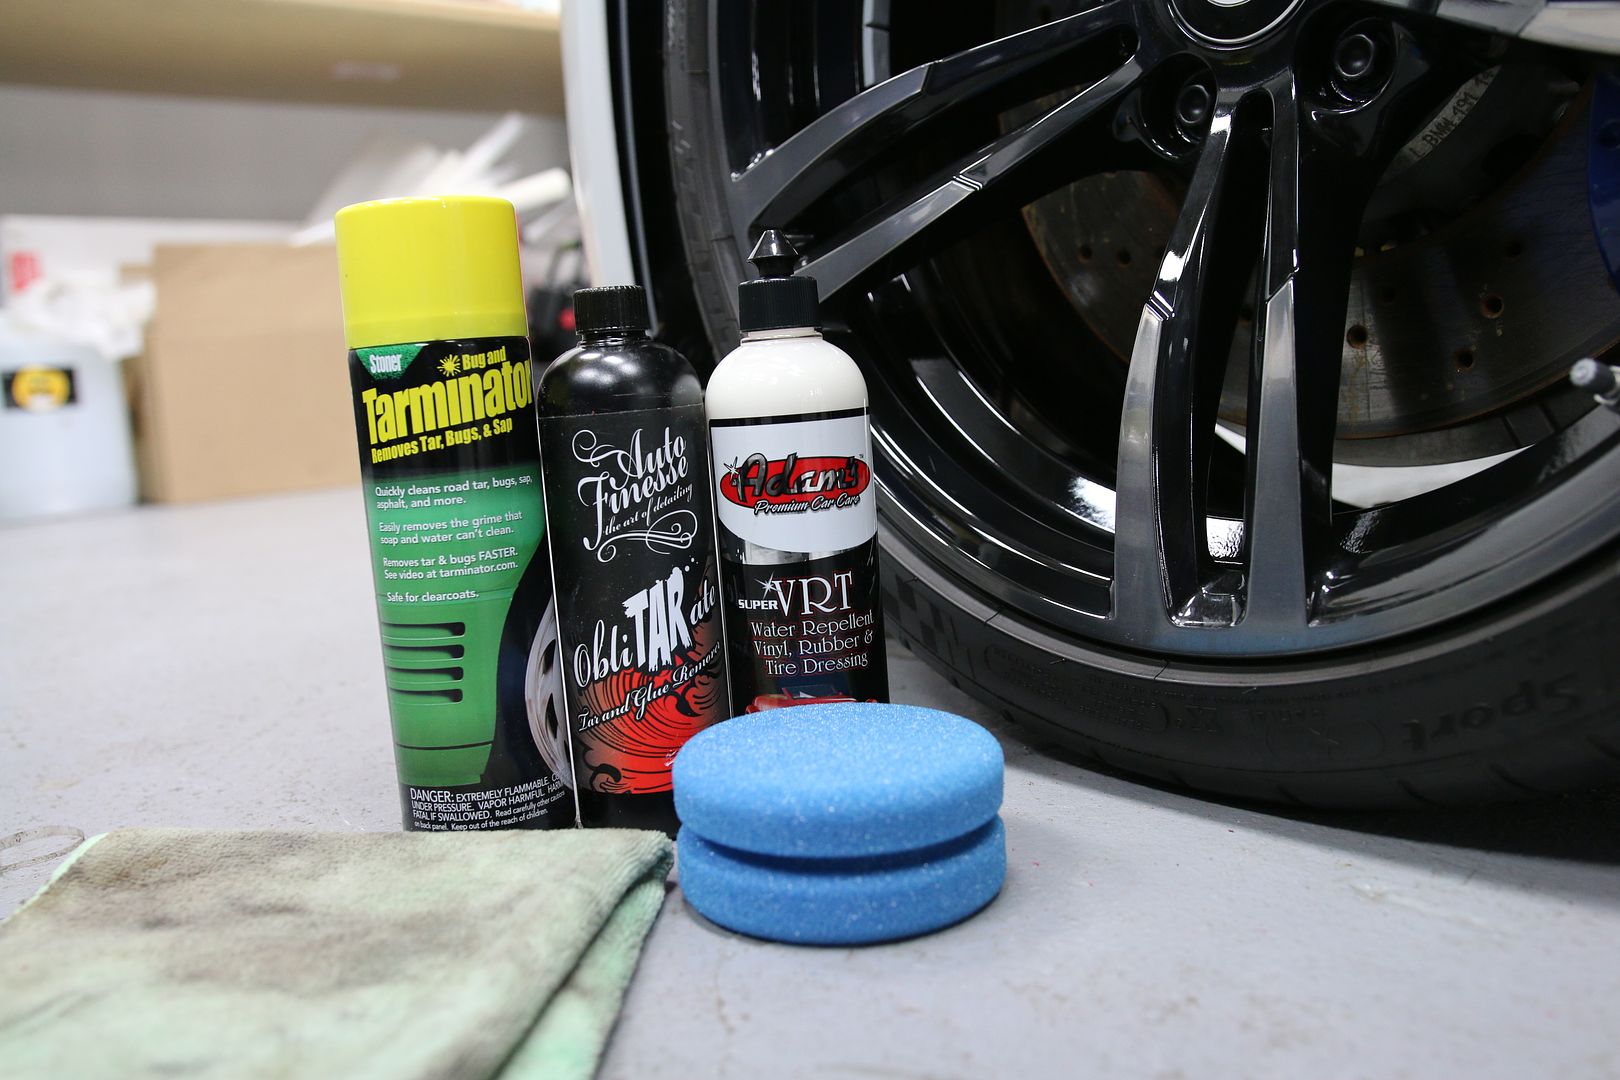
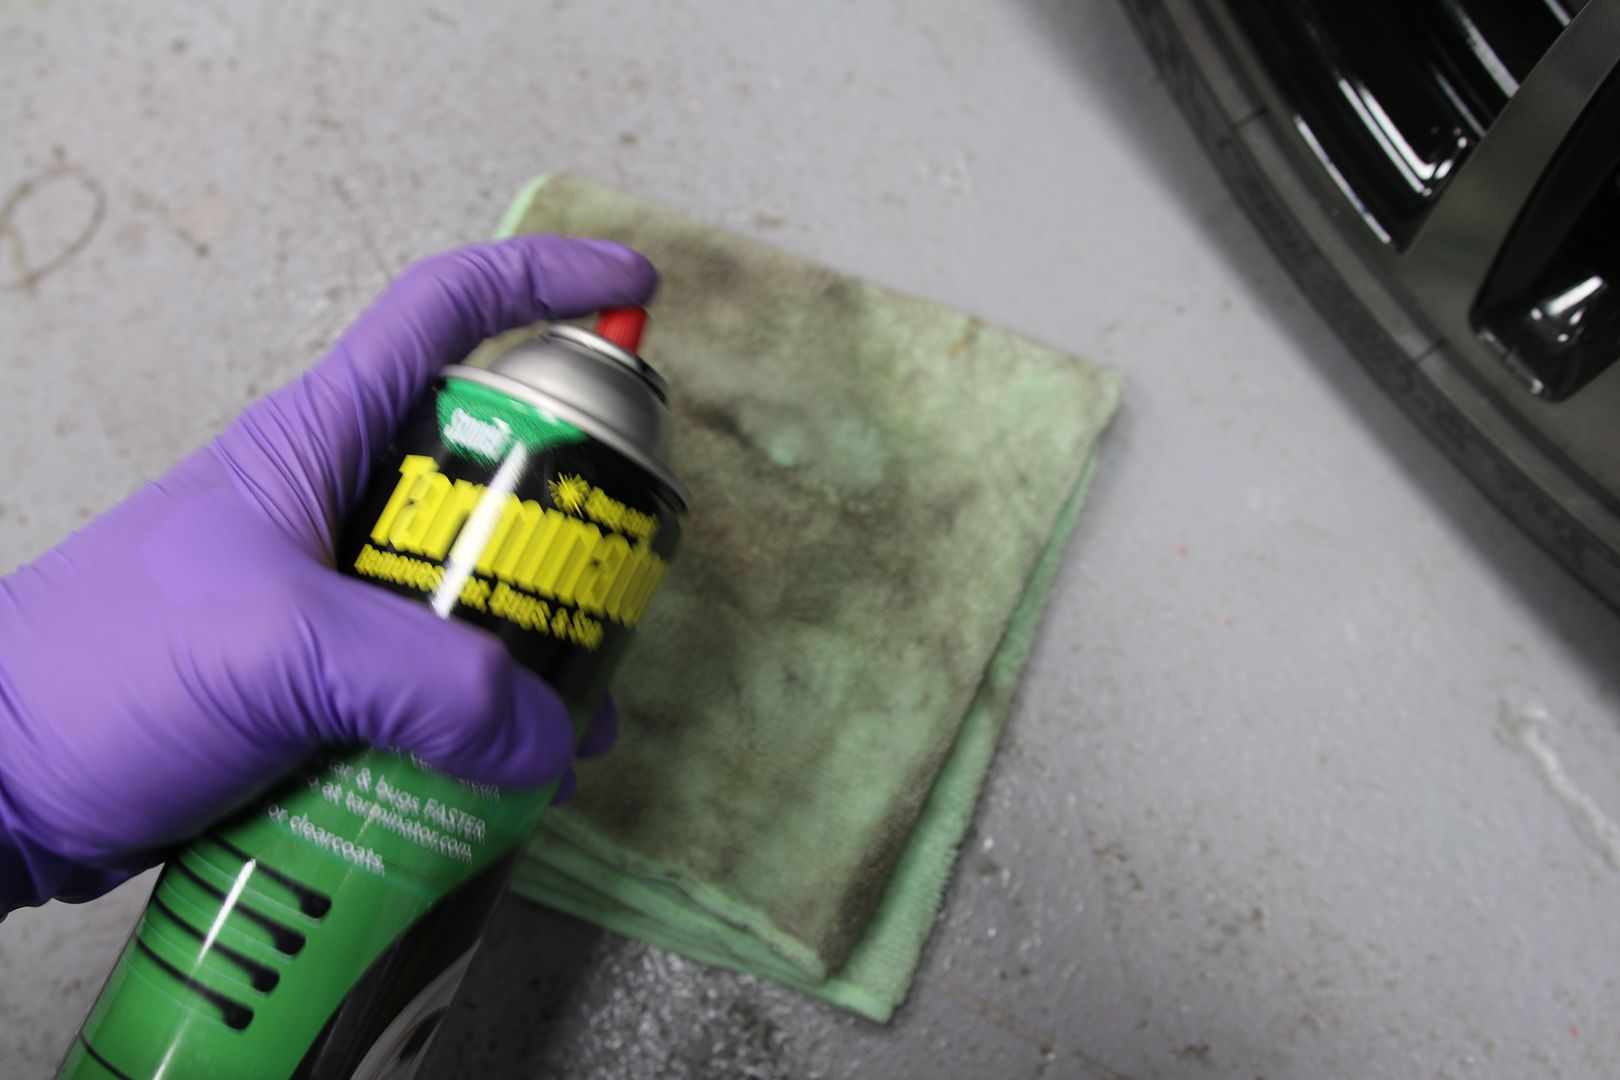
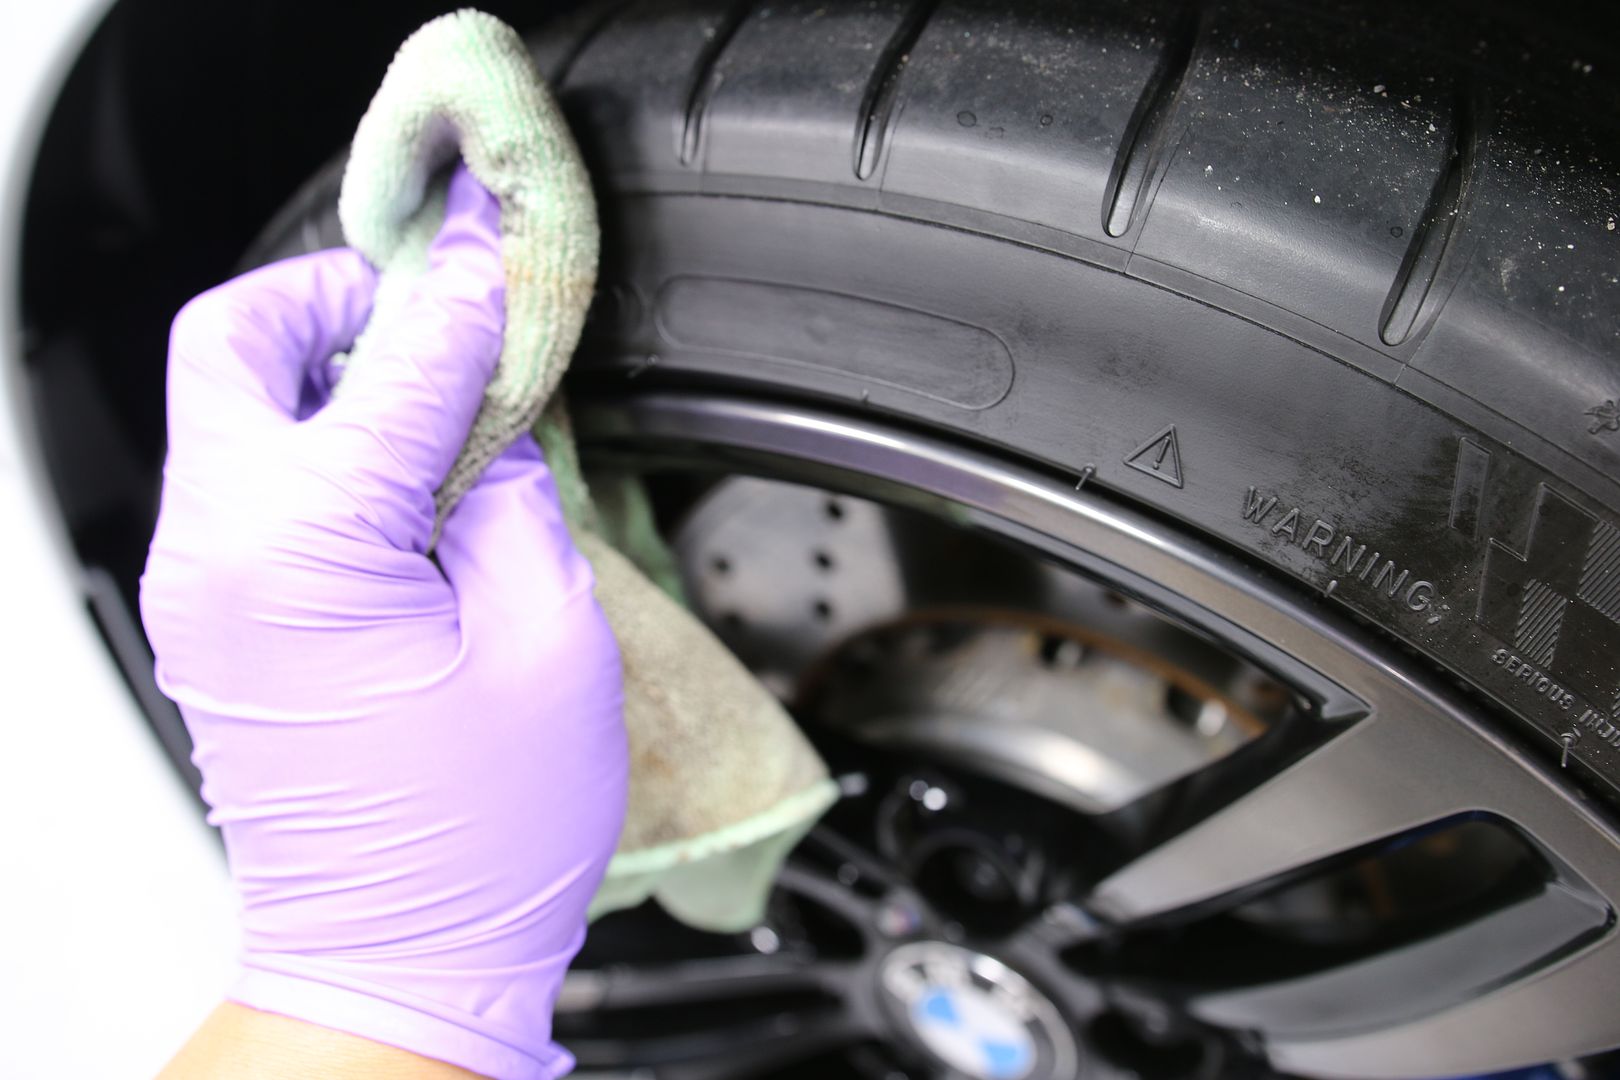
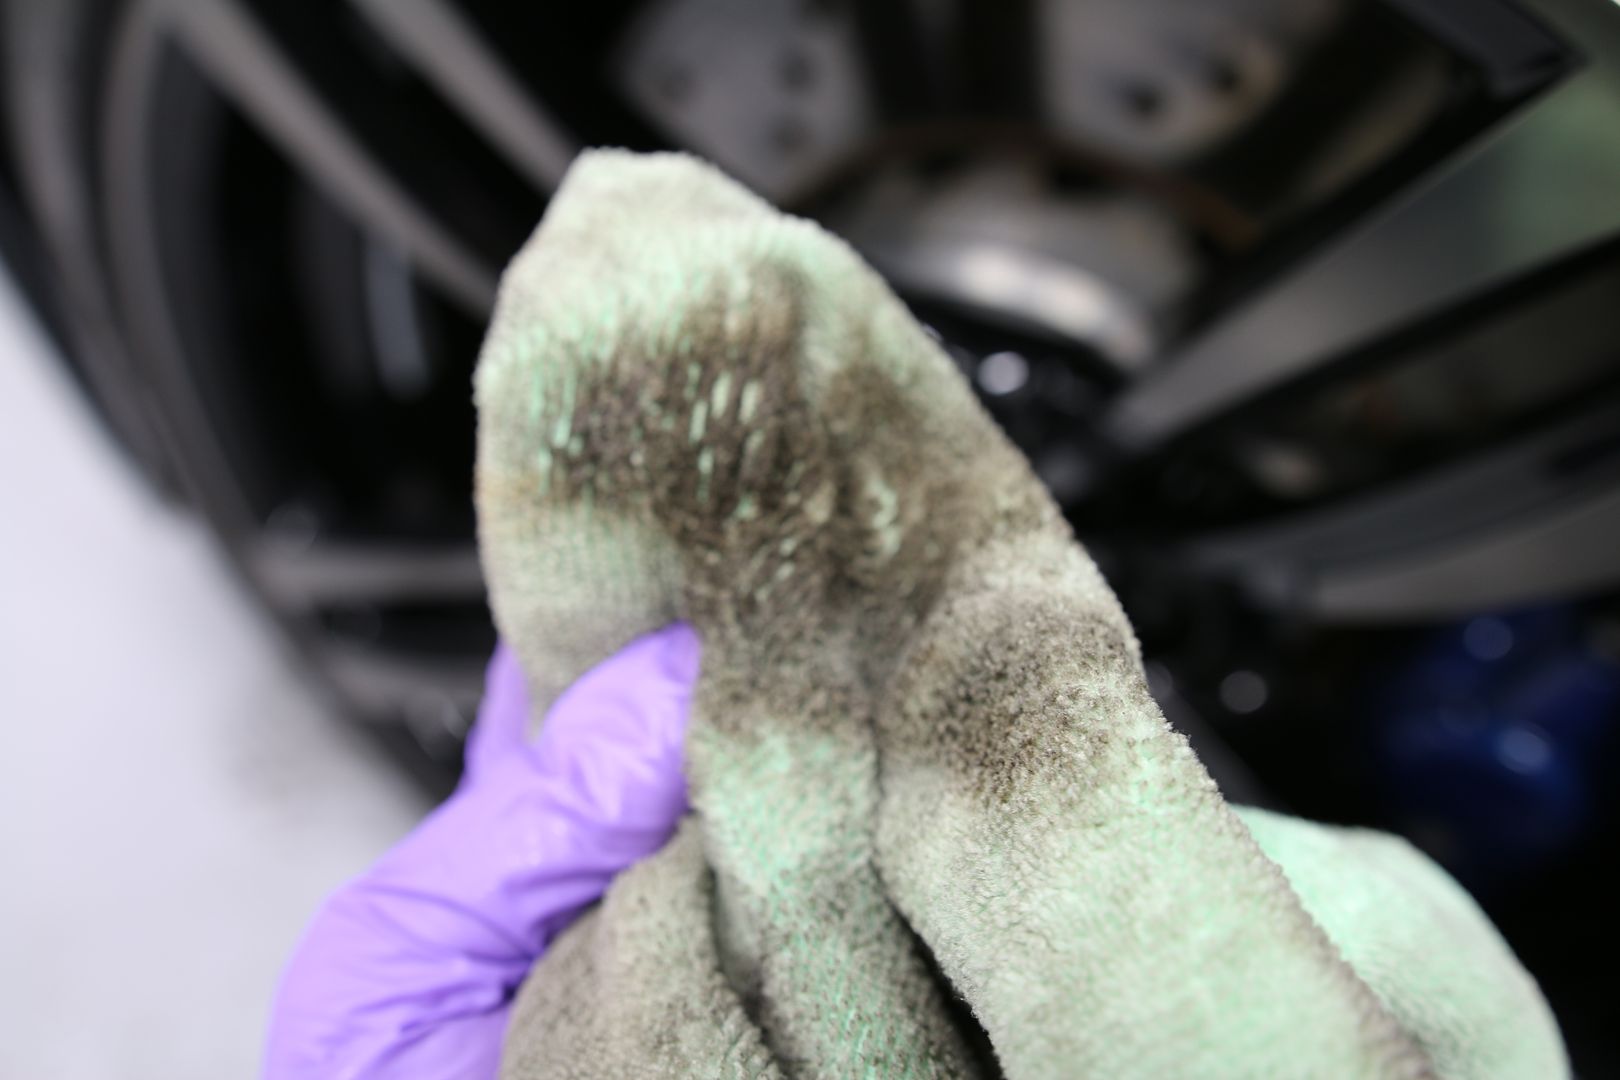
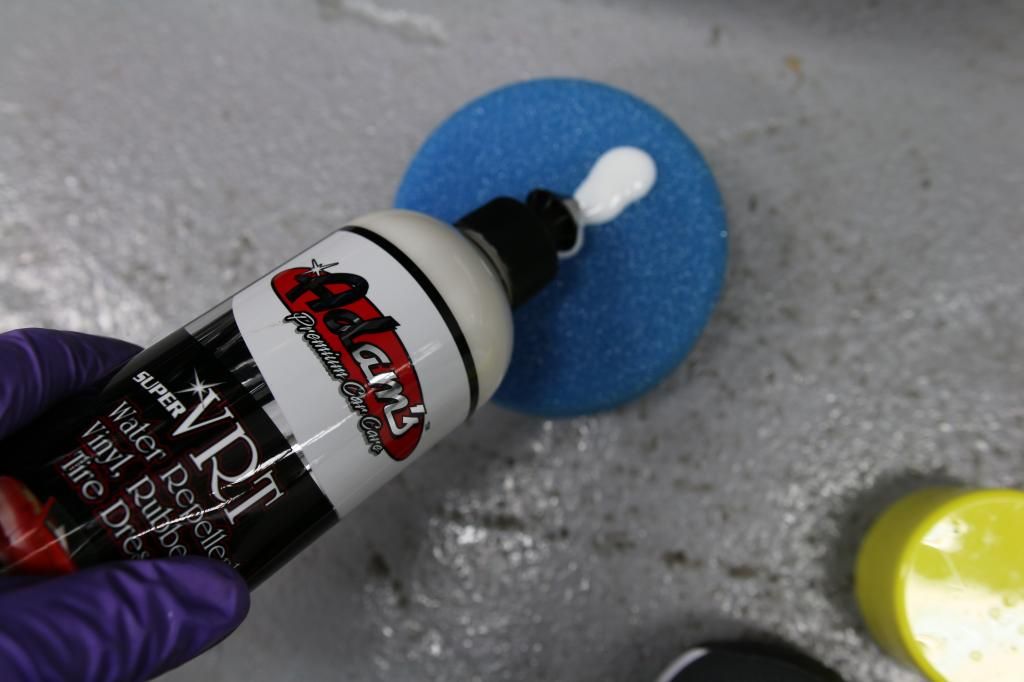
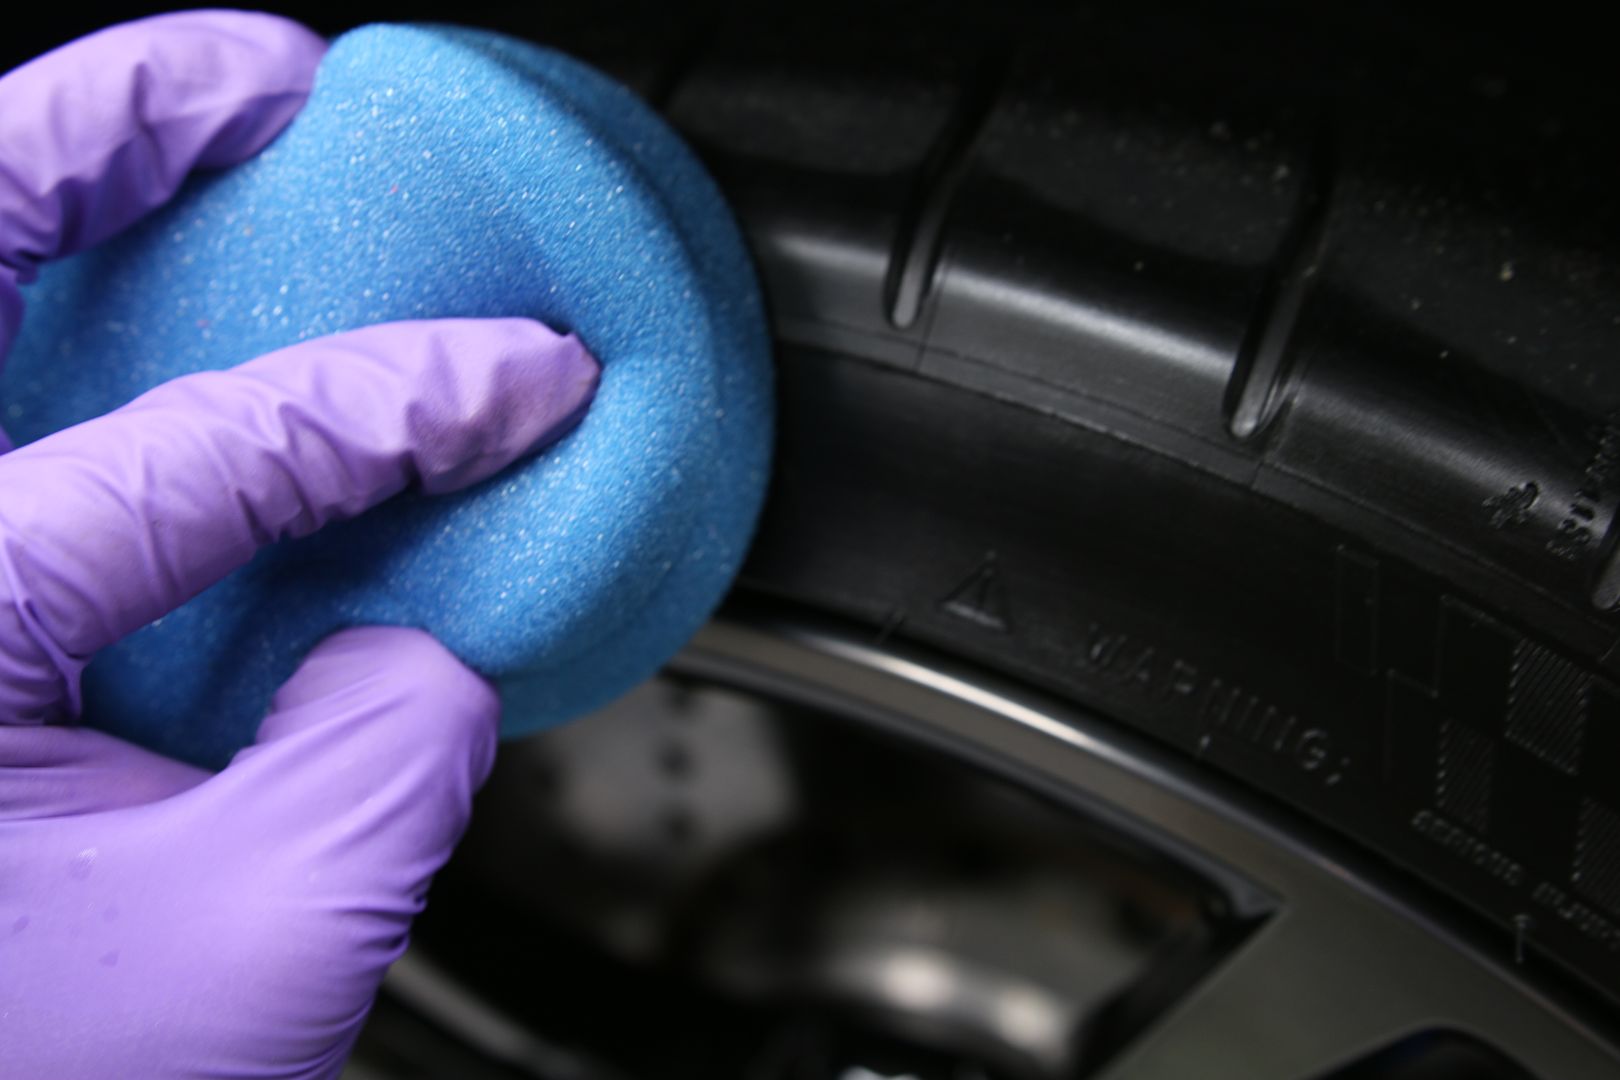
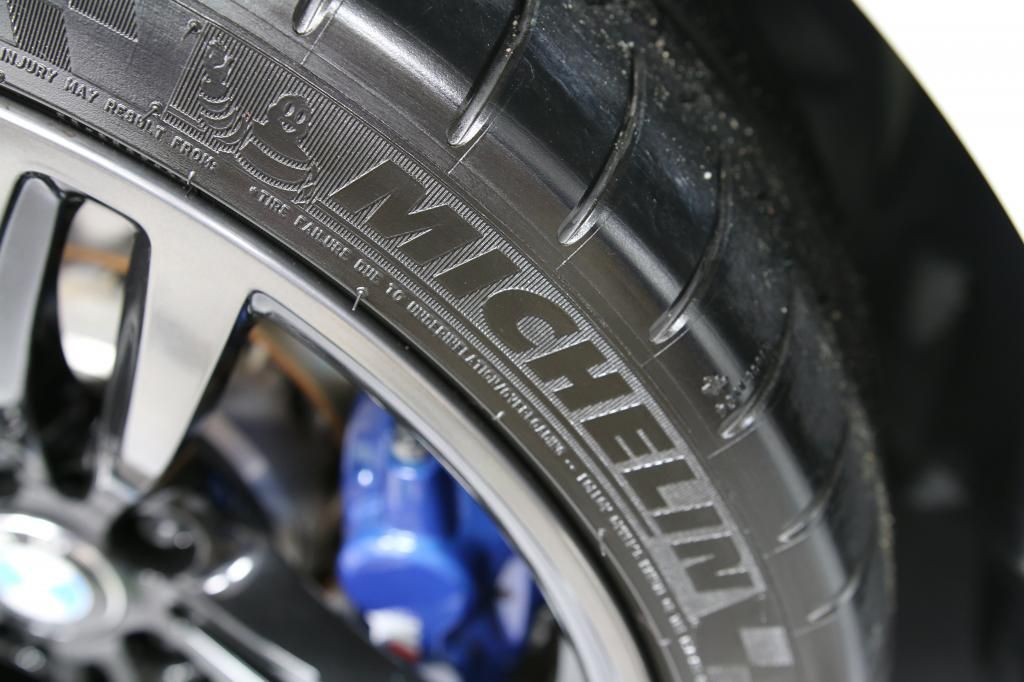
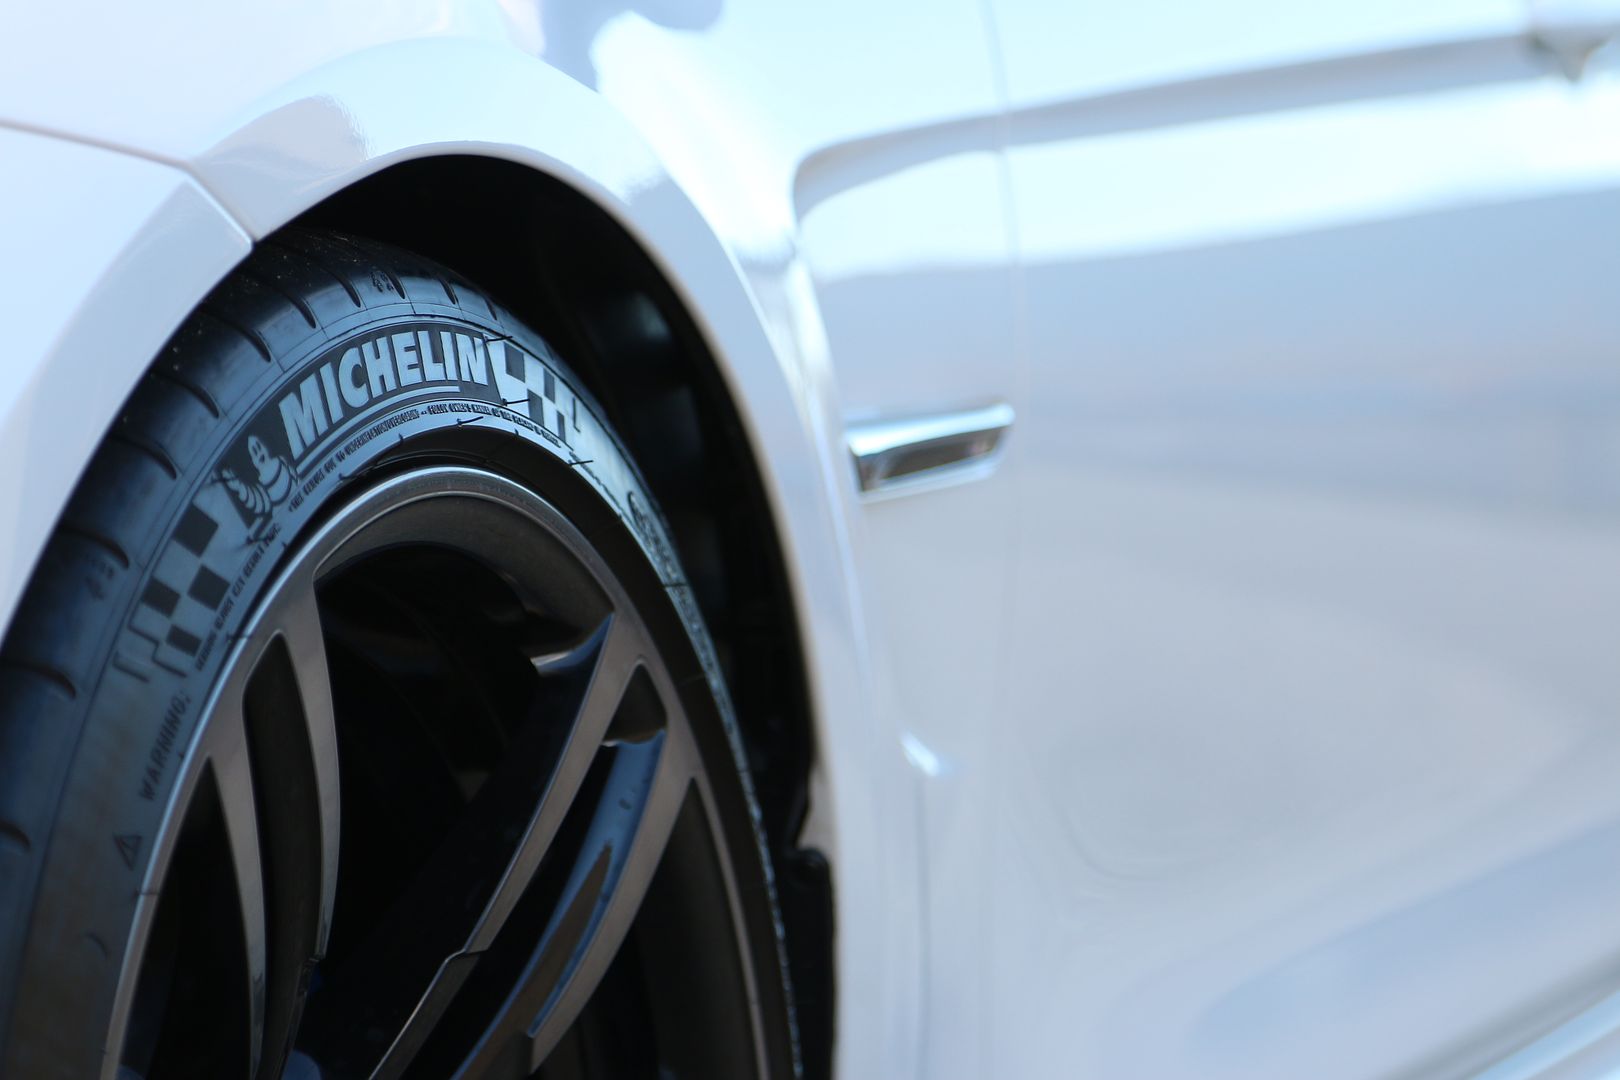
Getting the tires cleaned and dressed - using Stoner's Tarminator, Auto Finesse Obilitarate, Adam's Super VRT
![Click the image to open in full size.]()
![Click the image to open in full size.]()
![Click the image to open in full size.]()
![Click the image to open in full size.]()
![Click the image to open in full size.]()
![Click the image to open in full size.]()
![Click the image to open in full size.]()
![Click the image to open in full size.]()
No after shots with the stock set up we went to Ben and Mark at Rogue Engineering for some goodies.
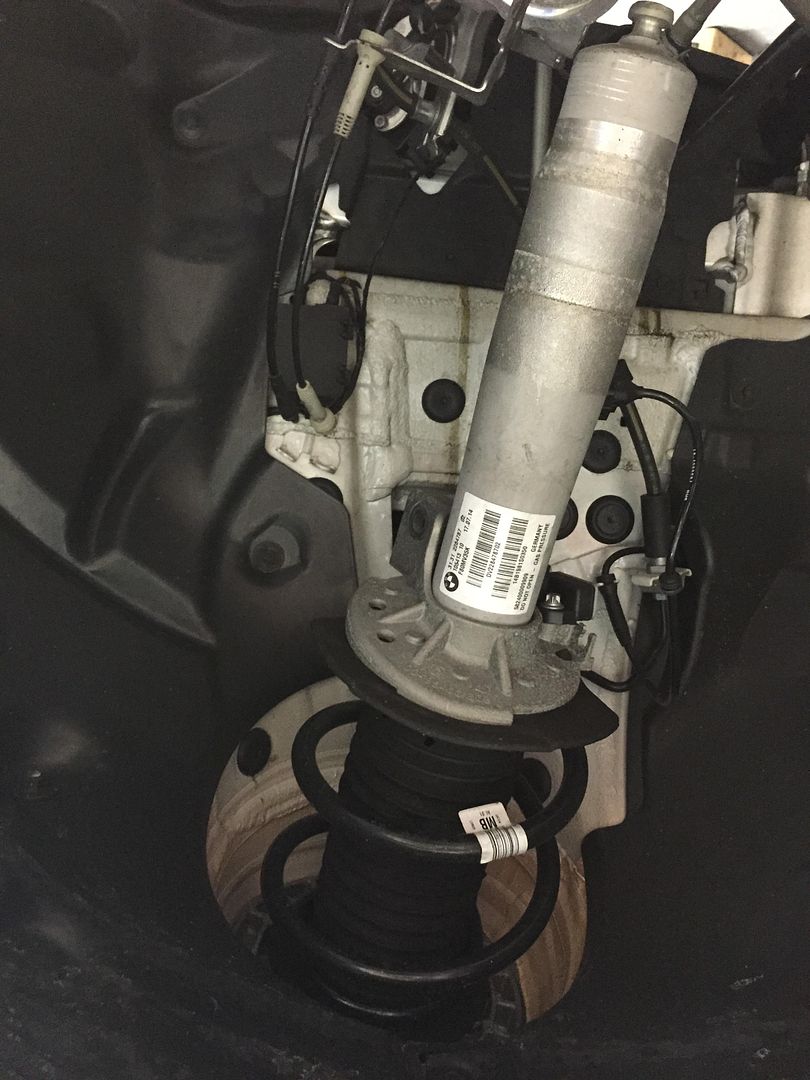
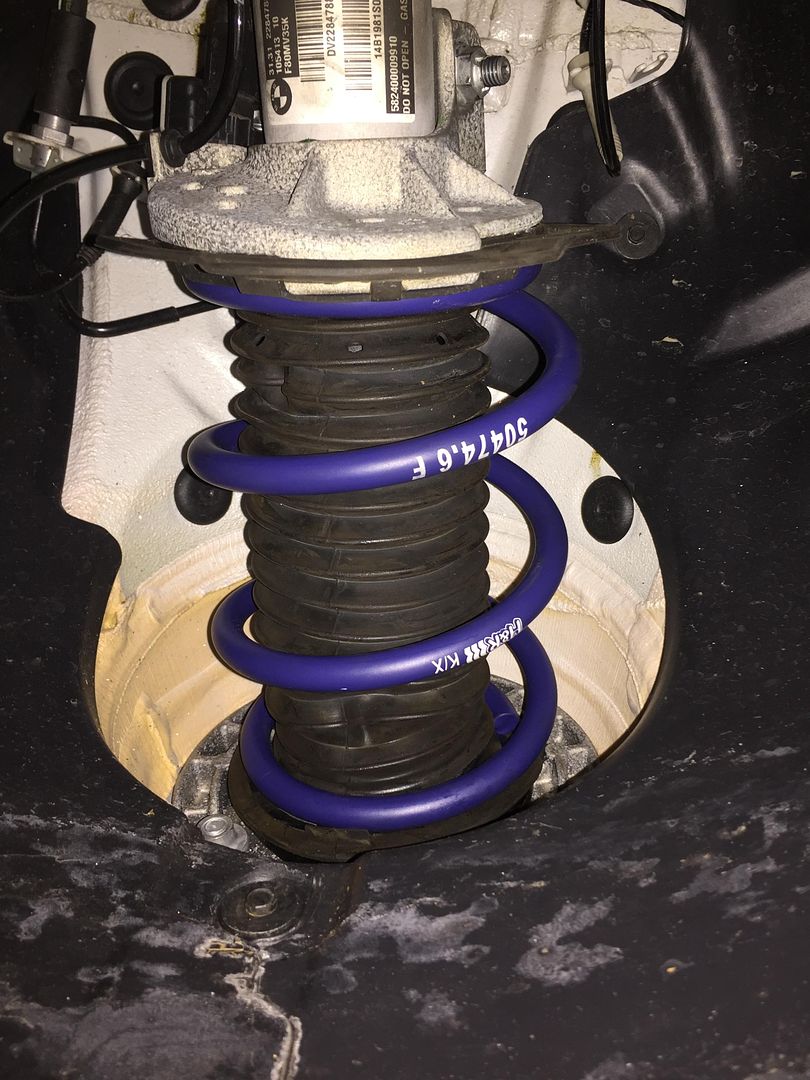
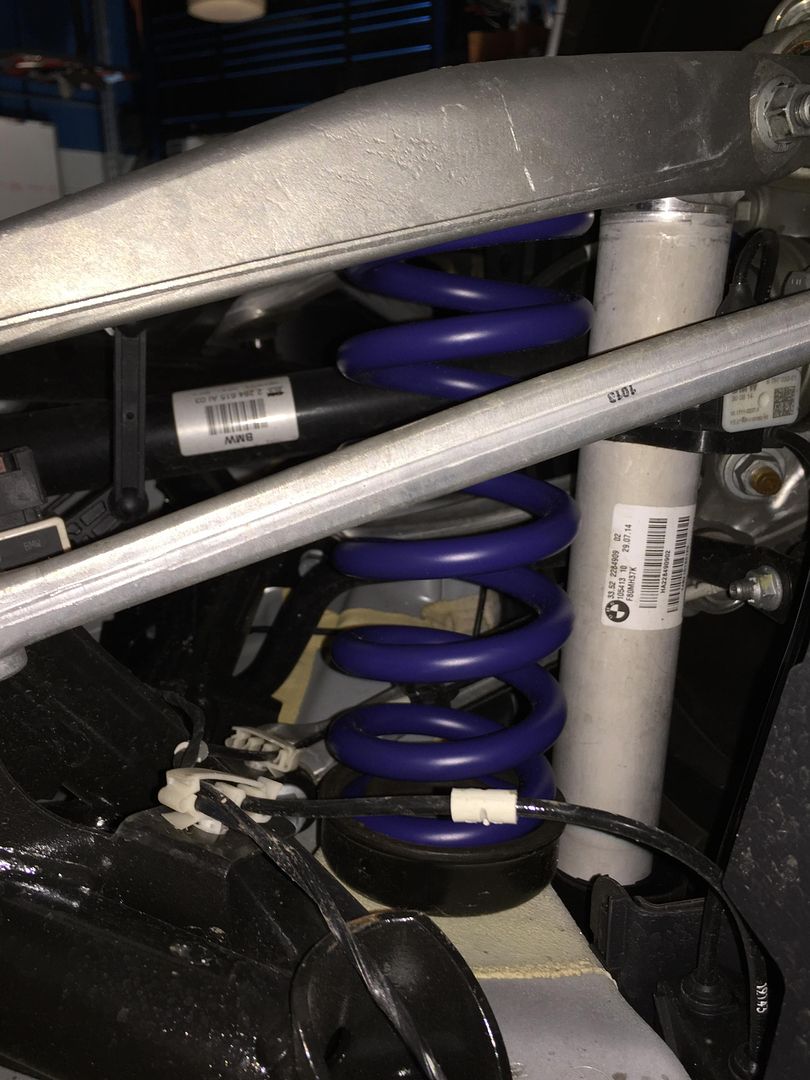
Rogue Engineering installed H&R Springs, Rogue Engineering Spacers 12 mm, and Rogue Engineering Stainless Steel Brake Lines
stock
![Click the image to open in full size.]()
H&R
![Click the image to open in full size.]()
![Click the image to open in full size.]()
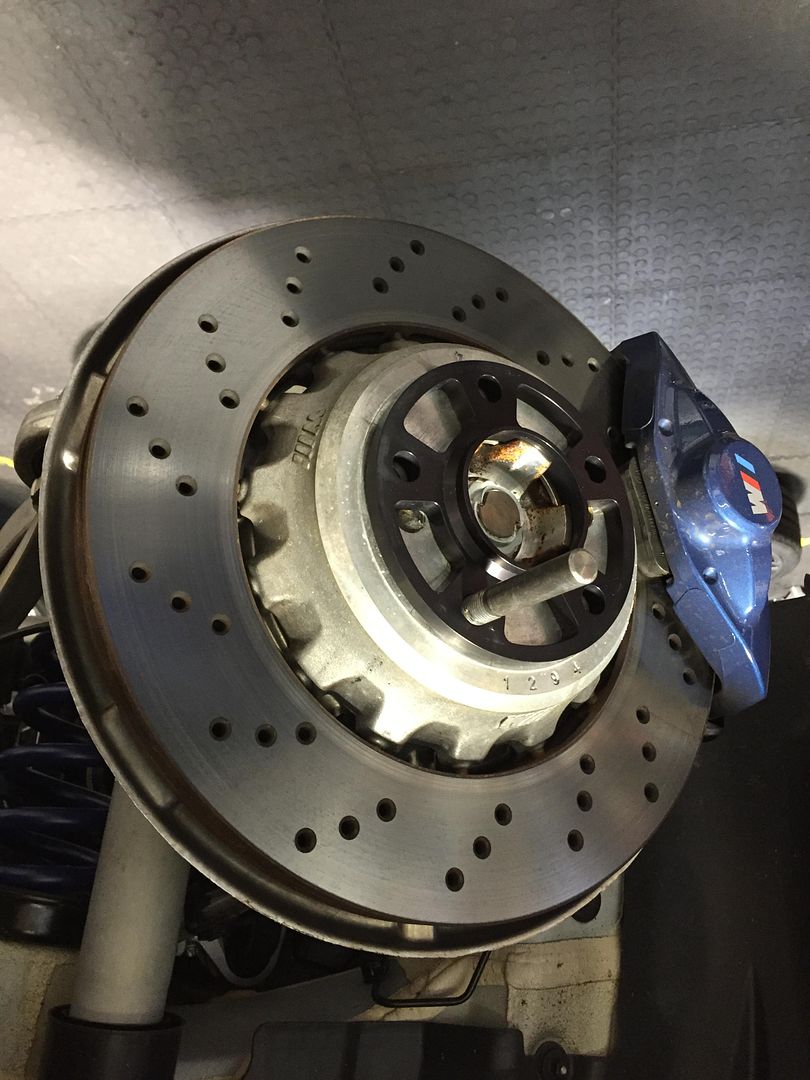
RE 12MM Spacers Front and Rear
![Click the image to open in full size.]()
![Click the image to open in full size.]()
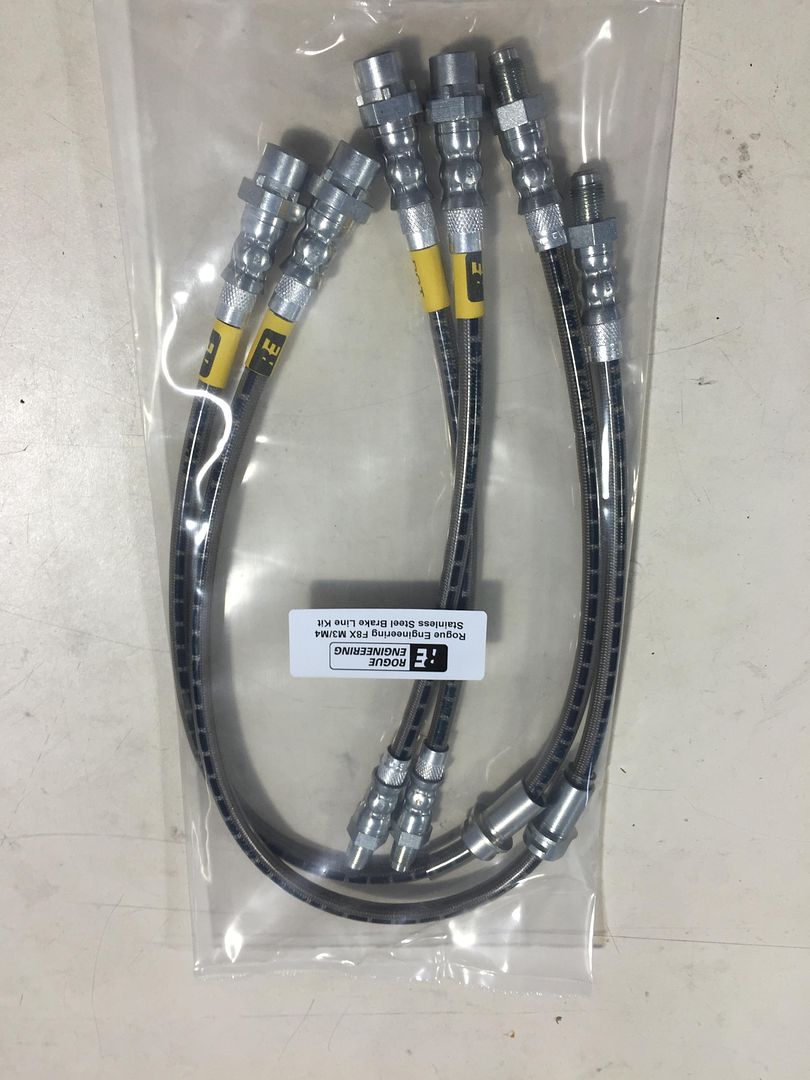
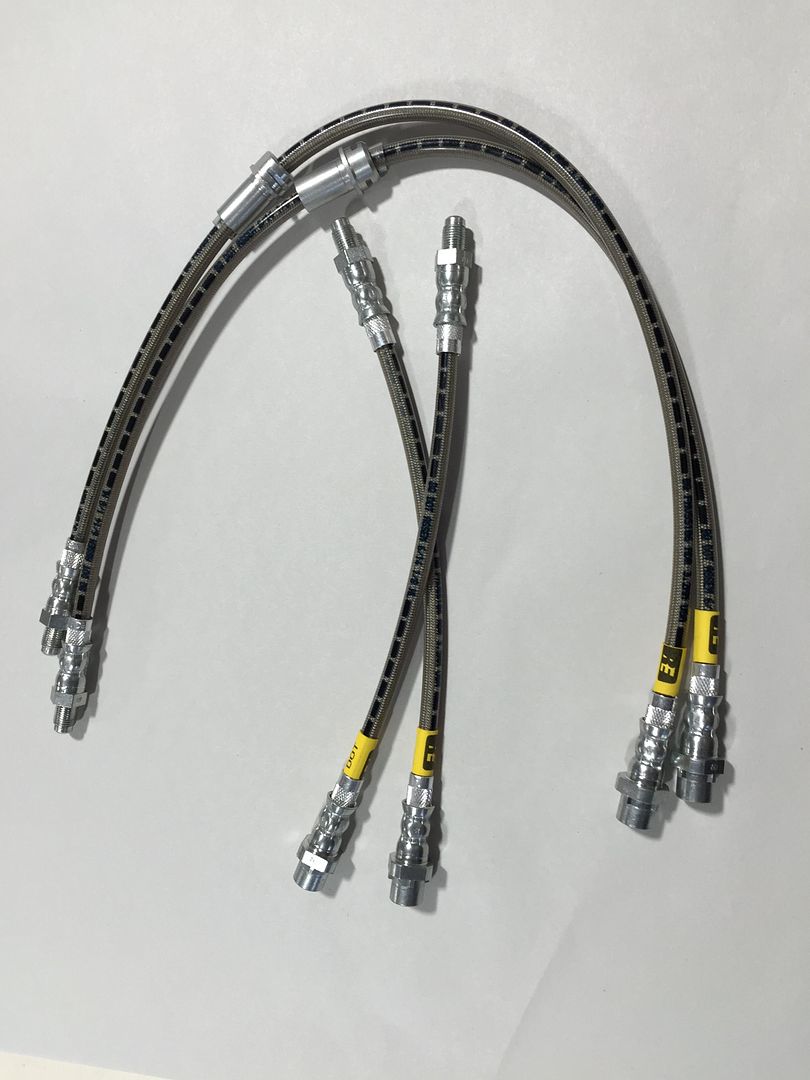
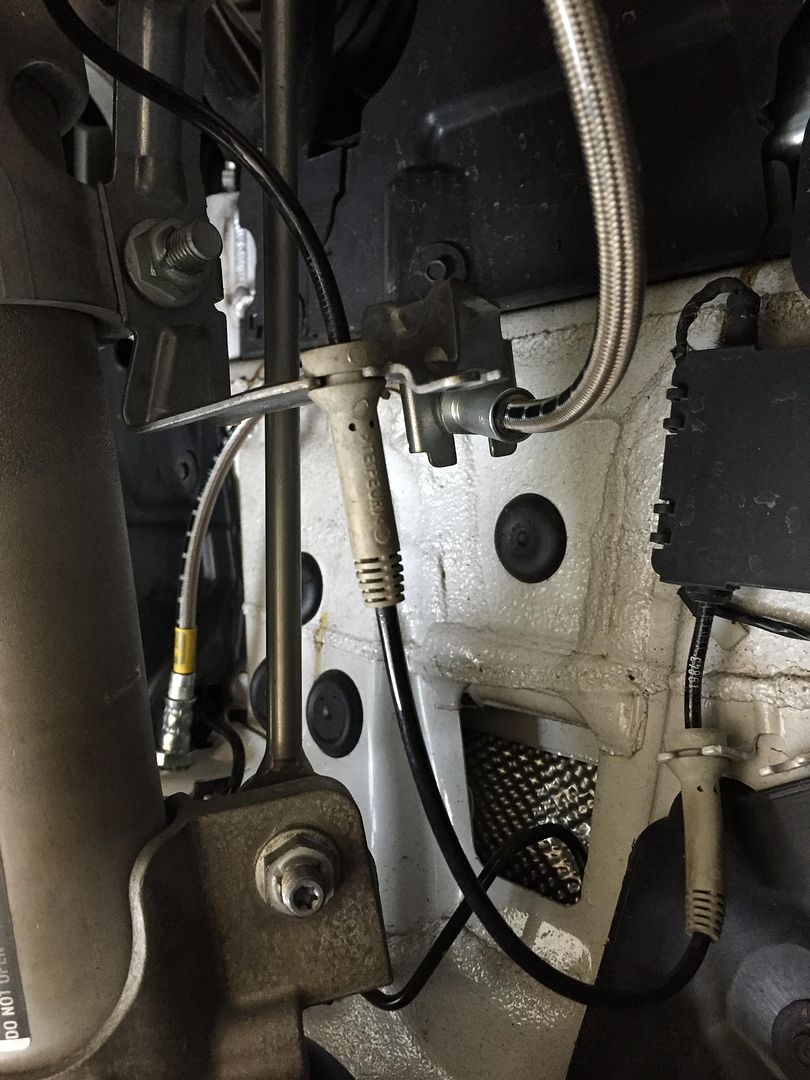
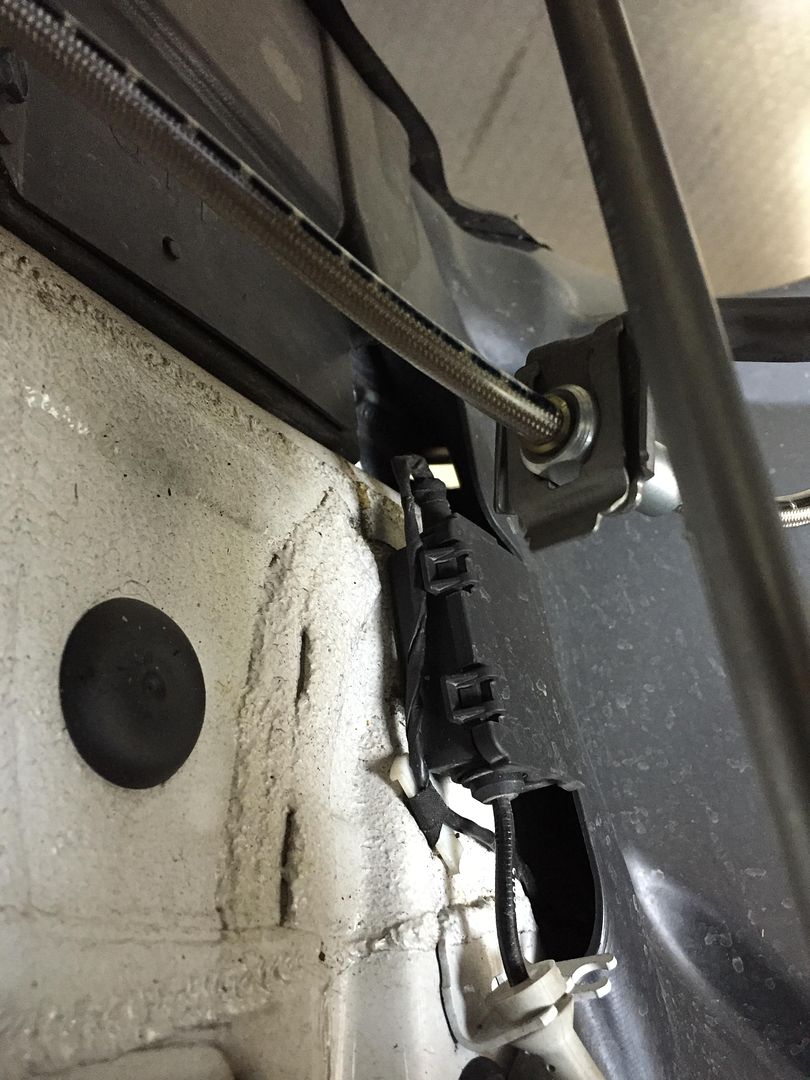
RE SS Lines
![Click the image to open in full size.]()
![Click the image to open in full size.]()
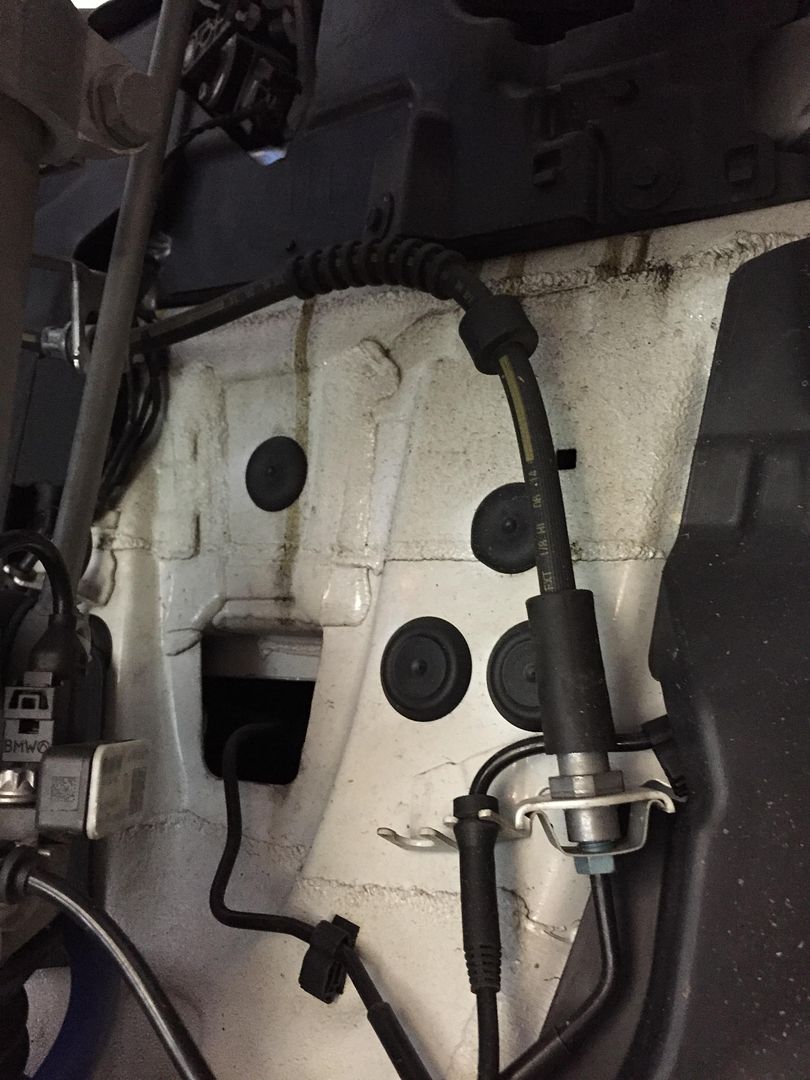
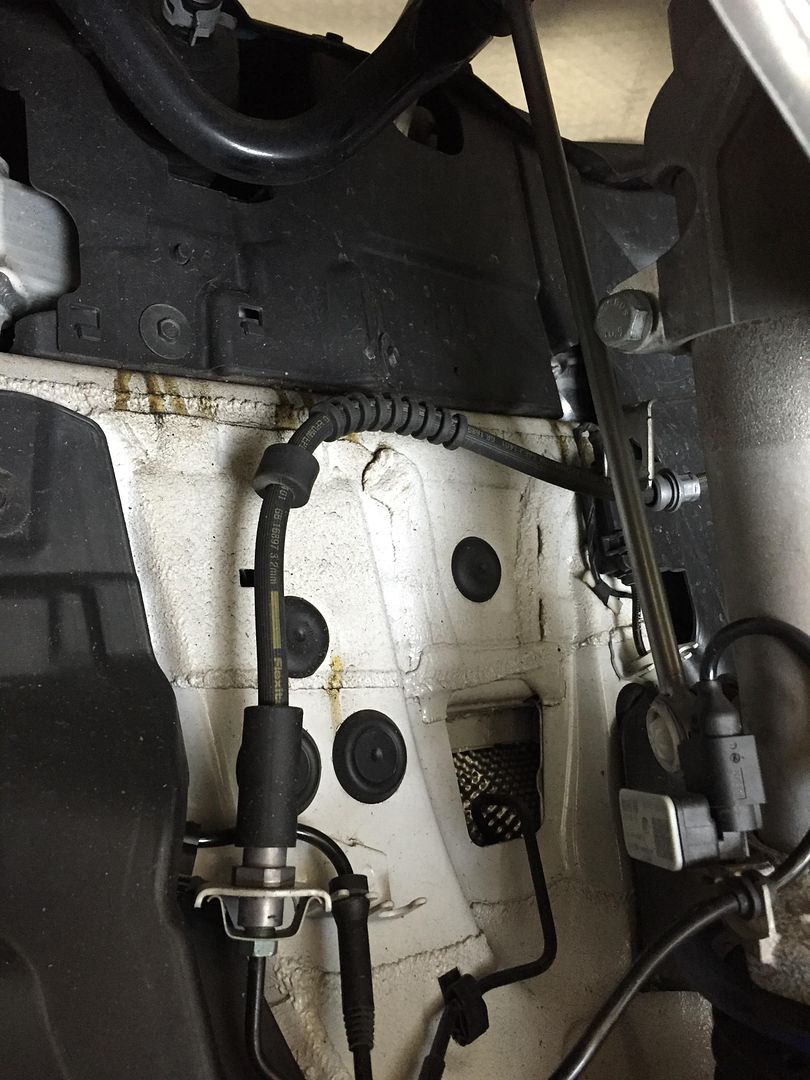
Stock
![Click the image to open in full size.]()
![Click the image to open in full size.]()
![Click the image to open in full size.]()
RE SS lines installed![Click the image to open in full size.]()
![Click the image to open in full size.]()
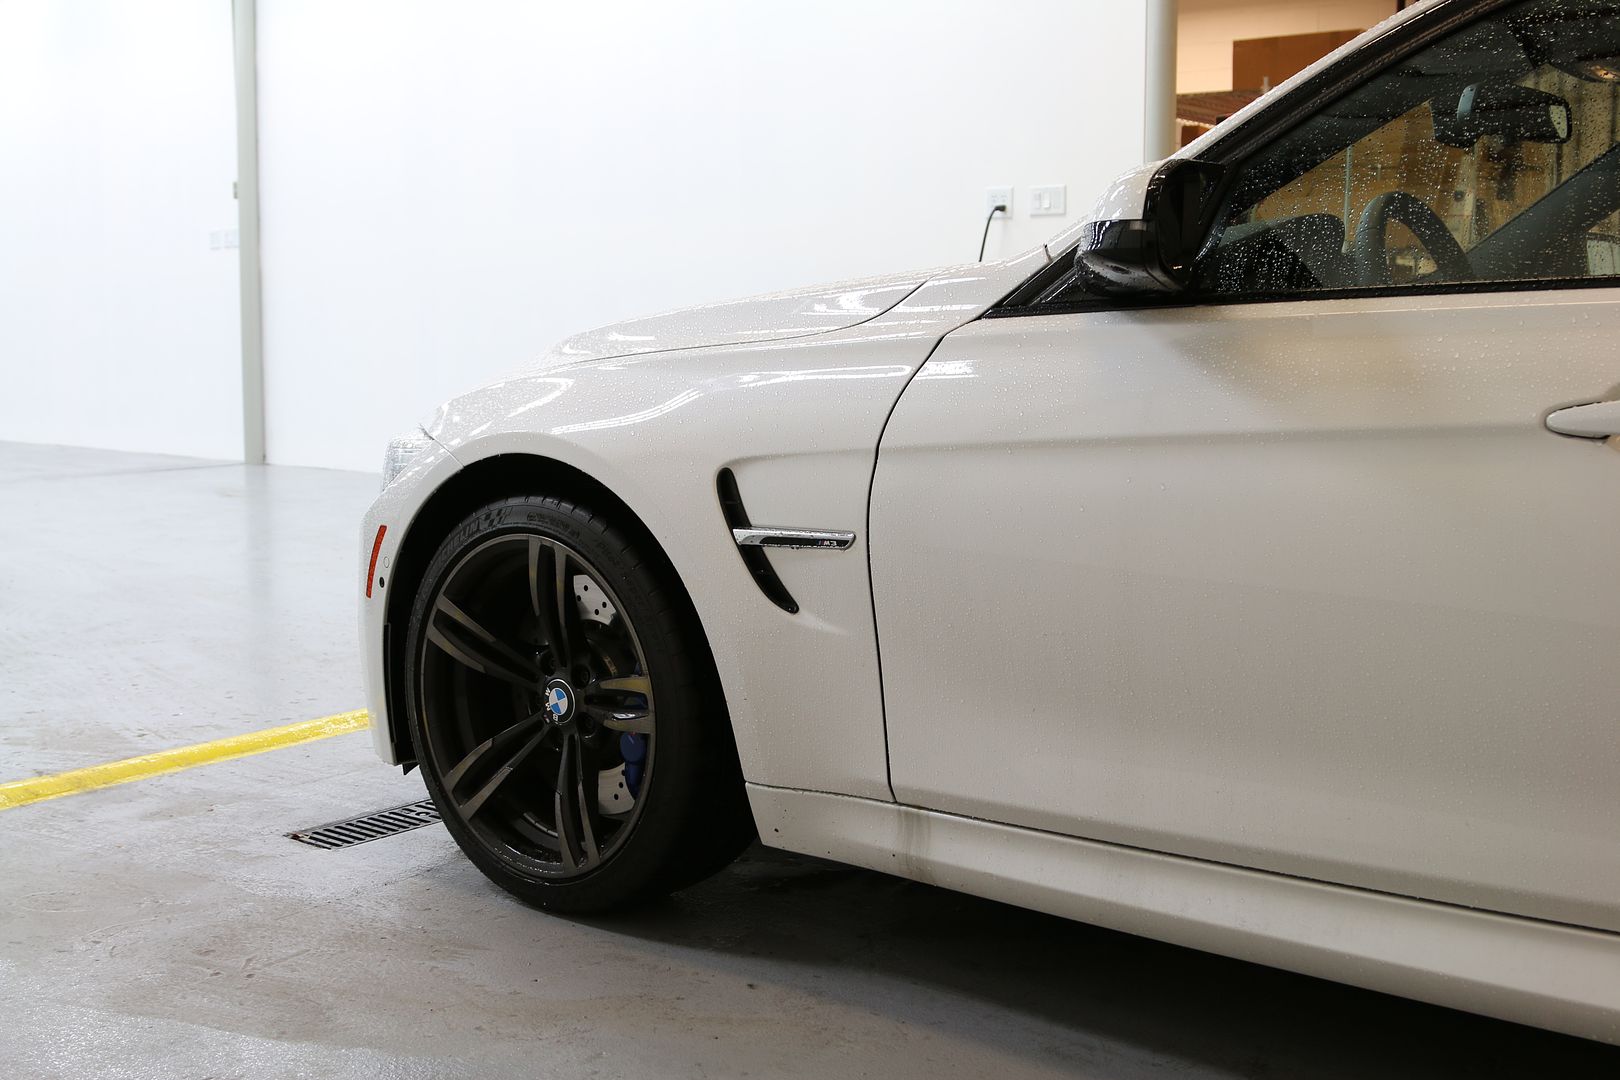
Back at DD it was cleaned it up and took some final shots.
Inside
![Click the image to open in full size.]()
![Click the image to open in full size.]()
![Click the image to open in full size.]()
![Click the image to open in full size.]()
![Click the image to open in full size.]()
![Click the image to open in full size.]()
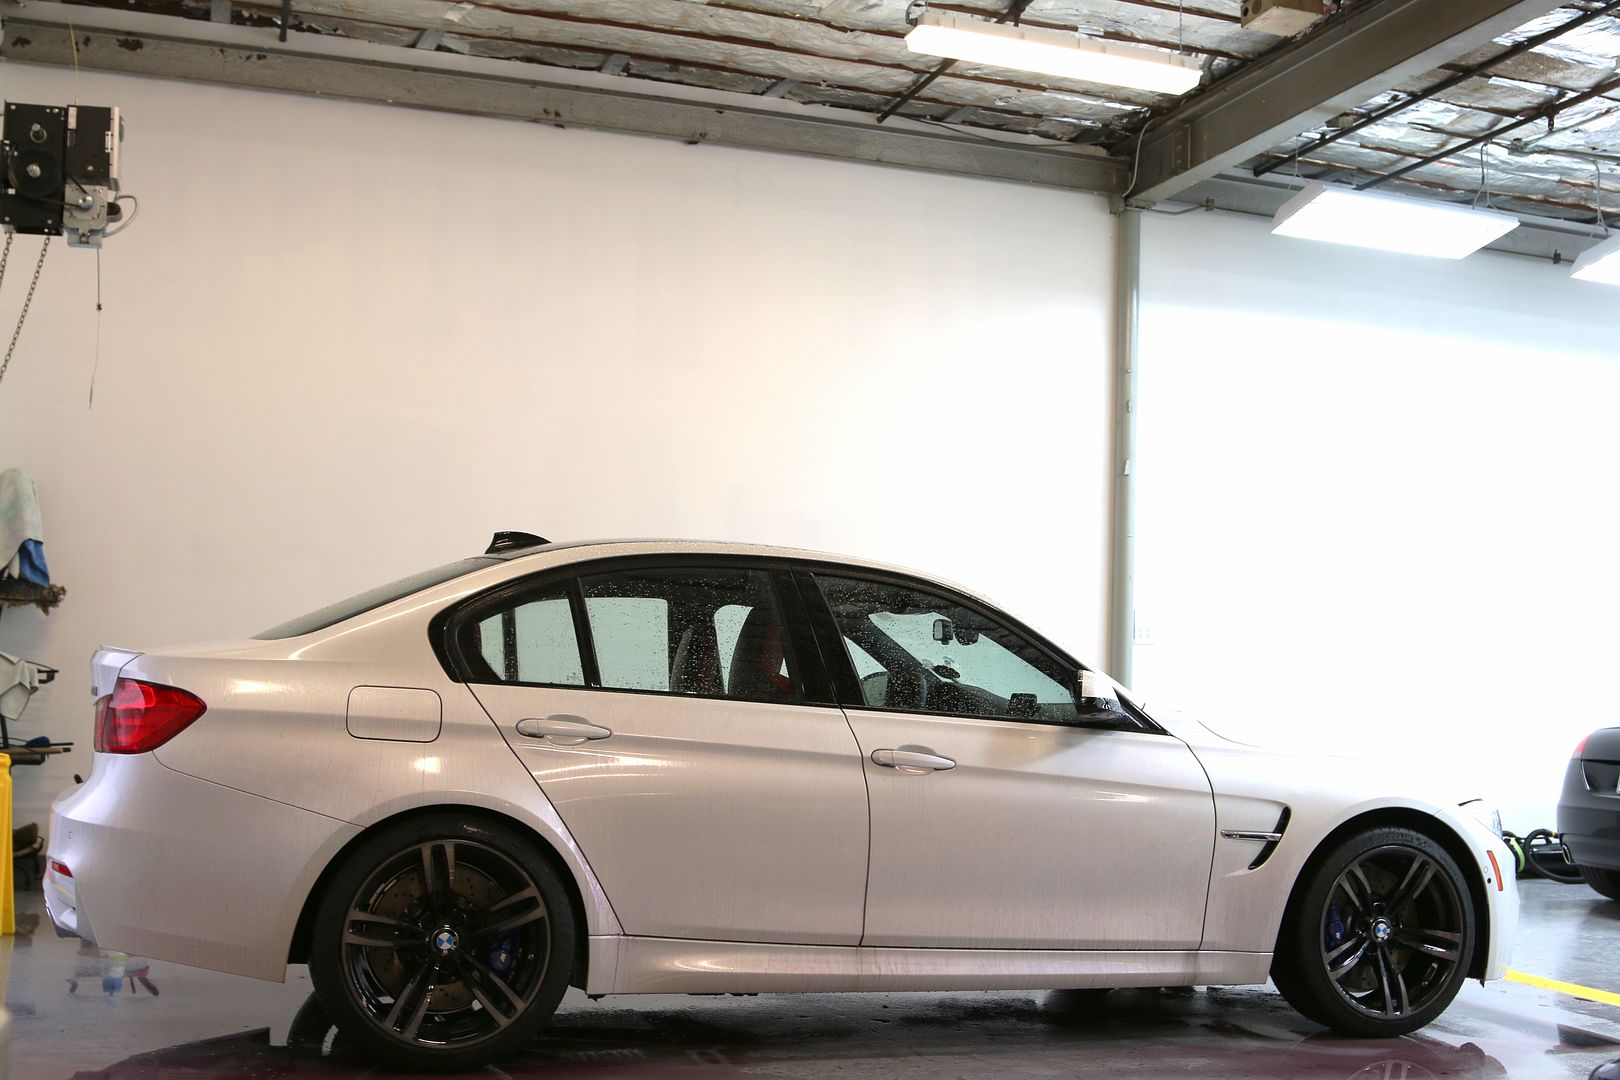
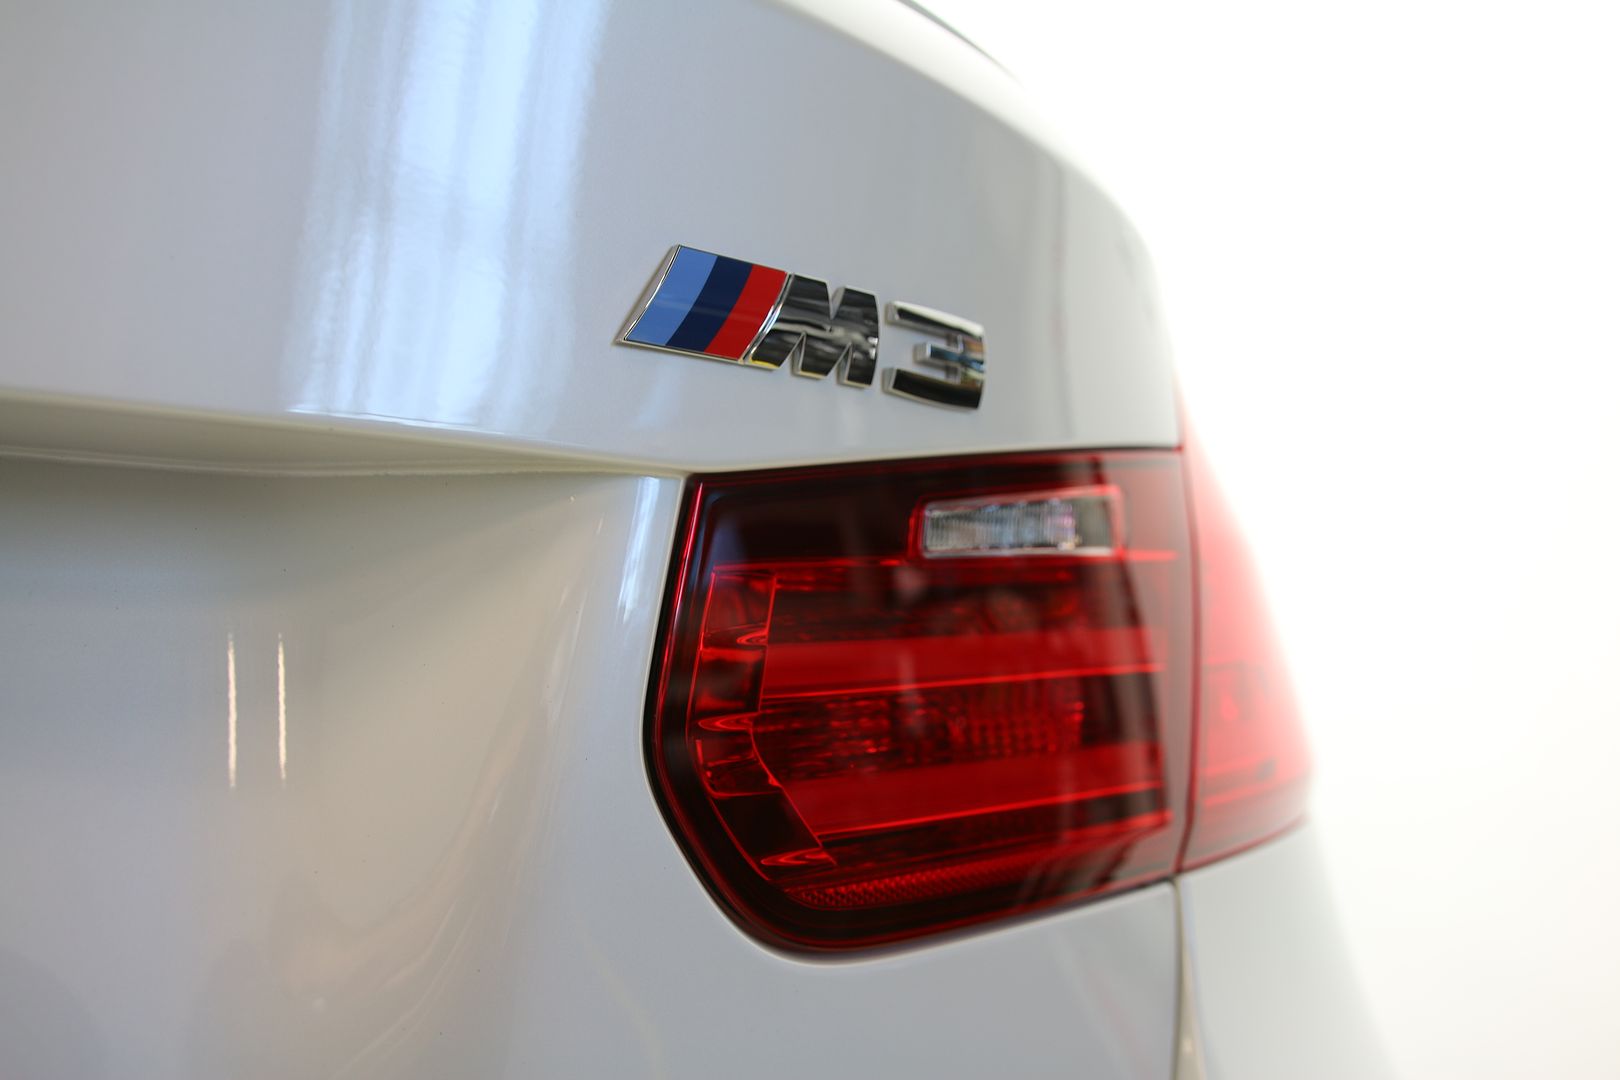
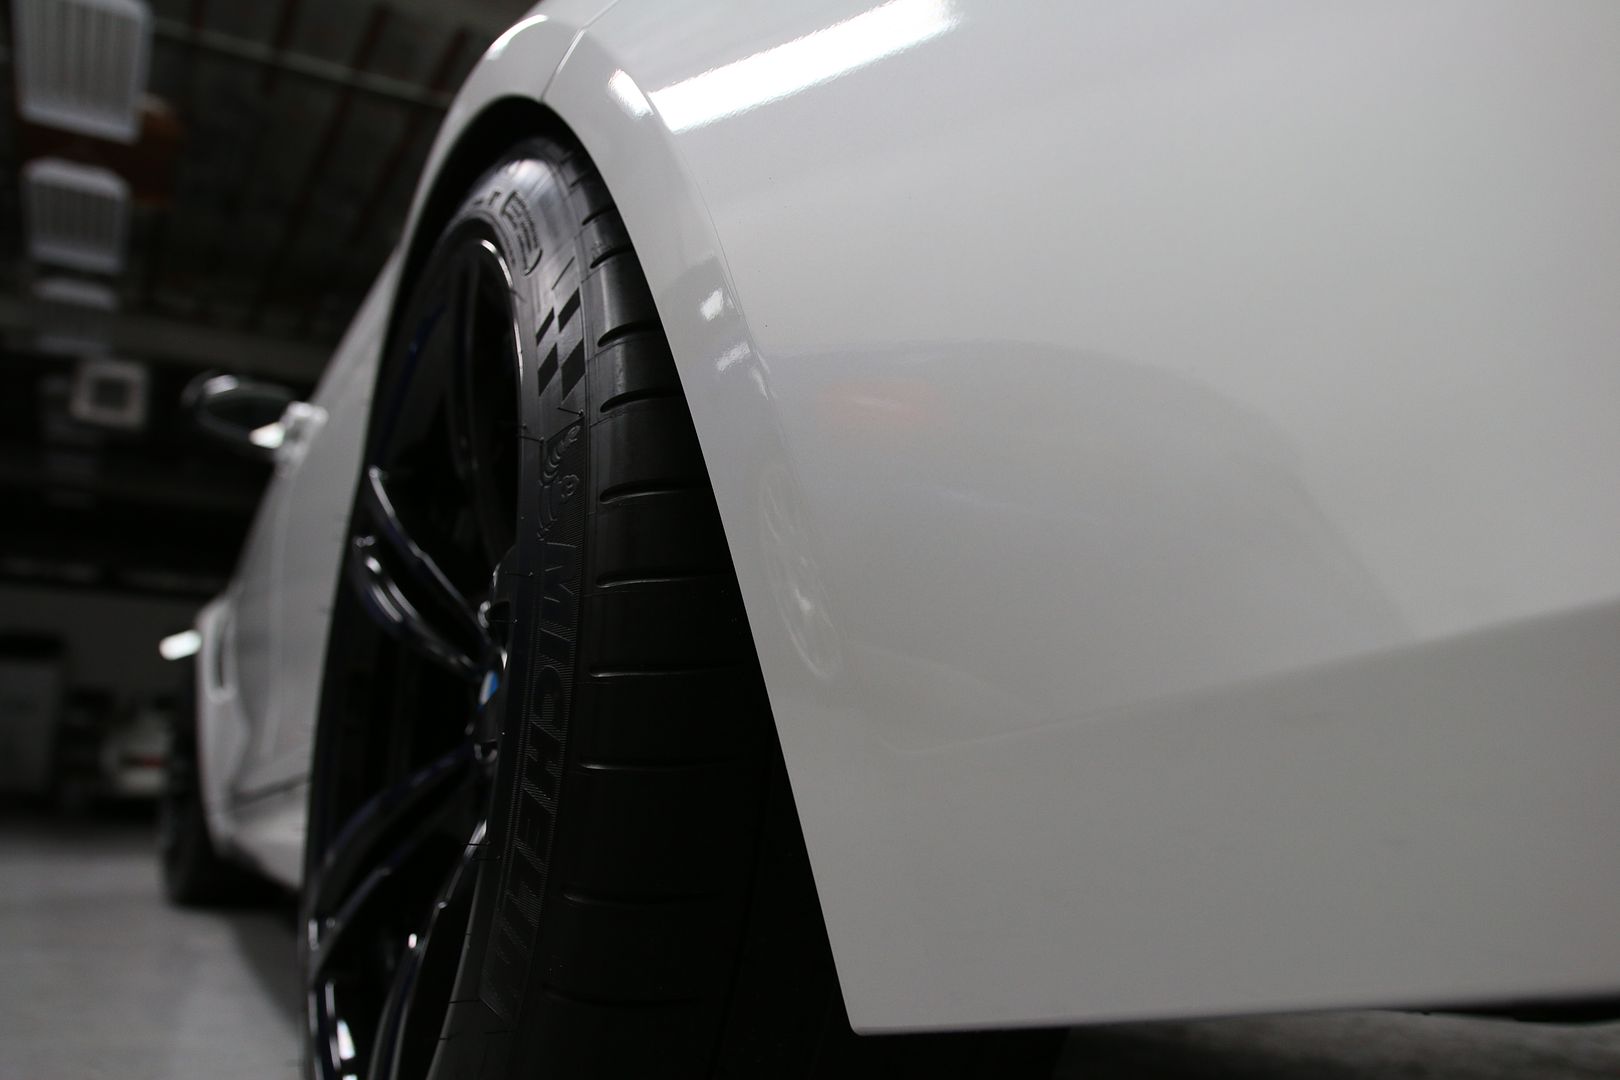
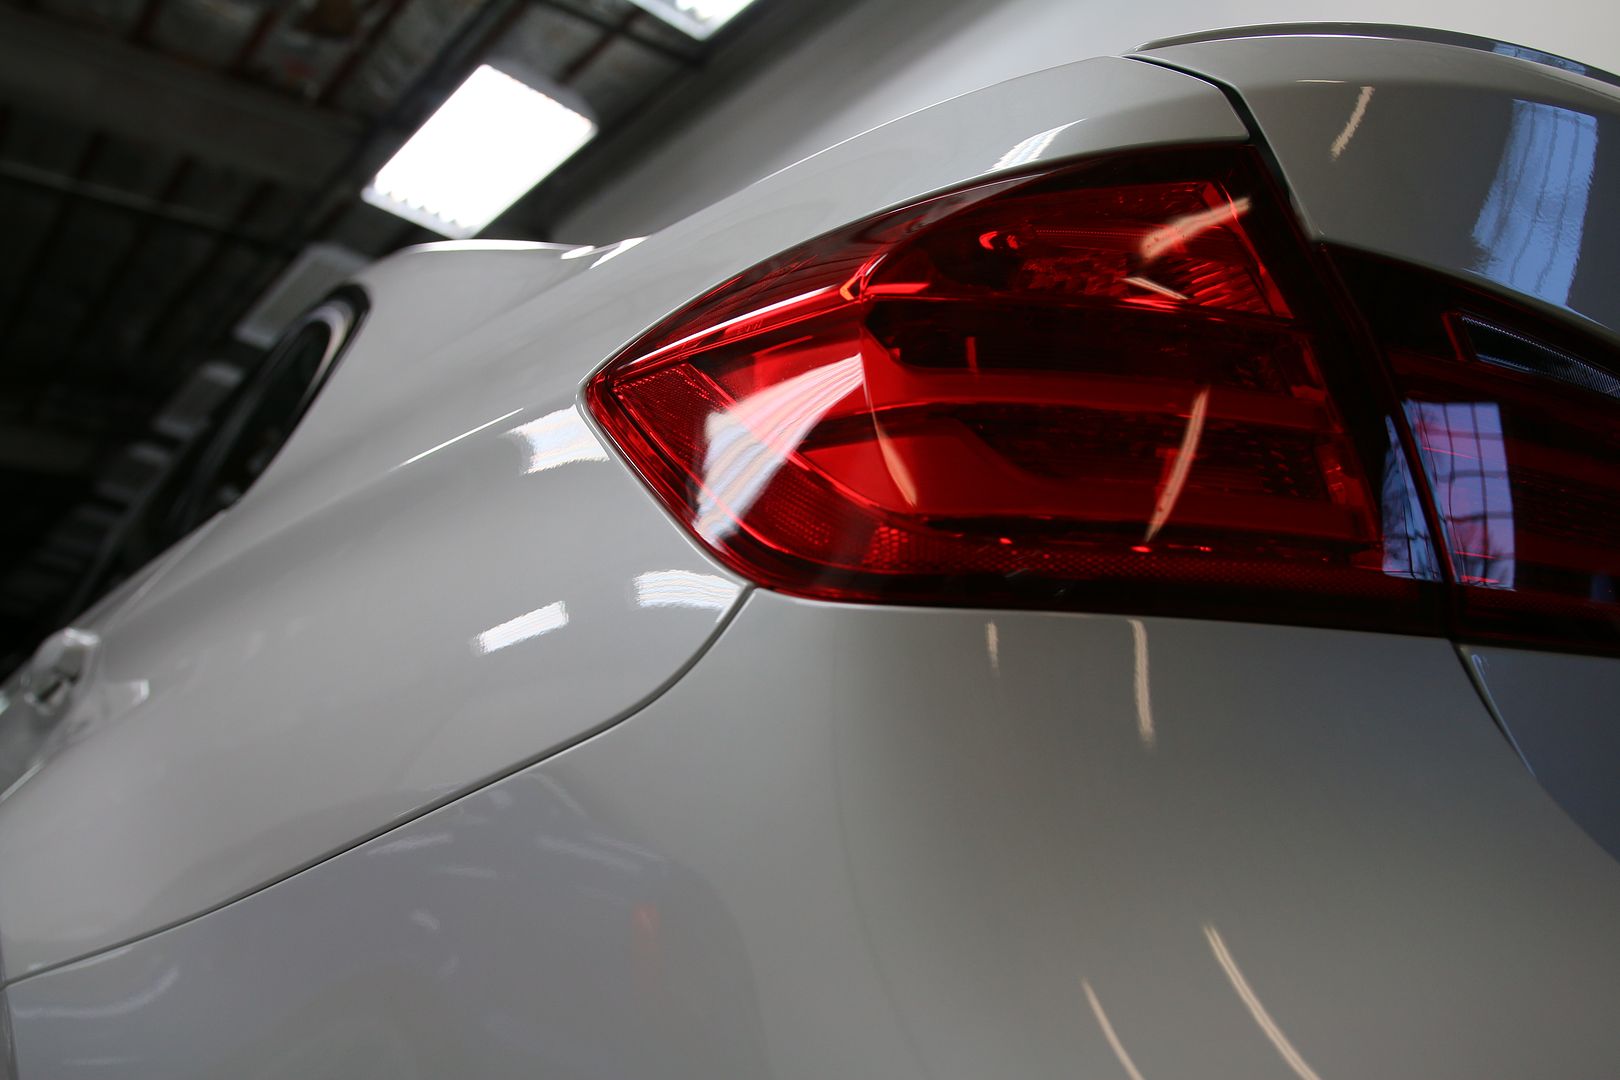
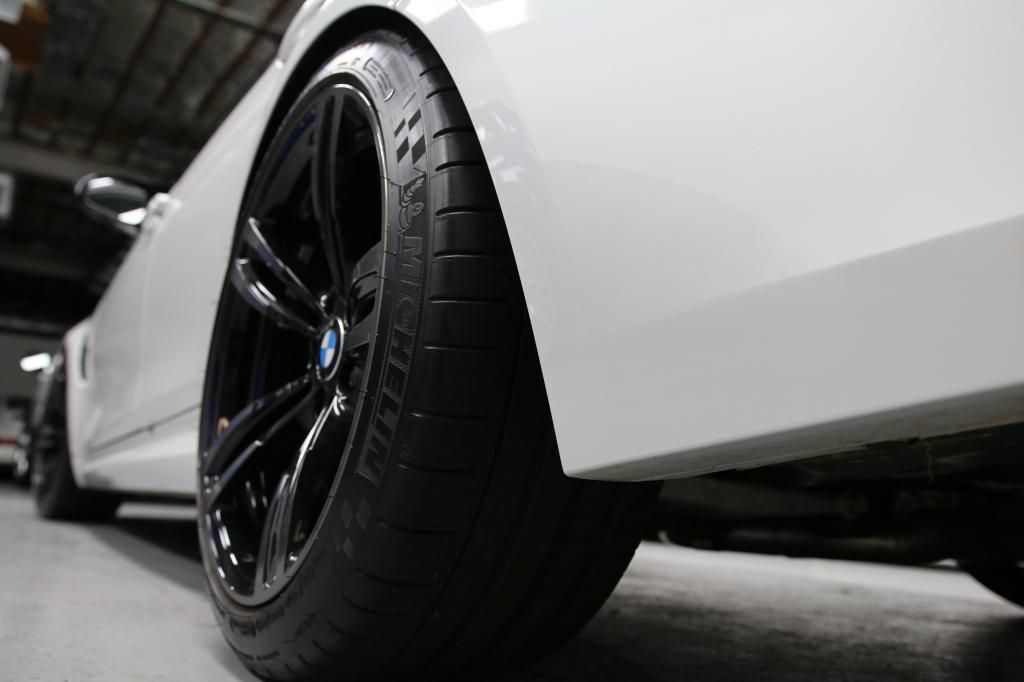
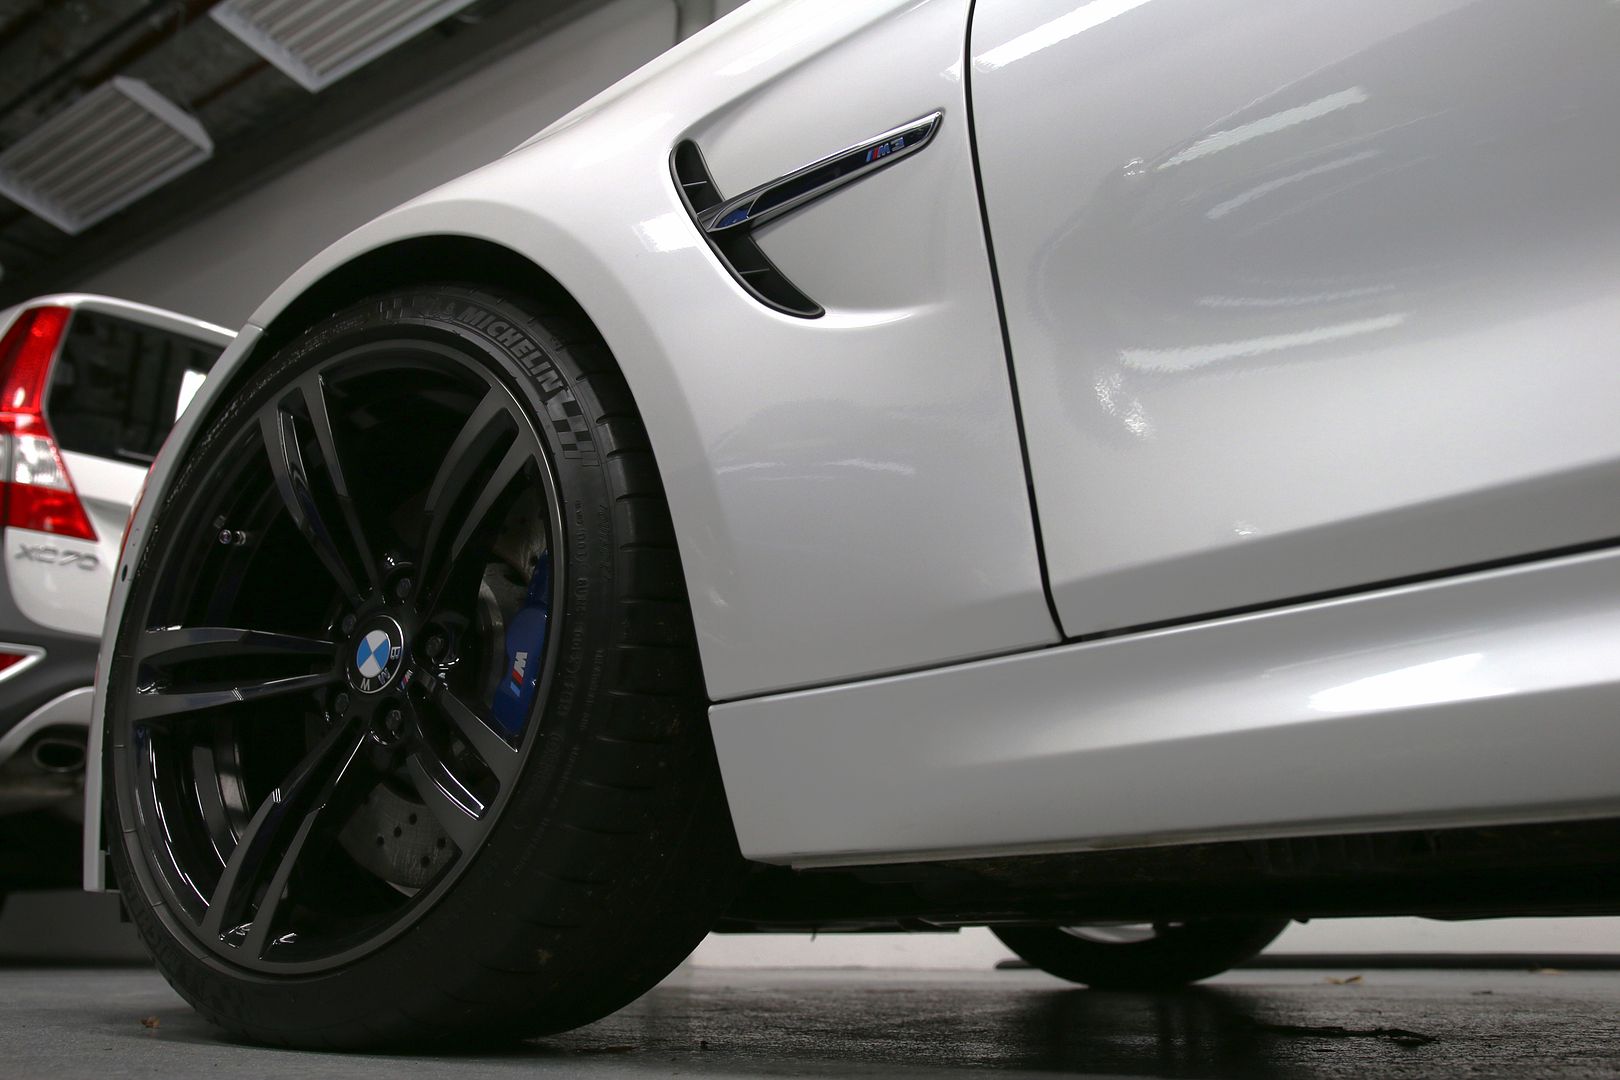
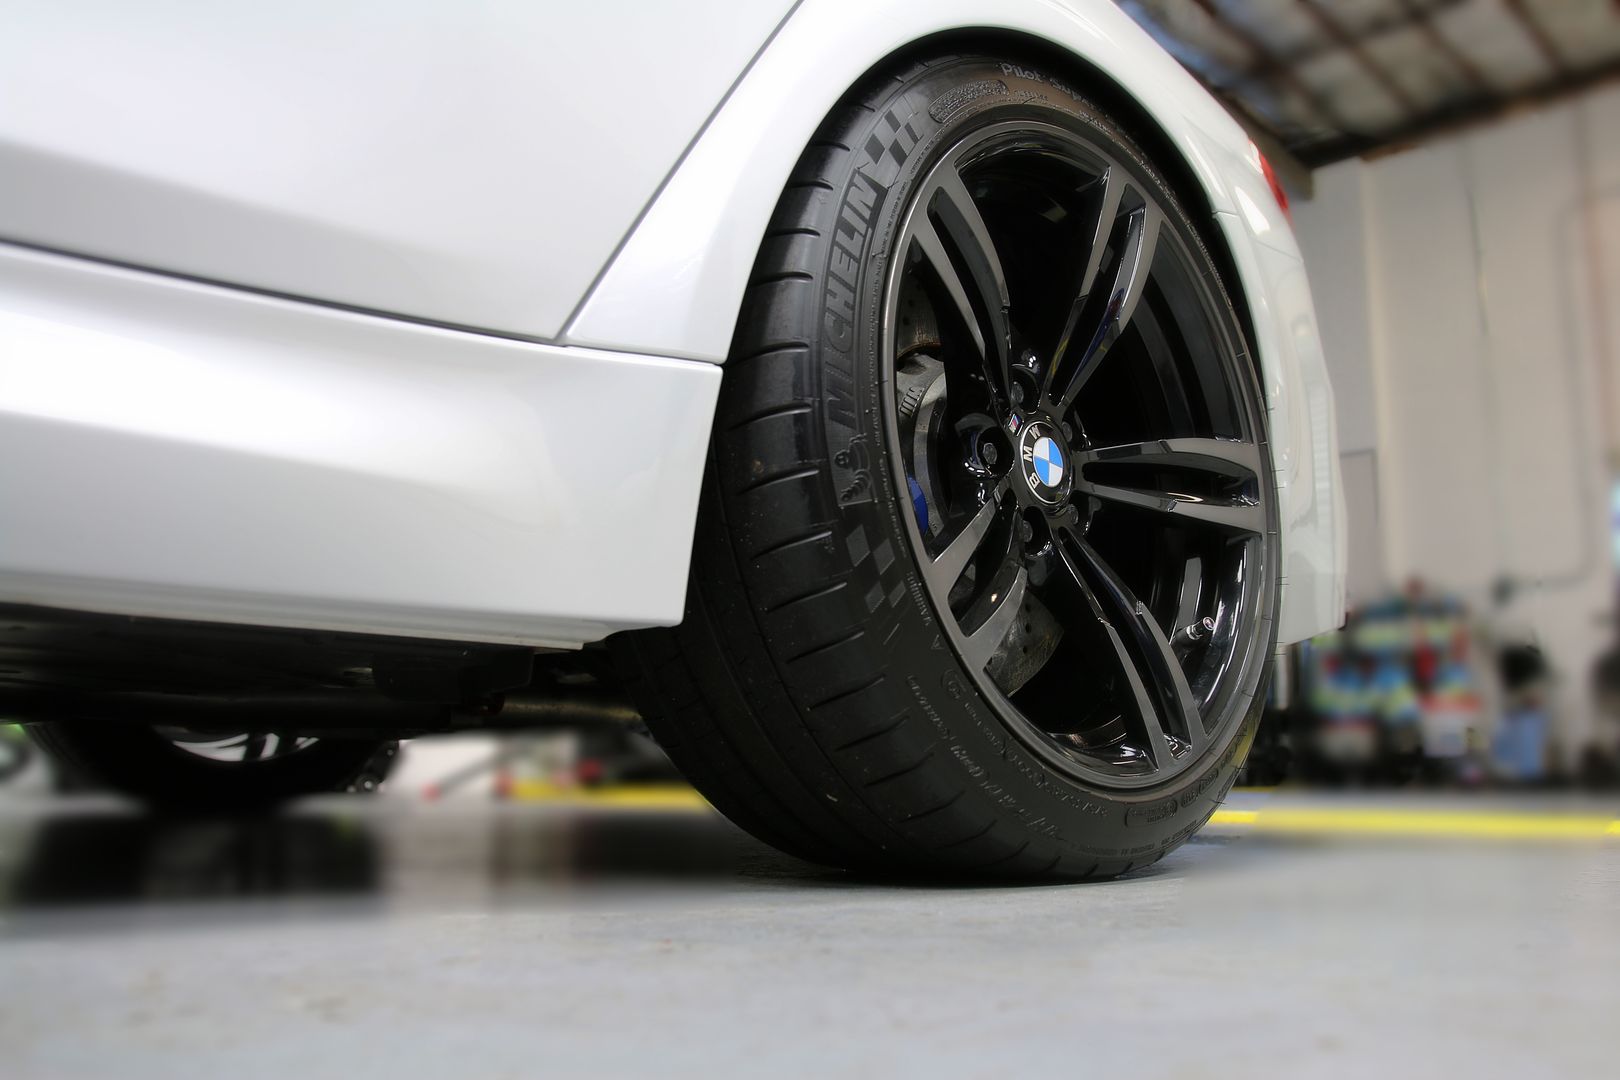
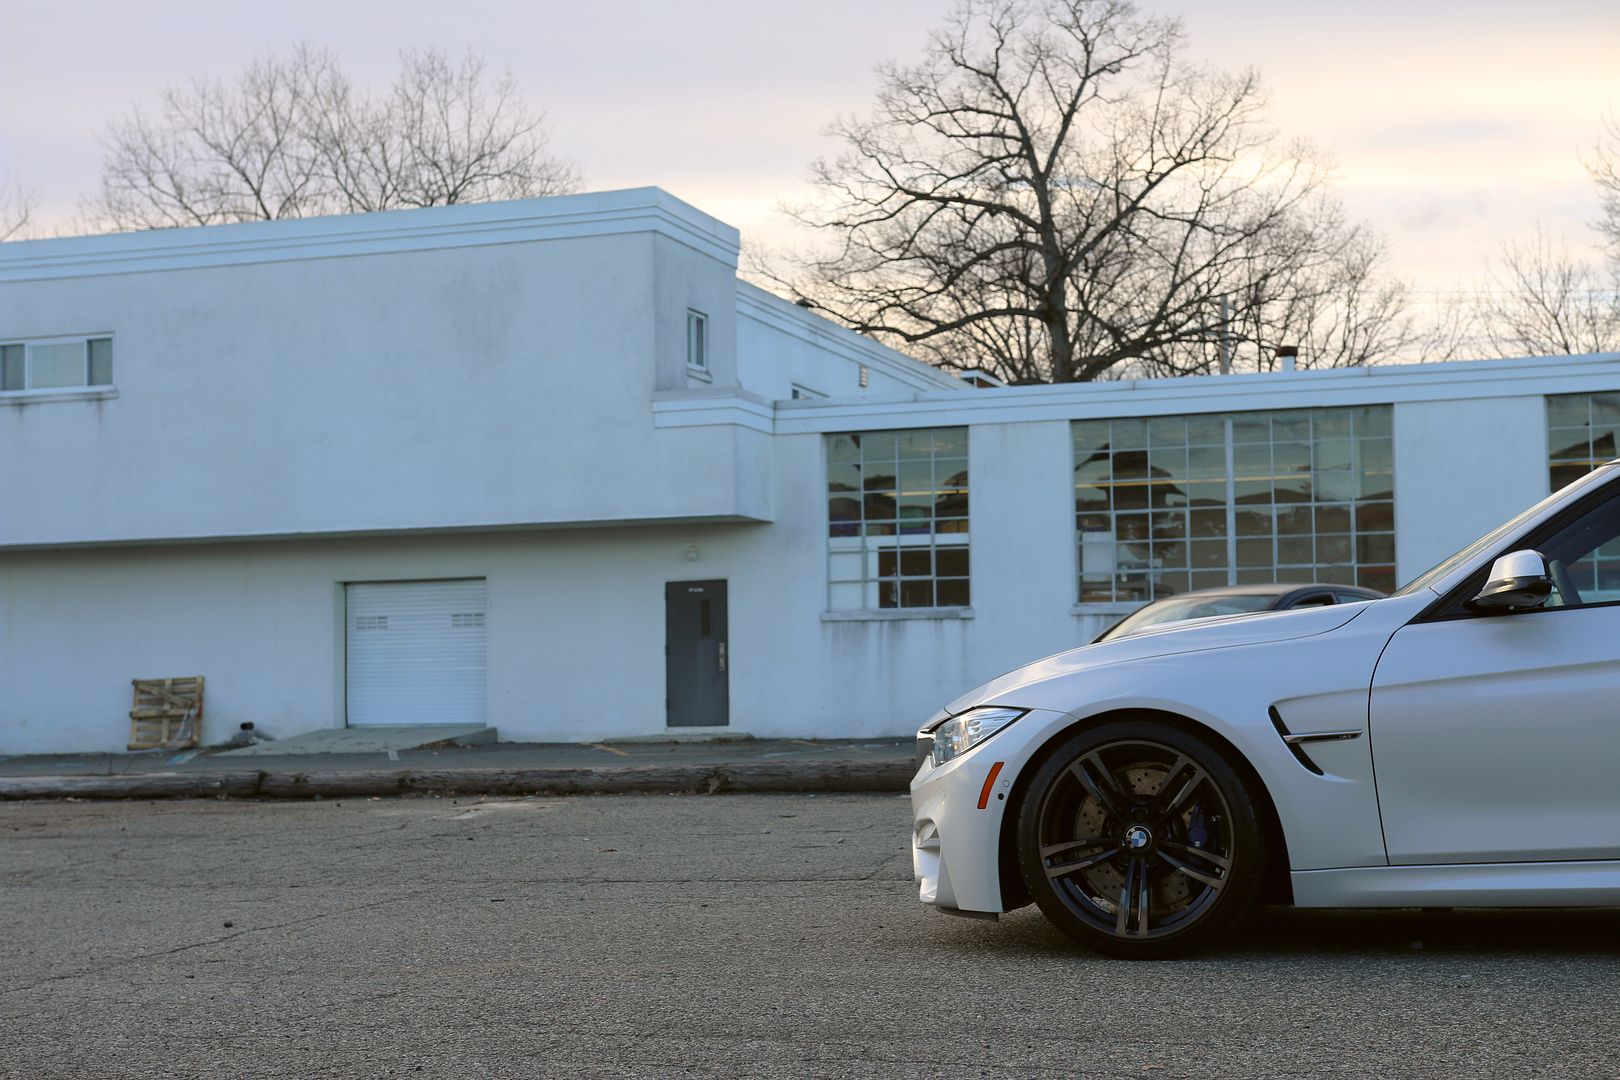
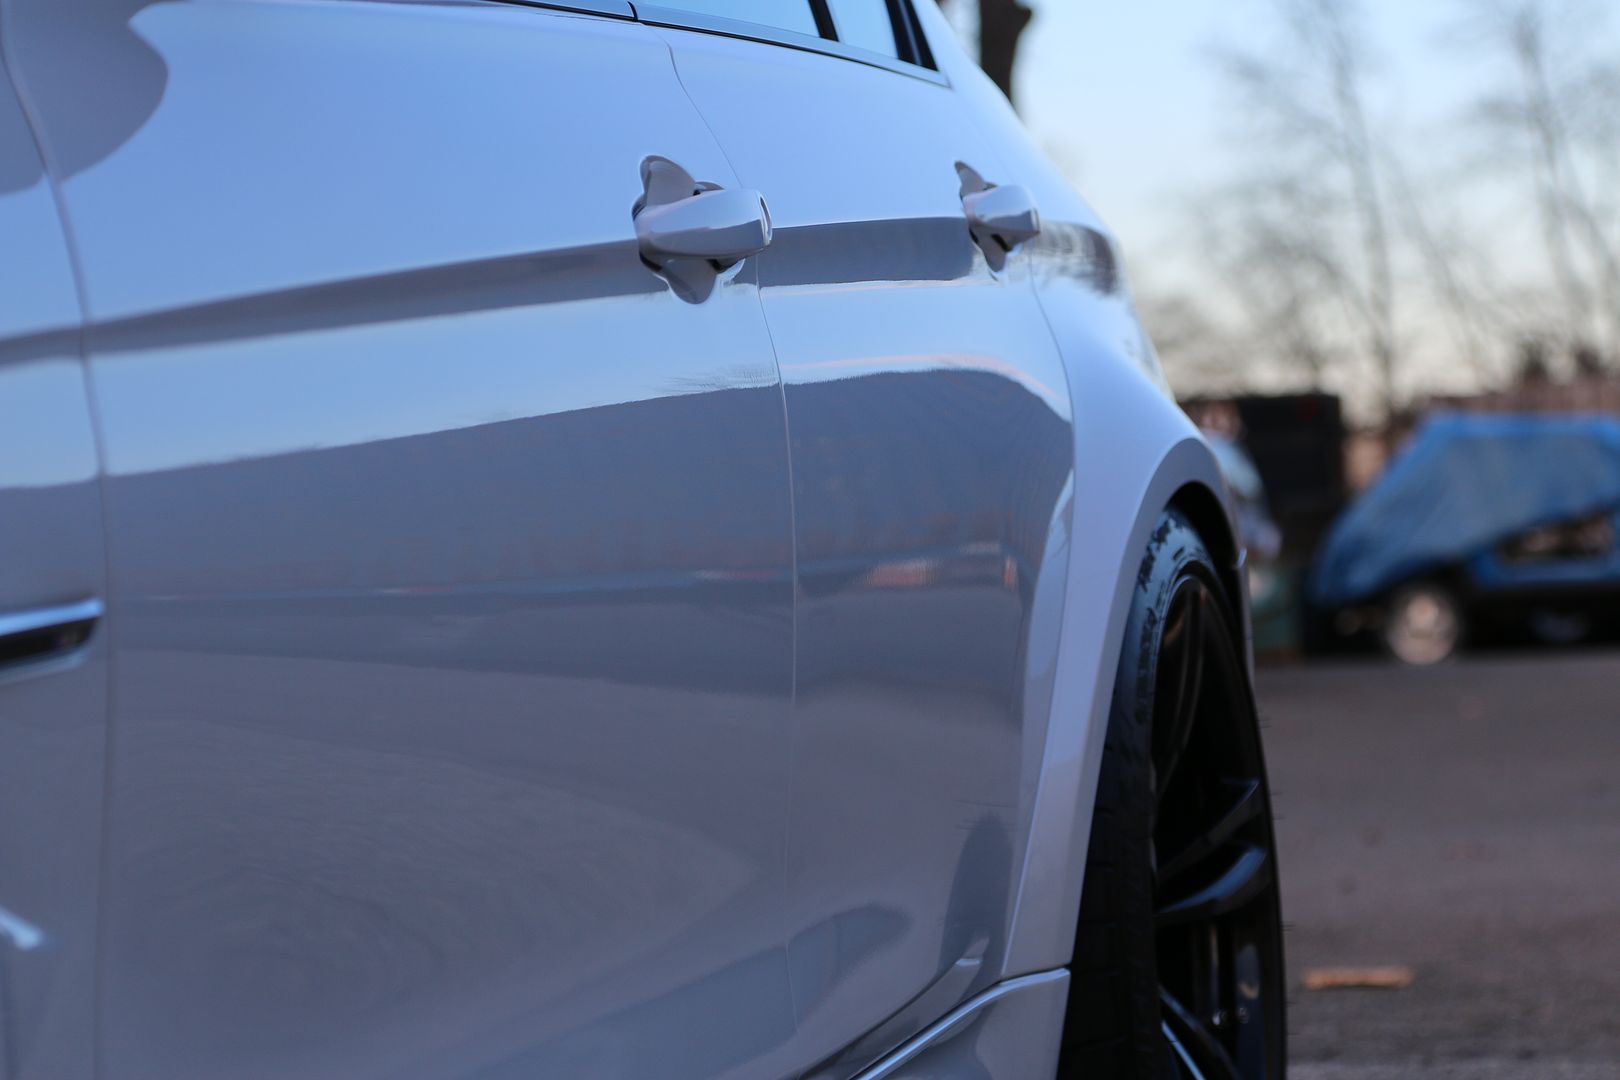
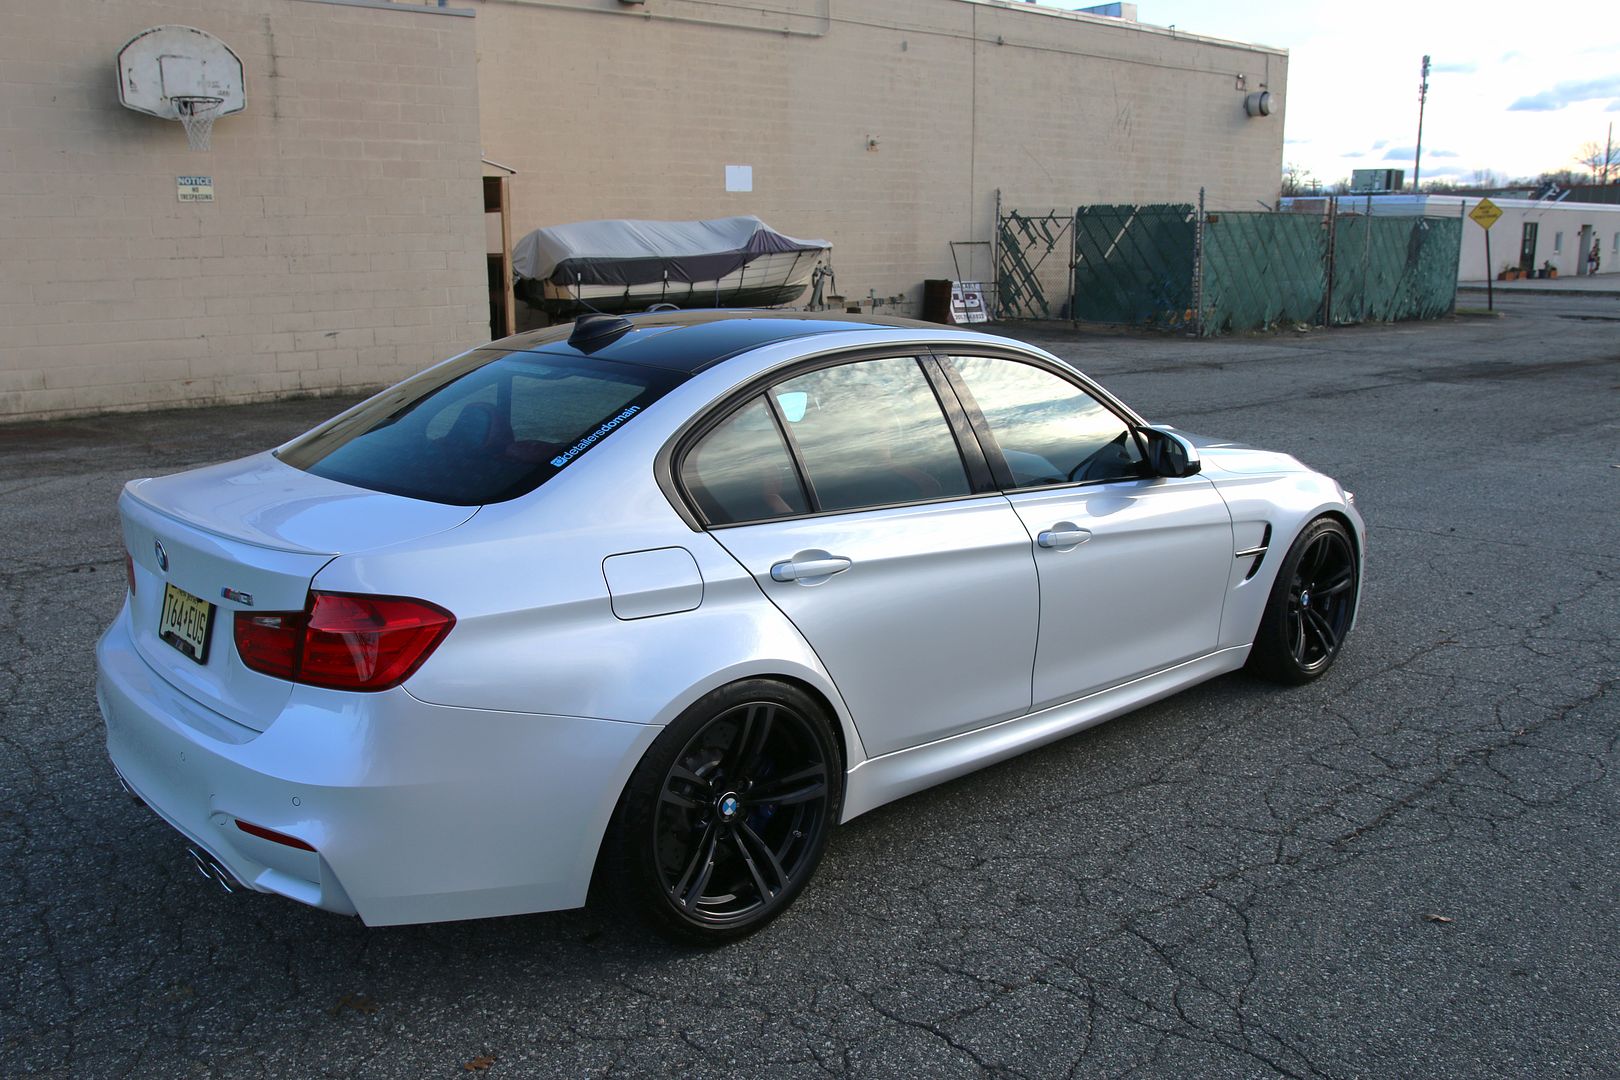
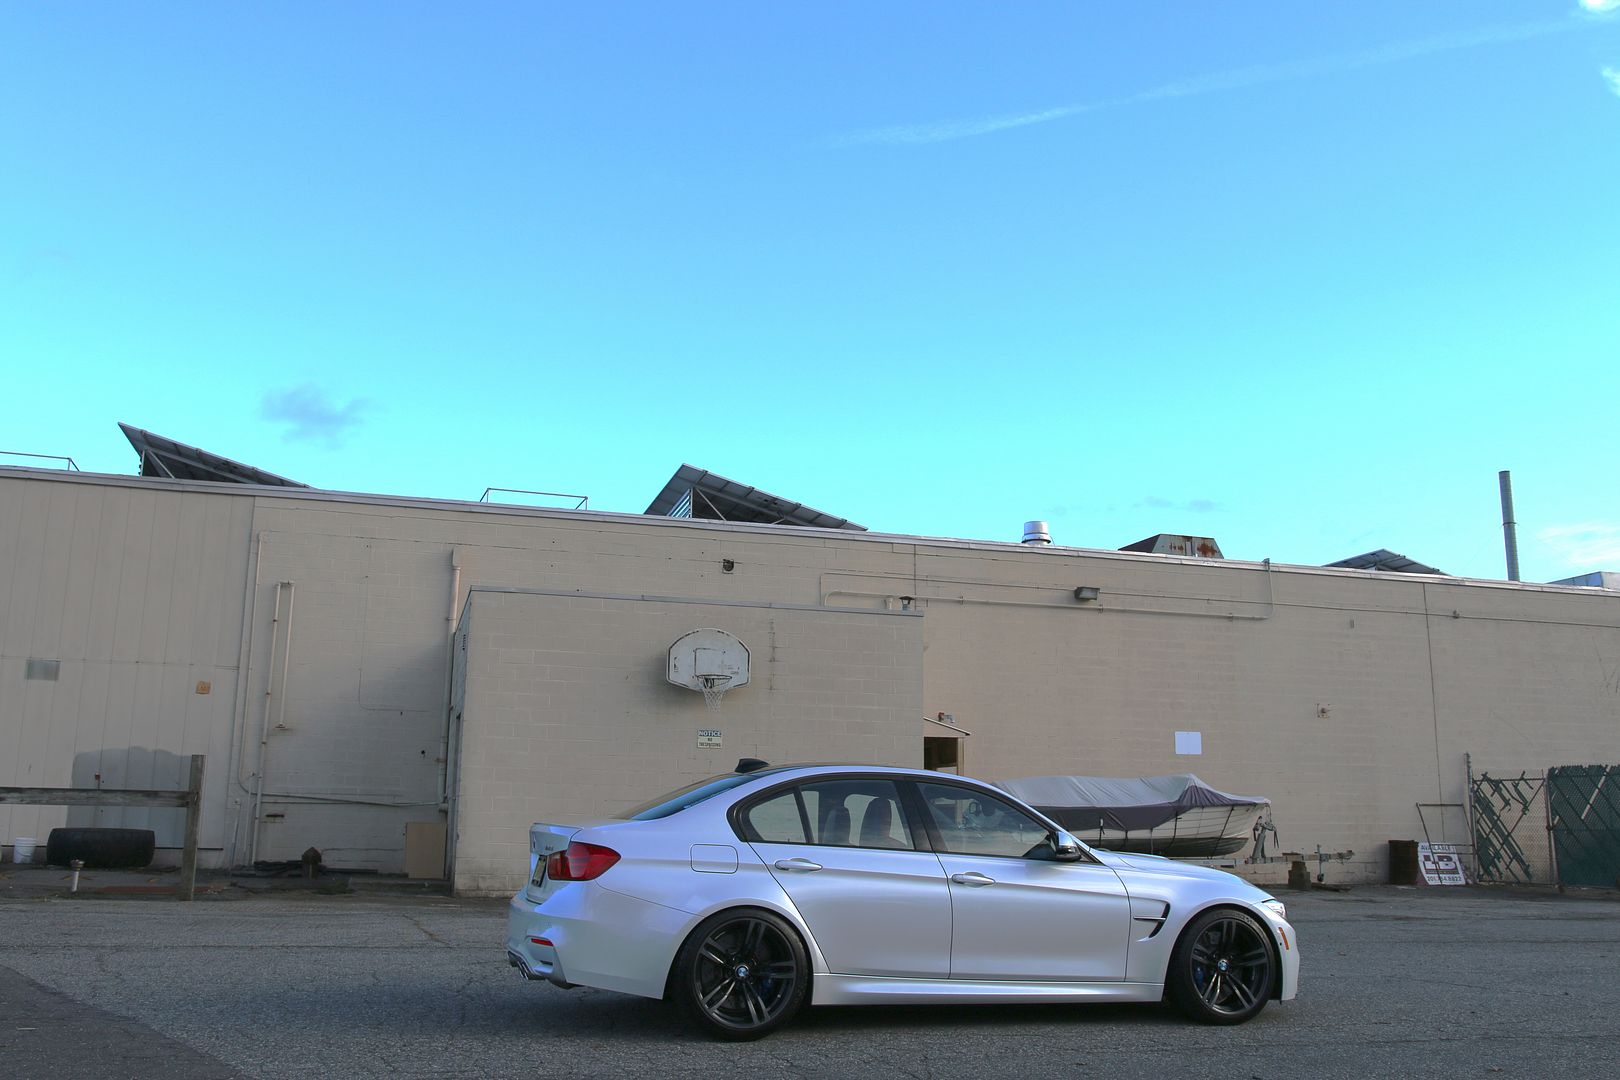
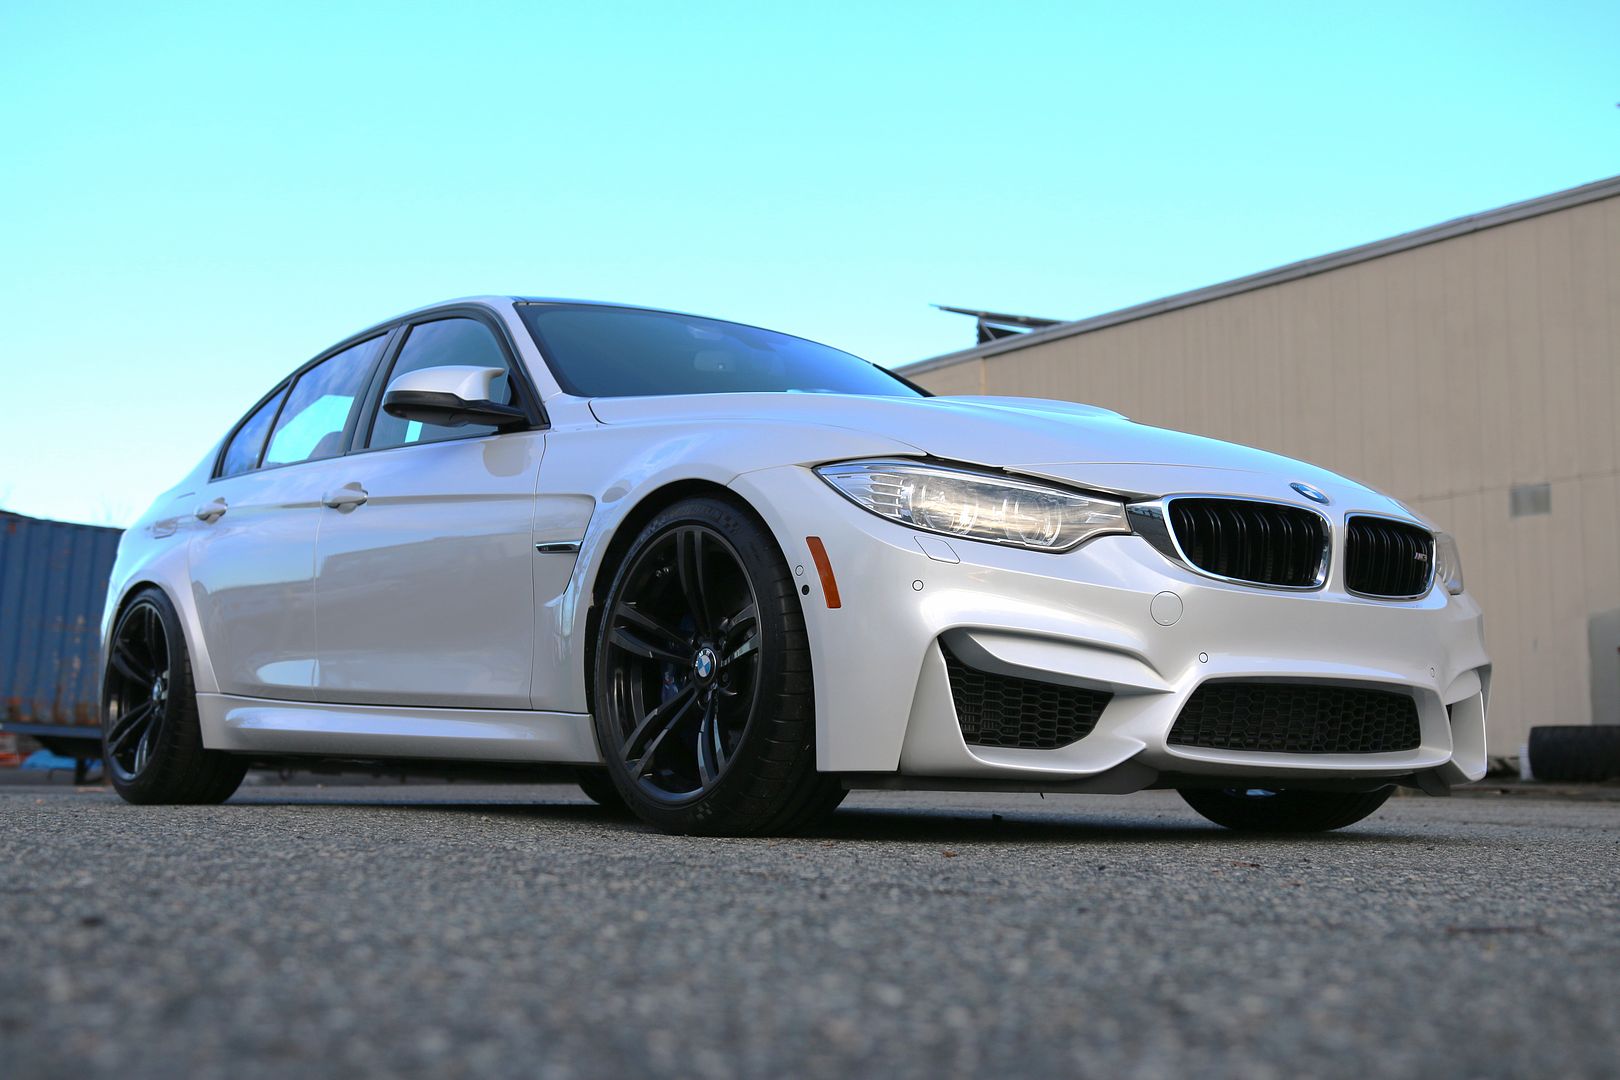
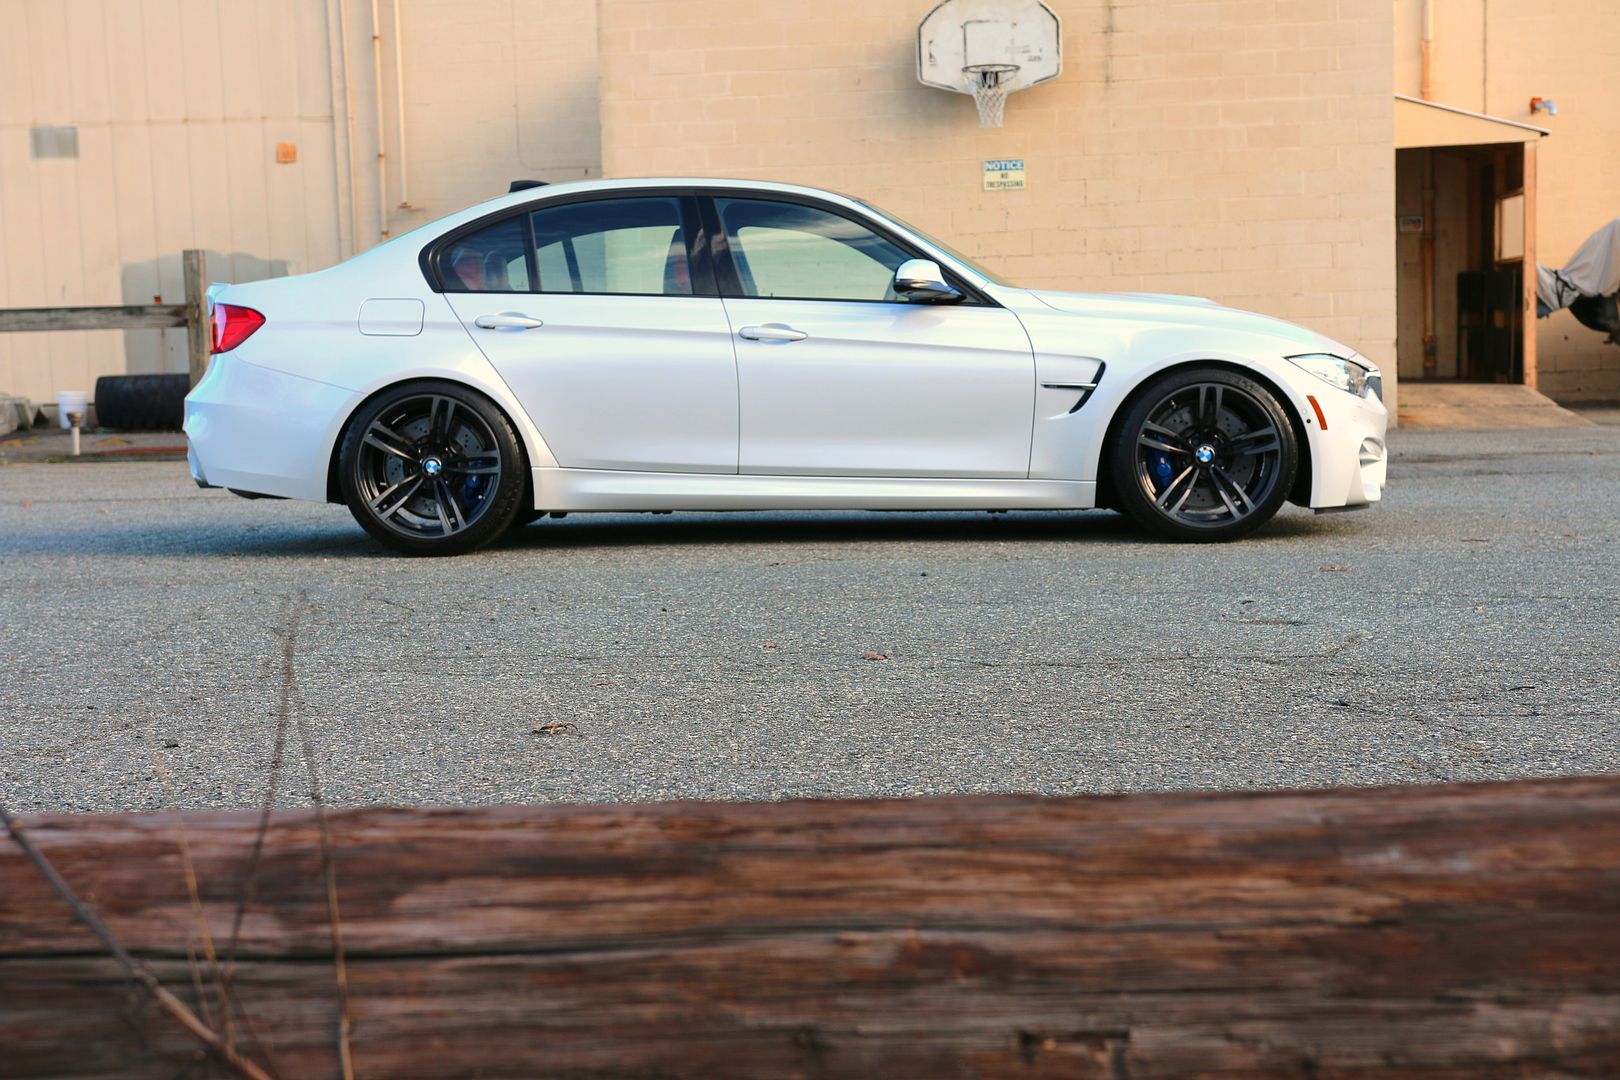
Outside
![Click the image to open in full size.]()
![Click the image to open in full size.]()
![Click the image to open in full size.]()
![Click the image to open in full size.]()
![Click the image to open in full size.]()
![Click the image to open in full size.]()
![Click the image to open in full size.]()
![Click the image to open in full size.]()
![Click the image to open in full size.]()
![Click the image to open in full size.]()
![Click the image to open in full size.]()
Hope you enjoyed it, email me with any questions about this write up or anything else detailed related.
Requirements: New Car Prep - Full Front Xpel Ultimate Clear Film - Spring Installation - SS Lines - Spacers
Here is a list of products used on the interior.
1Z einszett Cockpit
Leather Master Strong Cleaner
Leather Master Barrier
Auto Finesse Crystal Glass Cleaner
1Z einszett Gummi Pflege Stift Rubber Care Stick
Metro Jumbo Vac n Blow
Uber Leather and Carpet Brush
Uber Microfiber Towels
Uber Microfiber Applicator Pad
Products used on the exterior:
1Z einszett Glanz Shampoo
Uber Clay Bar
Sonax Fall Out Remover
Auto Finesse Oblitarate
NanoSkin AutoScrub Mitt
Sonax Perfect Finish
Sonax Polymer Net Shield
Adam's Super VRT
Menzerna Top Inspection
Auto Finesse Crystal Glass Cleaner
Tools used
Metro Jumbo Vac n Blow
Uber Leather and Carpet Brush
Uber Microfiber Towels
Uber Microfiber Applicator Pad
Uber Quick Detail MF Towels
Uber All Purpose MF Towels
Griot's 3 inch Random Orbital Polisher
Rupes BigFoot LHR 21ES Random Orbital Polisher
Rupes BigFoot LHR 15ES Random Orbital Polisher
Uber Buffing Pads
Defelsko Paint Meter
Fenix TK35
2 Grit Guard Buckets with Caddies
Adam's Firehose Nozzle
Metro Air Force Blaster
Let's start with the interior clean up first.
We pulled out all the wrapper and a few of the decals on the glass. Did a vac and wipe down with a cockpit cleaner, followed by a nice leather cleaning and conditioning to prevent denim transfer. Glass was done as well as door jambs were sealed.
Before

Removing the tags and wrapper left in the car


Leather cleaning and conditioning - even though the car is new I decided to clean with Leather Master Strong Cleaner followed with Leather Master Barrier to do some preventive maintenance to protect the leather from denim transfer.
Door Jambs cleaned and protected - Sonax Polymer Net Shield was used on the jambs
Door seals cleaned and protected with 1Z einszett Gummi - great way to keep them fresh and new as well as during the winter months its keeps your doors from freezing shut.
After shots


Exterior
Moving on to the exterior prep and Xpel Ultimate installation.
Before shots
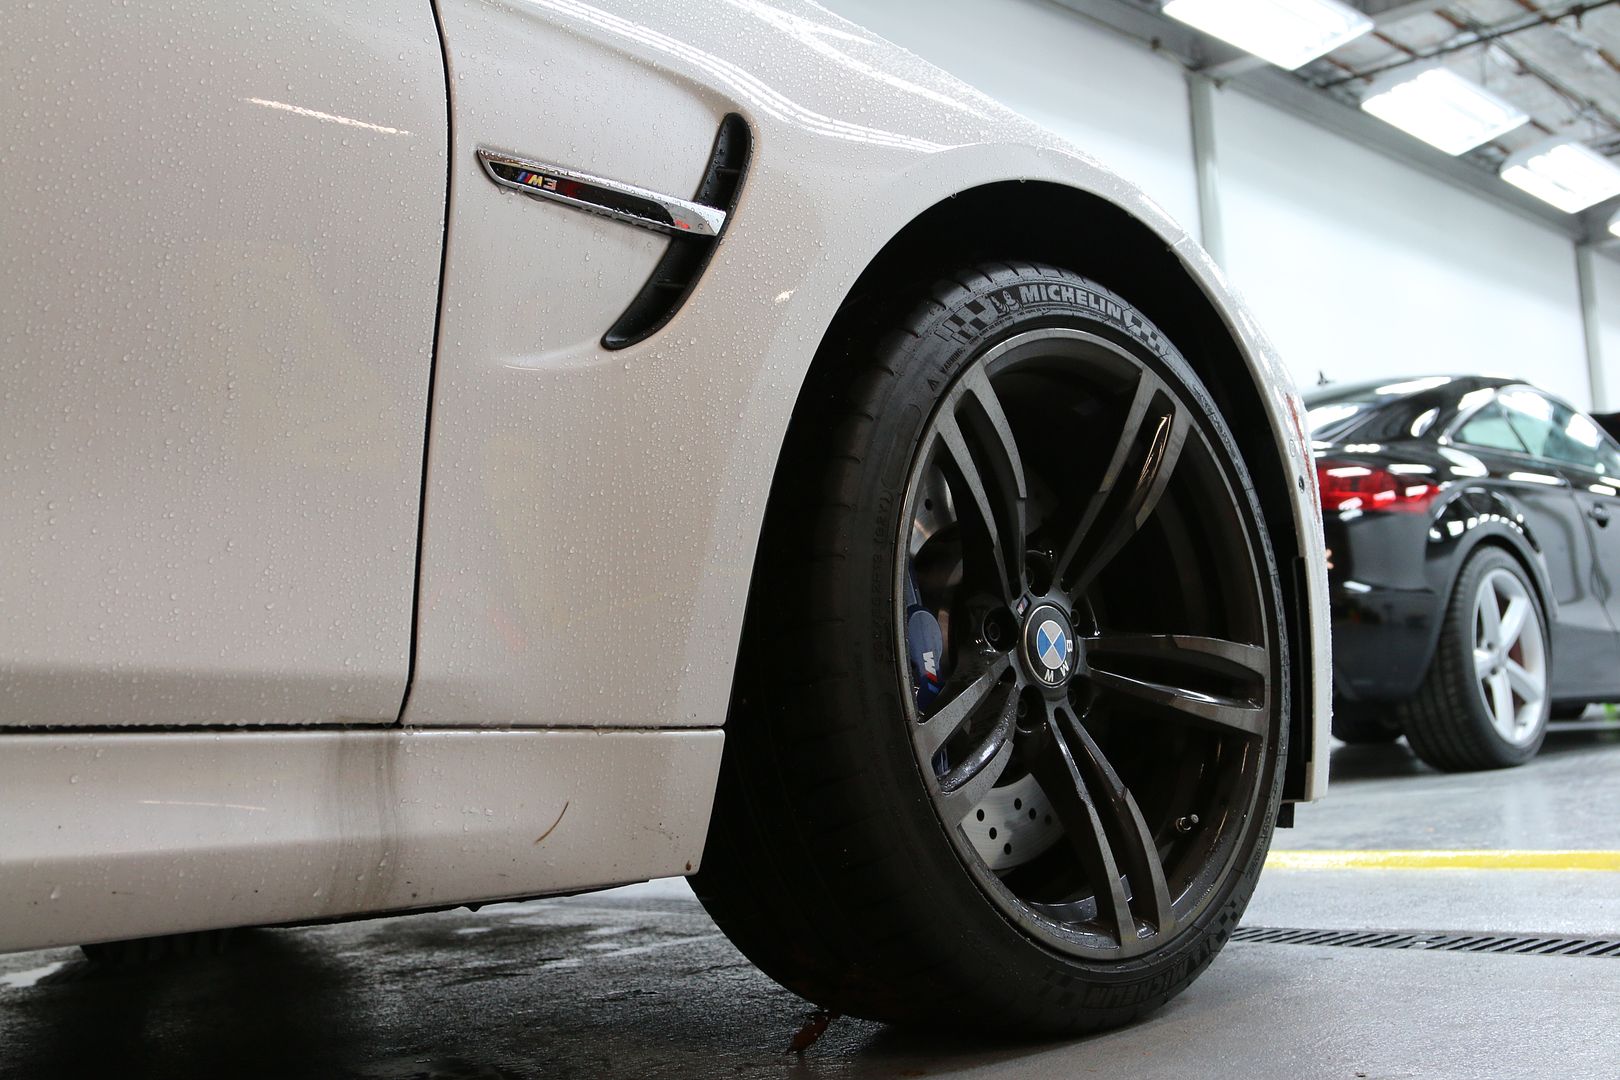
Wheel cleaning - Sonax Wheel Cleaner Plus and various brushes
Uber Boar's Hair Brush for the lugs
Wheel Woolies for behind the spokes and the first 1/2 of the inner wheel barrels
EZ Detail Brush for the back half of the wheels and in between the calipers and wheels - super tight especially with the stock 19's.
Smaller Wheel Woolies for between the spokes
Adam's Boulder Brush for the face of the wheels - super gentle.
Rinse them off.
Decon with Sonax Fallout Remover (it pulled up quite a bit of iron particles and fallout with only a few hundred miles on it)
After all the decon wash pressure washed off we foam the car
Rinse and blow dry

With the darker/matte wheels I have found we always need to go back and hit them up with a detail spray to ensure they are perfectly clean.
Washed and Dried - next up clay bar
Making sure the car is perfect prior to the Xpel Ultimate Clear Film installation. A good polish with Sonax Perfect Finish and the Rupes LHR21 with Rupes Yellow Pad.
After the complete prep we made sure all the areas that were getting protected with Xpel were cleaned a few times with an IPA wipe down.
Areas being covered - front bumper, full front fenders, full hood, mirrors, headlights, a pillars, front of the roof, door cups, full side skirts, luggage area on the back bumper and behind the rear wheels on the rear bumper.


Some final touches -
Glass cleaned after the Xpel Ultimate was installed -
Getting the tires cleaned and dressed - using Stoner's Tarminator, Auto Finesse Obilitarate, Adam's Super VRT

No after shots with the stock set up we went to Ben and Mark at Rogue Engineering for some goodies.
Rogue Engineering installed H&R Springs, Rogue Engineering Spacers 12 mm, and Rogue Engineering Stainless Steel Brake Lines
stock
H&R
RE 12MM Spacers Front and Rear

RE SS Lines
Stock
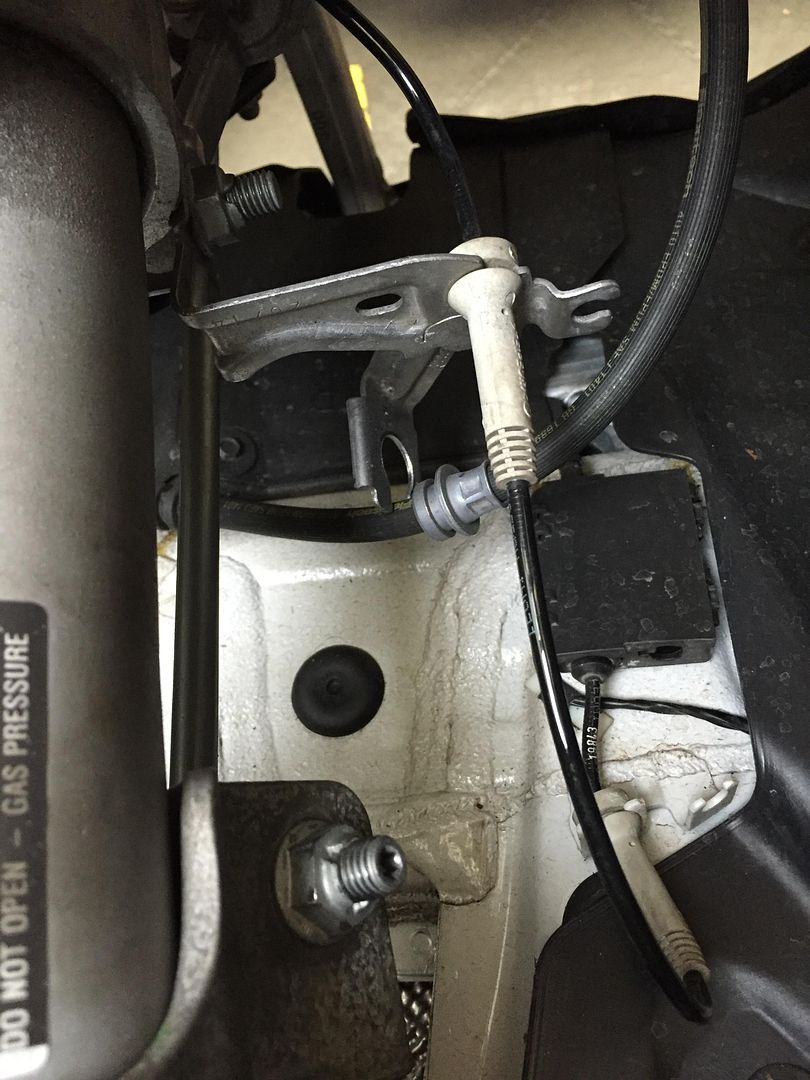
RE SS lines installed
Back at DD it was cleaned it up and took some final shots.
Inside
Outside

Hope you enjoyed it, email me with any questions about this write up or anything else detailed related.